I remember standing in my kitchen last Tuesday, staring down a machine that felt more like a stubborn toddler than a high-end appliance. I’d just finished a heavy cycle, but when I popped the door open, there was no steam—just a stack of dirty plates and a perfectly dry, intact detergent pod staring back at me from the dispenser. It’s a special kind of annoyance, isn’t it? You spend the money on the “good” soap, you load the racks like a Tetris champion, and the machine just decides to take a nap instead of doing its job. I’ve spent years tinkering with these things, and let me tell you, that dry pod is usually a cry for help from a specific part that’s feeling a bit neglected. It’s rarely a total system failure, but it definitely ruins the flow of a productive evening. To get to the bottom of this, we need to treat your kitchen like a lab and identify dishwasher faults quickly before your sink overflows with the dishes from tomorrow’s breakfast.
Stop Guessing and Start Looking at These Common Culprits
Most of the time, we assume the whole machine is toast, but the reality is much more mundane. I once spent three hours tearing apart my kitchen floor because I thought I had a major drainage issue, only to realize I had actually just blocked the detergent door with an oversized baking sheet. It happens to the best of us. Before you start looking up new models or stressing about the cost of a replacement, you need to dive into some dishwasher parts diagnostics to see if the problem is mechanical or just a case of bad loading. Sometimes, all it takes is a tiny adjustment to how you position your tall glasses or a quick check of the float switch to get things moving again. One of the most frequent offenders I see in my neighbor’s kitchens is a spray arm that can’t move. If your bottom spray arm isn’t spinning, water never reaches the dispenser to dissolve that soap. It’s like trying to shower without turning the nozzle toward your body; the water is there, but it’s not hitting the target. If the holes in those arms are clogged with hard water deposits, the pressure just isn’t there to trigger the door. You might want to try clearing your dishwasher spray arm holes before you do anything else. Sometimes, the issue is even simpler: the detergent door won’t open because it’s gunked up with old, crusty soap from three months ago.
Is my dishwasher actually broken or am I just doing it wrong?
It’s a fair question, and one I asked myself for months before I finally swallowed my pride and learned how these machines actually work. We often fear that a dry pod means the internal computer is fried or the motor has given up the ghost. But here is a surprising fact: according to research from the U.S. Department of Energy, many dishwashers fail to perform simply because the water temperature entering the machine is below 120°F. If your water is too cold, that pod is basically a rock. You might just need to fix the water heating issue rather than replacing the whole dispenser. I made the mistake early on of thinking I could just toss the pod into the bottom of the tub to save time. While that might seem like a clever workaround, it actually causes the soap to wash away during the pre-rinse, leaving nothing for the main wash. If you’ve noticed your pod is falling out but not dissolving, you’re likely dealing with a timing or temperature mismatch. Have you ever opened your machine only to find that little plastic square perfectly preserved like a museum artifact? It’s frustrating, but we’re going to get it sorted out today without calling in an expensive repairman. We will look at everything from the door latch assembly to the circulation pump to find your fix.
Clear the path for water to enter your machine
If your dishwasher pod is still sitting in the dispenser bone-dry, the first thing you need to investigate is the water inlet valve. Think of this valve as the security guard for your appliance; if it doesn’t get the signal to open, or if it’s physically blocked, your dishes are just sitting in a dry box. I once spent an entire Saturday morning troubleshooting my own unit, convinced the control board was fried, only to find that a tiny piece of sediment from a recent plumbing repair had wedged itself into the screen. You should learn how to clear a hard water clog in your dishwasher inlet valve before you even think about buying a new part. If the screen is clear but the water still isn’t flowing, you’ll need to use a multimeter to check the valve’s solenoid for continuity. It is a vital part of dishwasher parts diagnostics that separates the pros from the amateurs. 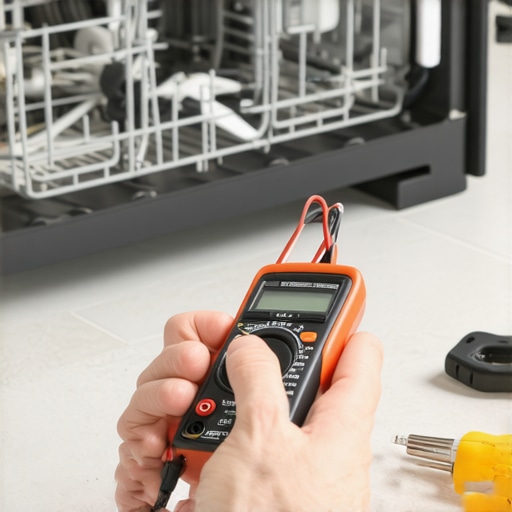
Make sure the float switch isn’t lying to you
The float switch is a simple plastic piece that rises as water fills the tub, eventually clicking a switch to tell the machine to stop filling. If this piece gets stuck in the ‘up’ position because of a stray spoon or a buildup of greasy gunk, the dishwasher thinks it is already full and won’t let a single drop of water in. This is exactly how to fix a dishwasher that wont fill with water when everything else seems fine. I remember a frantic call from a neighbor who thought her kitchen was about to flood; it turned out a plastic bottle cap had wedged itself under the float, keeping the switch engaged. Always ensure you know the right way to inspect your dishwasher float switch to avoid these phantom failures.
Check the circulation pump for electrical life
If water is actually entering the machine but the pod still isn’t dissolving, the problem is likely that the water isn’t moving. The circulation pump is the heart of the system, pushing water through the spray arms with enough force to pop that detergent door open and melt the pod. You can’t just guess on this one; you need to roll up your sleeves and start testing your dishwashers circulation pump for continuity. If the motor has hummed its last tune, no amount of cleaning will help. However, before you condemn the motor, take a second to try the best way to unstick a jammed dishwasher detergent door. Sometimes the door is physically blocked by a tall plate or a buildup of residue, preventing the pod from ever meeting the water stream. By systematically checking the valve, the float, and the pump, you move from guessing to knowing exactly what is wrong.Let’s dig deeper into a nuance most people ignore: the chemistry of the wash. We’re often taught that more detergent equals cleaner dishes, but if you have soft water, that logic is a recipe for disaster. I’ve seen countless cases where why your dishwasher interior looks pitted or corroded was actually caused by using high-concentration pods in a low-mineral environment. The soap has nothing to ‘eat,’ so it starts attacking your glassware and the stainless steel tub. This leads to what pros call ‘etching,’ and once it starts, it is irreversible. The real ‘oops’ factor that catches even the most diligent DIYers is relying too heavily on ‘Quick Wash’ or ‘Eco’ settings. According to the Association of Home Appliance Manufacturers (AHAM), these cycles often fail to reach the high temperatures necessary to fully liquefy animal fats. Over time, those fats solidify inside your hidden sump filter, creating a waxy sludge that chokes the motor. You might think you’re saving electricity, but you’re actually shortening the life of your pump by forcing it to work against a grease clog.
Why does the main control board take the blame for sensor failures?
It is a common reflex to assume the ‘brain’ of the machine is dead when a cycle hangs or the water doesn’t heat. In my experience, it is rarely the board itself. Most people jump to is your oven control board failing or assuming a dishwasher PCB is fried when the actual culprit is a single faulty data point. For instance, a faulty dishwasher turbidity sensor can send a signal that the water is clear when it’s actually muddy with debris, causing the machine to terminate the cycle prematurely. 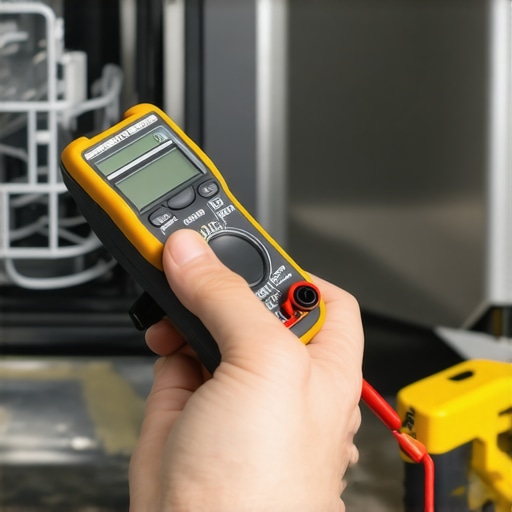 Before you drop $200 on a control board, you must look at the specific sensors that feed it information. This same principle applies when you are diving into oven repair essentials; a thermal fuse that has tripped due to a slight airflow restriction will mimic a dead control panel perfectly. Have you ever fallen into this trap and replaced a perfectly good ‘brain’ only to find the problem persisted? Let me know in the comments. By mastering dishwasher parts diagnostics at a sensor level, you stop being a part-swapper and start being a true technician. It’s about understanding the ‘why’ behind the failure, not just the ‘what.’
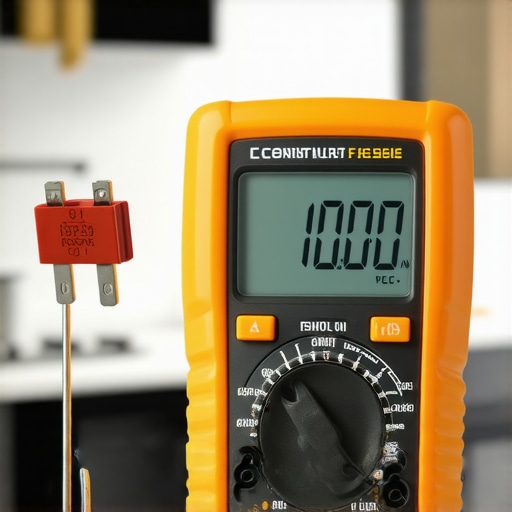
Invest in a multimeter that actually speaks your language. I’ve seen people try to fix a complex appliance using a $5 tester from a bargain bin, and honestly, it’s like trying to perform surgery with a butter knife. I personally swear by my digital multimeter; it has a low-input impedance feature that prevents ‘ghost voltages’ from tricking you into thinking a part is dead when it isn’t. This is crucial when you are pinpointing faults before calling a repair expert. If you can’t trust your readings, you’re just throwing money at parts you don’t need. For instance, finding the most reliable way to test an oven thermal fuse becomes a five-minute job rather than a weekend-long mystery if you have a tool that gives you a clear continuity beep.
The secret technical documents hidden in your kitchen
Did you know that most ovens and dishwashers come with a ‘cheat sheet’? It’s usually a folded-up piece of paper tucked behind the kickplate or inside the console. According to the official Whirlpool Job Aid for Global Dishwashers, these tech sheets contain the specific ‘service mode’ sequences and error code definitions that aren’t in your user manual. This documentation is your roadmap for dishwasher parts diagnostics. I always tell my friends to grab that paper, put it in a plastic sleeve, and tape it back once they are done. If you lose it, you’re flying blind during a repair. These diagrams explain exactly how the current flows from the timer to the dispenser door, which is often the missing link when your detergent won’t dissolve.
How do I maintain my dishwasher and oven for the long haul?
Maintenance isn’t just about cleaning; it’s about prevention. For your dishwasher, you need to be aggressive about mineral deposits. I recommend removing hard water build-up every three months if you live in an area with ‘heavy’ water. This prevents the seals from becoming brittle and leaking. Similarly, for your oven, you should avoid using the high-heat self-clean cycle. It’s a known ‘appliance killer’ that can fry control boards. Instead, focus on recalibrating your oven every year to ensure your holiday roasts don’t end up raw in the middle. I predict that in the next few years, we’ll see appliances with built-in Wi-Fi diagnostics that send a notification to your phone the second a gasket starts to fail, making identifying the correct replacement gasket as easy as clicking a link in an app. Until then, you need to stay on top of cleaning your dishwashers hidden sump filter manually to keep the water pressure high enough to pop that soap door open. Try this today: locate your tech sheet and read just one error code sequence—it’ll make you feel like a pro the next time your machine acts up.
Lessons from the Grease Traps and Control Boards
After years of wrestling with appliances, I’ve realized that the ‘smart’ sensors are often less reliable than a simple visual check. For instance, I used to think a leak meant a cracked tub, but most of the time it’s just a matter of identifying the correct replacement gasket to restore the seal. Another epiphany? Don’t ignore the sounds. If your machine is groaning, it’s not just ‘old age’—it’s likely debris trapped in the how to clean your dishwashers hidden sump filter. Finally, always trust your multimeter over your intuition. If a part doesn’t have continuity, no amount of ‘hoping’ will make it work again. I’ve seen people spend hundreds on boards when a five-dollar thermal fuse was the real culprit.
The DIY Toolkit I Never Leave Home Without
You don’t need a professional workshop, but a few specific items will save you hours of frustration. First, a digital multimeter is non-negotiable for oven repair essentials; it’s the only way to know if an element is actually receiving power. Second, I recommend keeping a small bottle of white vinegar on hand—not just for salad, but for removing hard water build-up that can clog your spray arms and valves. Third, always have a smartphone ready to take photos of wiring before you disconnect anything. It’s the best way to ensure you don’t end up with extra screws and confusion at the end of the night. Lastly, bookmark a reliable source for dishwasher parts diagnostics so you can look up error codes on the fly. #IMAGE_PLACEHOLDER_E#
Take the Plunge and Fix It Yourself
Taking apart your appliance for the first time is intimidating, but remember that these machines were designed by humans to be serviced by humans. By mastering the art of troubleshooting, you aren’t just saving money—you’re gaining a sense of control over your home environment. You’ve got the tools and the knowledge, so go ahead and open that kickplate or pull out that oven. Your kitchen—and your wallet—will thank you for the effort. Have you ever found a strange object stuck in your dishwasher filter that actually fixed the whole problem? Let me know in the comments below.