It was 10 PM on a Tuesday, and I was staring down a stack of dinner plates that looked exactly as greasy as they did before I ran the ‘Heavy Duty’ cycle. My heart sank when I saw that little blue pod still tucked inside its plastic cubby, perfectly dry and mocking me. I’d just wasted two hours of water and electricity for nothing. That was the moment I realized my dishwasher’s detergent door had finally given up. We’ve all been there, right? You expect a clean kitchen, but instead, you get a chemistry experiment gone wrong. If you’ve noticed [IMAGE_PLACEHOLDER], don’t panic. Today, I’m going to share exactly how I stopped wrestling with that stubborn latch and the simple tricks that keep it sliding smoothly every time.
Stop Prying and Start Solving the Soap Door Mystery
I’ll be the first to admit it: my first instinct was to grab a butter knife and force the thing open. Please, whatever you do, don’t do that. I nearly snapped the delicate plastic hinges on my own machine before I learned my lesson. Usually, the real reason your dishwasher soap door won’t open isn’t a broken motor, but a simple build-up of dried-on detergent or a misaligned rack. When I first started digging into dishwasher parts and DIY diagnostics, I was shocked at how often a tiny bit of gunk could ground a whole appliance. If you find that your dishwasher pod is still in the dispenser after a wash, it’s a sign that the mechanical sequence is being interrupted.
Is a faulty latch really worth a $200 repair call?
Many of my neighbors ask me if they should just buy a new unit the moment the dispenser acts up. Honestly? No way. According to data from the International Association of Certified Home Inspectors (InterNACHI), many apparent appliance failures are actually just maintenance issues like mineral scale or soap residue. You might just need to look at replacing a worn-out dispenser seal rather than the whole machine. Have you ever felt like your dishwasher was purposely trying to make your life harder? Believe me, I’ve been there, but most of the time, the fix is much cheaper and faster than you think. Let’s look at how we can get that door moving again without the stress.
Scrub Away the Hidden Soap Scum
If you’ve ever noticed white streaks on silverware, you’re likely dealing with detergent buildup. Over time, that gel or powder creates a sticky film that acts more like superglue than a cleaning agent. I remember one humid July afternoon when my dispenser wouldn’t budge. I ended up using an old toothbrush and a mixture of vinegar and warm water to detail the tiny hinges. It was a messy, splashing disaster that left me soaked, but the amount of gunk that came off was staggering. You need to focus on the latch groove and the spring-loaded hinge. If that mechanism can’t move freely, it doesn’t matter how well the rest of the machine works. This is also the quickest way to remove hard water build up in your dishwasher dispenser area, which is often the silent killer of these small plastic parts. 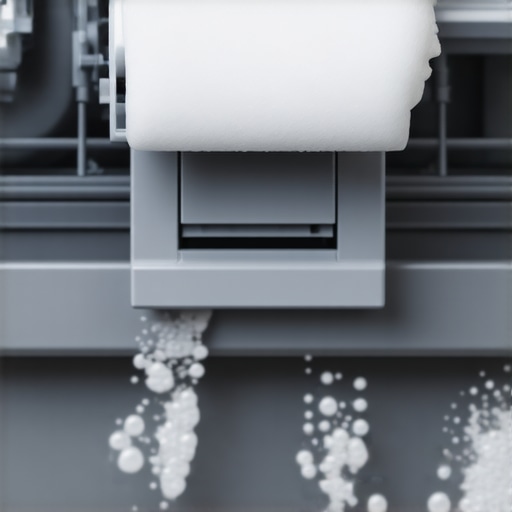
Is Your Bottom Rack Blocking the Path?
It sounds almost too simple, but you would be surprised how often a stray spatula or a large dinner plate is the only thing standing between you and clean dishes. I once went through an entire diagnostic cycle, checking dishwasher faults quickly, only to realize my favorite oversized pasta bowl was leaning just two inches too far forward. When the dishwasher enters the wash cycle, the dispenser door needs clear space to flip upward or slide open. If it hits a plate, it stays shut, and you end up with a soggy, undissolved pod. Mastering the best way to load your dishwasher for maximum water reach isn’t just about getting things clean; it’s about ensuring the mechanical components have the room to breathe they need to function. If you are struggling with other appliances, the same logic of physical obstruction applies to oven repair essentials and troubleshooting common issues where misaligned racks can cause just as many headaches.
Inspect the Gasket and Latch Mechanism
If the area is clean and the rack is clear, but the door still sticks, the rubber seal is likely the culprit. These seals can dry out or warp from the high heat of the drying cycle. In my experience, a warped seal creates too much friction for the tiny solenoid to overcome. You can test this by feeling the rubber; if it’s brittle or cracked, it’s time for a change. Learning how to replace a worn-out dishwasher detergent dispenser seal is a ten-minute job that saves you from buying a whole new dispenser housing. If the seal looks great, then we have to talk about the latch itself. Sometimes the plastic tab simply wears down or the spring loses its tension. When this happens, swapping out a worn dishwasher door latch assembly is the most direct path to victory. Think of the latch like a gate on a fence; if the latch pin is bent or the spring is snapped, no amount of cleaning will make it catch or release properly. I once tried to ‘re-bend’ a metal latch pin with pliers, only to have it snap off completely. Save yourself the trouble and just grab the OEM replacement part. It’s a straightforward part-for-part swap that doesn’t require an engineering degree, just a screwdriver and a little bit of patience. By focusing on these three areas—cleanliness, clearance, and component integrity—you remove the guesswork and get back to actually cleaning your dishes.
While we spent a lot of time talking about cleaning gunk and clearing plates, there’s a deeper level to this that most people miss. You see, everyone says that if the door stays shut, the latch is broken. In my experience, that’s a rookie mistake. Sometimes the latch is perfectly fine, but the electrical signal to release it never arrives. This often happens because of a breakdown in the machine’s thermal logic. If the water doesn’t reach a specific temperature, the control board might skip the dispenser release entirely to prevent a clump of undissolved soap from sticking to cold plates. This is where dishwasher parts and DIY diagnostics become your best friend. Instead of buying a new dispenser, you might actually need to be testing your dishwashers high limit thermostat for continuity. Treating the symptom rather than the cause is the fastest way to waste fifty bucks on a part you didn’t need.
Why does my repair work for a week and then fail again?
This is the question that separates the pros from the weekend warriors. If you’ve cleaned your dispenser and it worked for three cycles before sticking again, you’re likely dealing with a sensor issue rather than a mechanical one. Modern units rely on a series of checks. For instance, if you are replacing a faulty dishwasher turbidity sensor at home, you’re fixing the ‘eyes’ of the machine. When that sensor is covered in a film of grease, it tells the computer the water is dirty, which can sometimes delay or glitch the dispenser timing. The same logic applies when you are pinpointing oven faults before calling a repair expert; if the control board doesn’t get the right data, it won’t send the right commands. According to a report by the Association of Home Appliance Manufacturers (AHAM), a significant percentage of ‘part failures’ are actually just sensor errors caused by poor maintenance.
The Dangerous Trap of the Parts Cannon
I’ve seen so many people fall into the trap of ‘firing the parts cannon’—throwing new components at a machine until it starts working. The biggest ‘oops’ factor I see? Over-tightening. When you are swapping out a worn dishwasher door latch assembly, the screws are almost always going into soft plastic. One extra turn and you’ve stripped the housing, meaning the latch will never sit flush again. This creates a tiny air gap that lets steam into the door’s internal electronics, eventually shorting out the whole interface. It’s a domino effect of DIY disasters. Before you start unscrewing things, take a breath and look for dishwasher faults quickly by checking the simple stuff first. 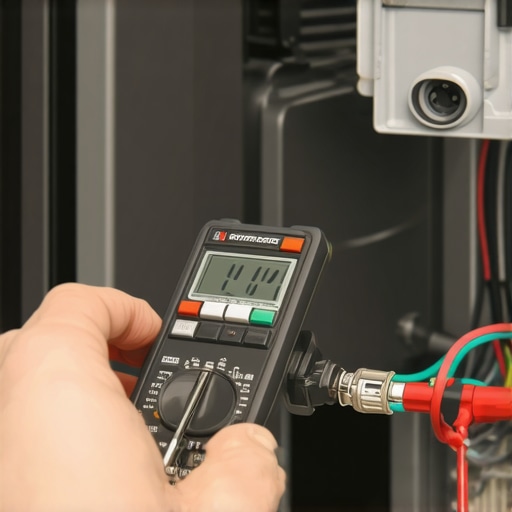
Stop Guessing and Start Measuring
If you really want to graduate from guessing to knowing, you need a multimeter. Whether you are troubleshooting why your soap door is stuck or looking for the one part that stops your dishwasher from draining completely, the numbers don’t lie. A part either has continuity or it doesn’t. I used to be terrified of electrical testing until I realized it’s just like checking if a lightbulb is burnt out. If you take the time to learn these advanced nuances, you’ll stop being the person who ‘fixes’ things only for them to break again by Tuesday. Have you ever fallen into this trap of replacing a part only to find it wasn’t the problem? Let me know in the comments!
I’ll tell you a secret: the difference between a repair that lasts a week and one that lasts ten years is rarely the quality of the replacement part itself—it’s the precision of the initial diagnostic. I used to rely on my ‘gut feeling,’ which usually just led to more frustration and extra trips to the hardware store. Now, I never open a dishwasher panel without my digital multimeter and a specialized set of Torx bits. Most modern appliances have moved away from standard Phillips screws to prevent stripping during high-torque assembly, so a high-quality bit set is absolutely non-negotiable. If you are serious about mastering dishwasher parts and DIY diagnostics, you need to treat your tool kit like a professional investment rather than a junk drawer collection.
How can I keep my kitchen appliances running for a decade?
Maintenance isn’t just about cleaning the visible surfaces; it’s about preserving the hidden components that do the heavy lifting. Every six months, I make it a habit to perform a deep-clean of the internal spray mechanisms and intake systems. This involves the quickest way to remove hard water build up in your dishwasher using citric acid or specialized commercial descalers. I also recommend learning how to clean your dishwashers hidden sump filter because even a tiny piece of plastic wrap or a stray toothpick can burn out a pump motor over time. According to the Service Manuals for Major Household Appliances published by the Association of Home Appliance Manufacturers (AHAM), consistent descaling can extend the functional life of your heating element by up to 30%. This isn’t just theory; it is pure physics. When scale builds up, the element has to run hotter and longer to reach the same water temperature, leading to premature burnout and mechanical fatigue. 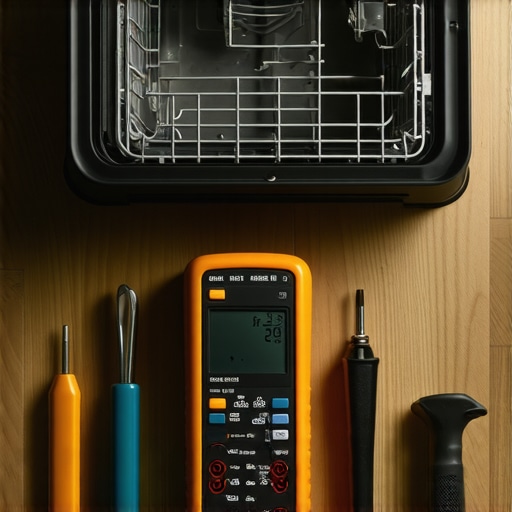
Your Next Dishwasher Might Actually Talk to You
We are rapidly entering the era of the ‘Connected Kitchen.’ I am already seeing newer units that can send specific error codes directly to your smartphone before you even notice a leak or a failure. While this might sound like just more technology to break, it actually makes dishwasher faults quickly identifiable and much more accurate. In the very near future, we won’t be guessing if a solenoid is failing; the machine’s internal logic will tell us exactly which resistance value is out of range. However, this high-tech shift means you will need to get comfortable with basic electronics. Whether you are pinpointing oven faults before calling a repair expert or looking into oven repair essentials, the ability to read a basic wiring schematic will soon be the most valuable tool in your box. If you haven’t yet, I challenge you to open your machine’s kickplate, find the technical data sheet hidden in the plastic sleeve there, and try to locate the specific wiring diagram for your detergent dispenser. It’s the fastest way to start thinking like a pro and stop fearing the ‘check engine’ light of your kitchen.
Lessons Learned from a Hundred Stuck Soap Doors
Over years of wrestling with appliances, I’ve realized that the most common mistake is misdiagnosing a mechanical failure when it’s actually a logic error. If you’ve spent time identifying dishwasher faults quickly, you know that a clean latch is only half the battle. One major ‘lightbulb moment’ for me was discovering that a faulty heating element can prevent the door from ever receiving the signal to open. Another lesson? Never skip the gasket check. A tiny tear in the rubber can create a vacuum that keeps the door sealed tight during the cycle. Most importantly, I learned to trust my multimeter over my gut. If you are already diving into dishwasher parts and DIY diagnostics, remember that consistency is key—maintenance prevents the need for major surgery.
The Only Tools You Actually Need for Kitchen DIY
I don’t believe in buying every gadget at the hardware store, but three things are non-negotiable for success. First, a high-quality digital multimeter is essential for testing continuity; it’s the difference between a guess and a guarantee. Second, a magnetic Torx bit set is vital because dropping a screw into the pump housing is a nightmare you want to avoid. Lastly, I always recommend keeping a small bottle of citric acid on hand. It is the quickest way to remove hard water build up in your dishwasher and keep those plastic hinges moving. If you’re also tackling heat issues, these tools transition perfectly into oven repair essentials and troubleshooting common issues, making them a solid investment for any homeowner.
Reclaim Your Tuesday Nights from the Sink
There is a unique sense of satisfaction in hearing that ‘click’ and seeing a cloud of steam when you open your dishwasher, knowing everything inside is sparkling clean. Dealing with a situation where your dishwasher soap door won’t open is frustrating, but it’s a hurdle you are now fully equipped to clear. Don’t be afraid to get your hands dirty and look past the obvious. Whether you are swapping out a worn dishwasher door latch assembly or simply realigning a rack, you’re saving money and extending the life of your appliance. [IMAGE_PLACEHOLDER] You’ve got the knowledge—now it’s time to put it to work. Have you ever replaced a part only to find out a stray spoon was the real culprit all along? Let me know in the comments below!