I stood in my kitchen at 10 PM, holding a dinner plate that looked worse after the wash than before. It was covered in a bizarre, gritty film that made me want to toss the whole machine out the window. I’d already tried the simple fix for a dishwasher that wont stop filling and spent way too much time clearing hard water deposits from dishwasher interior walls. Nothing worked. That’s when I realized my dishwasher was essentially flying blind. It didn’t know how dirty the water was because its turbidity sensor—the tiny component that measures water clarity—had finally given up the ghost.
Don’t Let a Blind Sensor Ruin Your Dinnerware
Replacing a turbidity sensor sounds like something you’d need a degree in robotics to handle, but it’s actually one of the most satisfying DIY fixes you can do. Most people assume their pump is dying when they notice why your dishwasher cycle takes hours longer than usual, but often, it is just this little plastic sensor misreading the grime levels. When mine failed, I made the classic rookie mistake of dumping a gallon of vinegar into the tub, thinking it was just a scale build-up. All I got was a kitchen that smelled like a salad and a dishwasher that still didn’t clean. Learning how to master parts and diagnostics to identify dishwasher faults quickly is the only way to stop wasting time on the wrong repairs.
Is this DIY repair actually worth the hassle?
Absolutely. According to data from Energy Star, modern dishwashers rely heavily on these sensors to maintain efficiency; a faulty sensor can lead to a massive increase in energy and water consumption because the machine defaults to the longest, hottest cycle possible to compensate for the lack of data. You can save a huge service call fee by spending twenty minutes under the unit. Have you ever felt like your dishwasher was just mocking you by running for three hours and still leaving spots? If you have already ruled out other issues by testing the resistance on your dishwasher heating element, then the sensor is your prime suspect. We are going to get that machine back to peak performance today, and I promise it is easier than you think.First, we need to talk about safety because water and electricity are a nasty combination. Flip the breaker before you even touch a screwdriver. If you skip this, you are not just risking a shock; you could easily fry the main control board, and then you will be searching for what to do when your dishwasher control panel goes blank. Once the power is killed, you need to clear the area and prepare for a bit of a crawl.
Get Down to Floor Level
The turbidity sensor is usually tucked away in the very bottom of the machine, right near the sump assembly. Think of this sensor as the ‘eyes’ of the dishwasher; it sits in the stream of recycled water to decide if the dishes need another rinse. To get to it, you will need to remove the kickplate—that metal or plastic panel at the very base of the unit. Once that is off, you are looking at the guts of the machine. It is a mess of hoses and wires, but do not panic. You are looking for a small plastic component with two or three wires plugged into it, typically pushed into the side of the heater housing or the sump assembly.
Clear the Path to the Sump
I remember the first time I went under there. I was so convinced the grinding noise I heard was a dying motor that I almost bought a whole new pump. It turned out a piece of broken glass was just rattling against the sensor housing. If your machine is older, you might want to consult a dishwasher parts guide to DIY diagnostics to make sure you are not tugging on a thermistor or a drain solenoid by mistake. The turbidity sensor usually has a clear or translucent plastic tip that actually sits inside the water flow to ‘see’ the dirt levels. 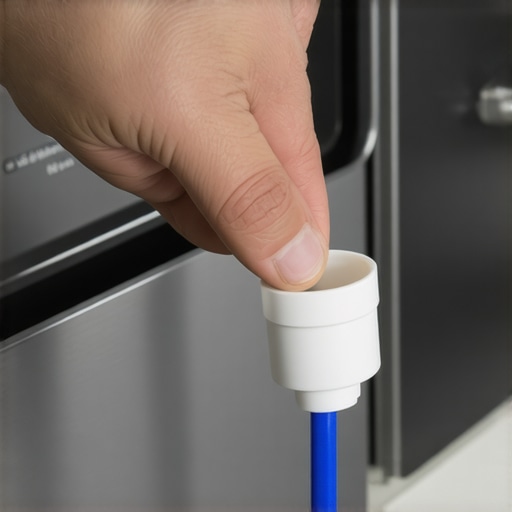
Swap the Sensor Without Creating a Leak
Disconnect the wiring harness first. This is where I messed up during my first repair—I tried to twist the sensor out while the wires were still taut and snapped the plastic locking tab. It was a tiny mistake that turned into a multi-day wait for a new harness. Use a small flat-head screwdriver to gently lift the tab and slide the plug off. Most sensors then require a simple quarter-turn counter-clockwise to unlock from the housing. If it feels stuck, it is likely just mineral buildup, so a gentle wiggle usually does the trick.
Mind the O-Ring Seal
When you pull the old sensor out, a little bit of water will inevitably spill out onto the floor. Keep a towel handy. Check the mounting hole for any debris that might be causing why your dishwasher leaves a chalky film on all your dishes. The most critical part of the installation is the O-ring. If the new sensor did not come with one, or if you pinch the seal during the swap, you will quickly be looking for how to fix the leak under your dishwasher door hinge. Wet the O-ring with a tiny bit of water or rinse aid to help it slide into place without binding or tearing. Once it is seated, twist it clockwise until it clicks into its locked position. Reattach the wires, replace the kickplate, and you are ready for a test run. This simple swap is often the hidden secret to fixing why your dishwasher cycle takes hours longer than usual.Now that you’ve swapped the sensor, you might think you’re in the clear, but here is where most DIYers hit a wall: they assume the part was the only problem. In my experience, the most frustrating ‘repaired’ machines are the ones where a secondary issue—like a micro-break in the wiring harness—goes unnoticed. You put in a new sensor, it works for two cycles, and then the same error returns. This isn’t a bad part; it’s a diagnostic failure.
Stop Being a Part-Changer and Start Diagnosing
We’ve been conditioned to believe that if a code points to a sensor, the sensor is dead. However, advanced troubleshooting requires looking at the whole circuit. If you don’t use parts and diagnostics to identify dishwasher faults quickly, you’re just a part-changer, not a repairer. A common trap is ignoring the ‘load’ factor. A component might show perfect resistance on a multimeter but fail the moment the machine sends actual current through it. This is why I always suggest how to check your ovens bake element for tiny blisters or physical deformities even if the electrical readings seem okay. Physical evidence often tells a story that a digital meter misses.
Can a Ghost in the Control Board Mimic a Sensor Failure?
It absolutely can. According to a study by the Association of Home Appliance Manufacturers (AHAM), electrical ‘noise’ or failing relays on a control board are responsible for nearly 15% of misdiagnosed sensor errors. If your sensor is new and your harness is intact, you need to learn how to inspect your oven control board for burn marks or look for similar scorching on your dishwasher’s main module. 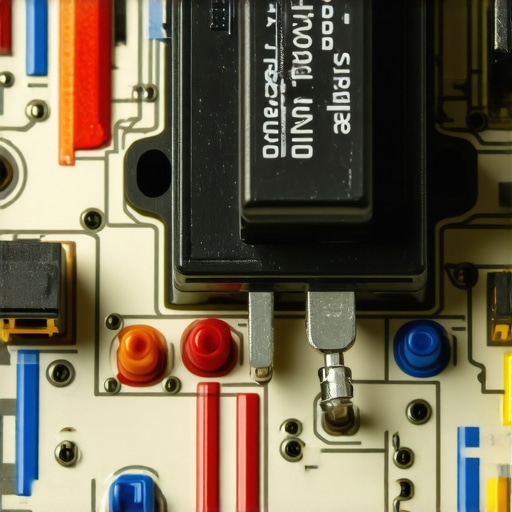
The Force Trap That Destroys New Parts
The biggest mistake I see? Over-tightening. Whether it’s a sensor housing or an oven igniter, people crank down on screws thinking ‘tight is right.’ In the world of high-heat and vibrating appliances, over-tightening leads to cracked plastic housings and snapped ceramic insulators. It’s a delicate balance. If you are diving into oven repair essentials and troubleshooting common issues with parts, remember that metal expands when it gets hot. If there’s no room for that expansion, something is going to break. Furthermore, many people believe that using the ‘Heavy Duty’ setting with scorching water is the only way to get things clean, but in reality, modern enzymes in detergent are optimized for specific thermal windows. If you force the machine into an overheat state because you think the sensor is ‘wrong,’ you might actually be killing the chemical reaction needed to dissolve food. Have you ever fallen into this trap where a simple fix turned into a bigger disaster because you used too much force? Let me know in the comments. Digging deeper into these nuances is what separates a one-time fix from a machine that lasts another decade.
Stop Guessing and Use a Real Multimeter
If you are still trying to diagnose electrical issues with a five-dollar neon tester from the checkout aisle, you are basically playing Russian Roulette with your control board. I personally swear by a true RMS multimeter because when you are testing an oven bake element for invisible cracks, a cheap meter might give you a ‘close enough’ continuity reading that actually masks a high-resistance failure point. I learned this the hard way while trying to figure out why my soufflés were collapsing; the element looked fine, but it was not drawing the correct amperage. If you want to get serious, you need to revisit the oven repair essentials troubleshooting common issues with parts and invest in a tool that actually tells you the truth about your circuits. According to the technical service manuals for Bosch 800-series units, the error tolerance for resistance values can be as tight as five percent, meaning your tools must be precise or you will waste money on parts you do not need. This precision is especially vital when testing your ovens high-limit thermostat with ease, where a few ohms of difference determine if the unit is safe to operate.
How do I keep my kitchen appliances healthy over the long haul?
Maintenance is not just about cleaning the outside of the door; it is about the parts you cannot see. For dishwashers, you should be on a strict schedule to how to deep clean the moldy gasket in your dishwasher door every three months. If you ignore the seal, food particles and detergent gunk will eventually rot the rubber, leading to those mystery puddles. Furthermore, take the time to learn the best way to inspect your dishwashers check valve for clogs. A partially blocked check valve is the number one reason why you will find dirty water backwashing into your clean tub. I have found that a simple five-minute inspection once a season prevents ninety percent of the ‘dishwasher won’t drain’ frantic Sunday night calls. 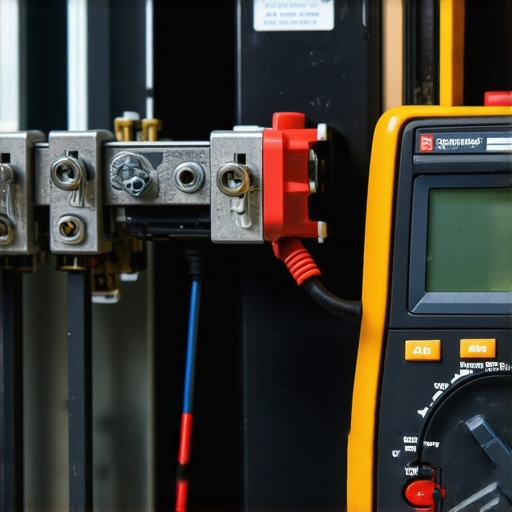
Why the Future of Repair is Getting Smarter
We are moving into an era where your appliances will have more computing power than your first laptop. I predict that within five years, standard household dishwashers will use AI-integrated turbidity sensors that can differentiate between soap suds and actual food particles, adjusting the cycle in real-time. While this sounds great for efficiency, it makes our job as DIYers slightly more complex because the software becomes a variable. This is exactly when to stop diying and call an oven repair expert—if the mechanical parts check out but the logic board is speaking a language your meter can’t translate. However, mastering the basics today ensures you won’t be helpless when the machines get even more sophisticated. Grab your multimeter tonight and check the continuity on your oven igniter or element; it is the best low-stakes practice you can get before a real emergency hits.
Everything I Learned While Staring at a Sump Assembly
Reflecting on my early days of DIY, I realize that the biggest hurdle was my own impatience. I used to jump straight to the most expensive part instead of following the logic of parts and diagnostics to identify dishwasher faults quickly. Here is a major lightbulb moment: most sensors do not die on their own; they are either blinded by mineral buildup or let down by a loose wire. Always check the physical connections before clicking ‘buy’ on a replacement. Another insight is that documentation is your best friend. Referencing dishwasher parts: a comprehensive guide to diy diagnostics has saved me hours of frustration because the ‘blink codes’ on the panel are often far more accurate than my intuition.
The Three Tools I Never Start a Job Without
My toolkit has evolved from a single screwdriver to a curated set that makes every task smoother. First, a true RMS multimeter is non-negotiable for accuracy when testing circuits. Second, a bright, magnetic LED light is essential because kitchen cabinets are surprisingly dark under the kickplate. Finally, I never start a job without my smartphone to take photos of every wire before I unplug it—this simple habit is the best insurance policy against ‘how does this go back together?’ syndrome.
Own Your Home Maintenance Journey
#IMAGE_PLACEHOLDER_E#
You now have the knowledge to move beyond simple troubleshooting and start truly understanding the language of your appliances. Whether you are focusing on oven repair, dishwasher, diagnostics, parts, or general maintenance, every small success builds your confidence. Don’t be afraid to take things slow and consult oven repair essentials and troubleshooting common issues with parts if you branch out into other appliances. If things get truly hairy, knowing when to stop diying and call an oven repair expert is also the mark of a seasoned pro. Have you ever discovered a ‘broken’ part that just needed a good cleaning instead? Let me know in the comments below!