I remember the Tuesday evening clearly. I had just finished a big family dinner—lasagna, the works. I loaded the dishwasher, hit start, and went to bed feeling like a productivity champion. The next morning, I opened the door expecting a comforting cloud of steam. Instead? Cold, slimy plates and a half-melted detergent pod staring back at me like a sad, blue eye. It felt like a personal betrayal. I spent the next three weeks blaming the soap, buying every brand on the shelf before I realized that no amount of fancy detergent can compensate for ice-cold water. If your dishwasher pod is falling out but not dissolving, you are likely dealing with the same frustration I had. Today, I am going to help you stop the madness and get that water hot again without needing a master’s degree in engineering.
The Cold Truth About Your Kitchen’s Hardest Worker
Look, we take these machines for granted until they stop doing the one thing they are built for. A dishwasher that doesn’t heat isn’t just an inconvenience; it is a sanitation hazard. According to the World Health Organization, water needs to reach at least 140°F (60°C) to effectively kill many common food-borne bacteria and break down heavy fats. When the heat goes out, you are basically just swirling lukewarm grease around your favorite mugs. Early in my DIY journey, I made the classic rookie mistake of replacing the entire control board for two hundred dollars, only to find out later it was just a loose wire on the thermostat. I don’t want you to waste money like I did. By using a few parts and diagnostics tricks, we can pinpoint the real issue. Have you ever noticed your dishes coming out wet and cold, or have you just been ignoring the lack of steam?
Is a DIY repair actually worth the headache?
Most people assume that once the heat dies, the machine is destined for the scrap yard. That is rarely the case. Usually, the culprit is one of three things: a burnt-out element, a tripped high-limit thermostat, or a sensor that has simply seen better days. You can often test a dishwasher heating element for a short with a tool that costs less than a pizza. It’s about having the right plan before you start pulling the machine out from under the counter. We are going to walk through how to identify these gremlins so you can get back to relaxing while the machine does the dirty work.
Get Your Hands Dirty with These Diagnostic Steps
Before you start ordering random parts, we need to find the specific failure point. Think of your dishwasher like a giant electric kettle; if the coil doesn’t get hot, the tea is cold. The same logic applies to your dishes. Start by unplugging the unit or flipping the breaker. Safety first, because water and electricity are a nasty combination. Once you have clear access, grab a flashlight and peek inside the tub. You are looking for the circular metal ring at the bottom.
Visual Inspection for a Fried Heating Element
Check for blisters, cracks, or any discoloration on that heating element. I once spent three hours trying to figure out why my machine was cold, only to realize a stray plastic lid had melted onto the element, creating a nasty insulation layer that smelled like a burning tire factory. If the element looks like a piece of charcoal, it is toasted. If it looks fine, you need to dig deeper into dishwasher parts and diagnostics. Testing for continuity with a multimeter is the gold standard here. If you touch the probes to the terminals and get no reading, the circuit is broken inside the element, and it is time for a swap. 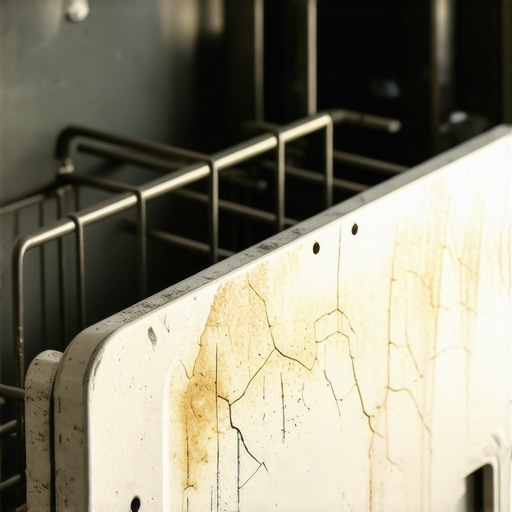
The Hidden Reset Button You Need to Find
If the element tests fine, the culprit is often the high-limit thermostat. This little guy is a safety switch designed to cut power if things get too hot. Sometimes it trips by mistake or just wears out. You will usually find it underneath the dishwasher, tucked near the base. It is like a circuit breaker for the heat. You can use the same multimeter technique for testing your dishwashers high-limit thermostat for continuity. If it is open (no continuity) when the machine is cold, it is faulty and needs to go. I remember one job where the homeowner was ready to buy a whole new kitchen suite because of a five-dollar thermostat that just needed a reset click.
When Sensors Feed the Brain Wrong Information
Sometimes the heater is perfectly healthy, but the ‘brain’ of the machine—the control board—thinks the water is already hot enough. This is where the turbidity sensor or the temperature sensor comes into play. If these are covered in a layer of grease or calcium, they cannot read the water temperature correctly. It is similar to how testing an oven temperature sensor works; you are checking for a specific resistance. If the sensor is reporting 150°F when the water is actually 40°F, the heating element will never turn on. Consider replacing a faulty dishwasher turbidity sensor if you notice your cycles are ending way too early or the water stays tepid despite a good heating element.
Wiring Gremlins and Burned Terminals
Lastly, do not overlook the wires themselves. Dishwashers vibrate, and over years of service, a spade connector can wiggle loose. If the wire is not making solid contact with the element terminal, you will not get heat. This is actually a common overlap with oven repair essentials where high-current parts often burn through their own connections. Look for blackened plastic or melted wire insulation. If you find a crispy wire, do not just shove it back on. You will need to strip the wire back and crimp on a new, high-heat terminal to ensure a safe connection that will not start a fire under your sink.Let’s dig deeper into the psychology of appliance repair, because the most expensive mistakes aren’t made with a wrench; they are made with a credit card. Everyone tells you that if the heat is gone, the ‘brain’ of the machine has died. But in my experience, the control board is actually the most resilient part of the system. I have seen countless DIYers spend a fortune on a new board when the real issue was a sticky relay. You need to know is your oven control board failing or if you are just seeing the symptoms of a much cheaper failure elsewhere.
Don’t Rush to Replace the Control Board
It is a common myth that a silent heater equals a dead computer. Before you pull the trigger on a motherboard, listen to the machine. Are you hearing a faint ‘click’ when the heat should kick in? If so, the board is trying to work, but the power isn’t passing through the relay to the element. By understanding how to tell if your ovens relay board is clicking for the wrong reasons, you can save yourself a headache and significant cash.
Why does my multimeter lie to me during a test?
This is the ‘Oops’ factor that catches even the smart ones. You test for continuity, the meter beeps, and you assume the part is good. However, according to the Association of Home Appliance Manufacturers (AHAM), high-current components like heating elements can develop internal hairline fractures that close when cold but expand and break the circuit as soon as they get warm. This is why oven diagnostics pinpointing faults before calling a repair expert requires testing parts under load or checking for resistance shifts, not just a simple beep. 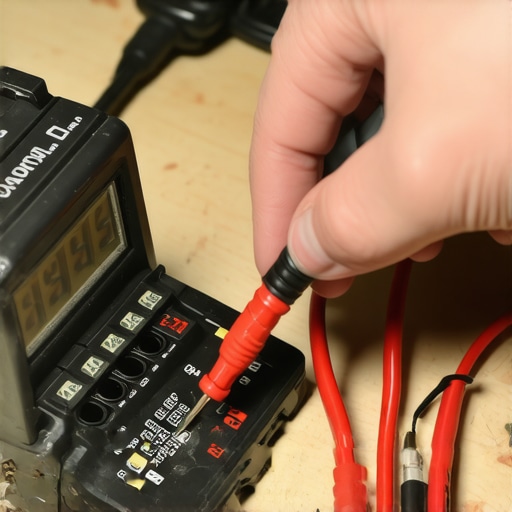
The Glowing Igniter That Tricked Everyone
If you are working on a gas range, here is the contrarian truth: a glowing igniter does not mean the igniter is working. I’ve seen this trip up so many homeowners. The igniter must reach a specific amperage to trigger the gas valve to open. If it is old and ‘weak,’ it will glow bright orange but never get hot enough to pull that valve open. This is the classic reason why your gas oven igniter glows but doesnt light. It is a subtle nuance that turns a quick fix into a week-long frustration.
The Thermal Fuse Trap That Ends Your DIY Journey
Finally, never overlook the thermal fuse. It is a one-and-done safety device. If your dishwasher or oven overheated just once—perhaps during a self-clean cycle or a power surge—this fuse will blow to prevent a fire. Once it’s gone, the machine might still turn on and lights might flash, but the heating circuit is physically disconnected. Mastering the most reliable way to test an oven thermal fuse is the difference between a successful Saturday and an expensive emergency call. Have you ever fallen into this trap of replacing a part that wasn’t actually broken? Let me know in the comments.I’ve spent years collecting a drawer full of specialized wrenches and sockets, but if I’m being honest, most of them just take up space. When you are moving from emergency fixes to long-term maintenance, you only need a few high-quality items. Stop guessing and buy a real multimeter. I personally swear by the Klein Tools MM400 because it is rugged enough to survive being dropped on a tile floor while you are wrestling with a kickplate. Cheap, five-dollar meters are fine for checking a battery, but they lack the accuracy needed for dishwasher parts and diagnostics. If your resistance reading is off by even a few ohms, you might end up replacing a perfectly good part. Having a reliable tool means you can trust your data when you are digging into parts and diagnostics to find a phantom electrical leak.
Keep the grease at bay for good
The secret to a machine that lasts twenty years isn’t luck; it is avoiding the build-up that chokes the motor. I learned this the hard way when I had to pull a literal mountain of solidified fat out of a drain pump. You absolutely must learn how to clean your dishwashers hidden sump filter at least once a month. When that filter gets clogged, the pump has to work twice as hard, it runs hotter, and eventually, the seals fail. According to the National Appliance Service Association (NASA), roughly 80% of mechanical failures in kitchen appliances are the direct result of secondary debris causing stress on moving parts. While you are down there, take a second for the right way to inspect your dishwasher float switch. A tiny bit of grit under that plastic mushroom can prevent your machine from filling, making you think the inlet valve has died when it just needs a quick wipe.
How do I maintain my dishwasher and oven for the long haul?
Consistency beats intensity every time. For your oven, stop using the high-heat self-clean cycle. I know it is a built-in feature, but the extreme temperatures often fry the delicate electronics on the control board. Instead, focus on oven repair essentials like keeping the door gasket supple and clean. A leaky gasket makes the heating element run constantly to maintain temperature, shortening its lifespan significantly. I predict that in the next five years, we will see more AI-integrated diagnostic apps that can ‘listen’ to your dishwasher motor via your smartphone to predict a bearing failure before it happens. Until then, we rely on our eyes and our multimeters. 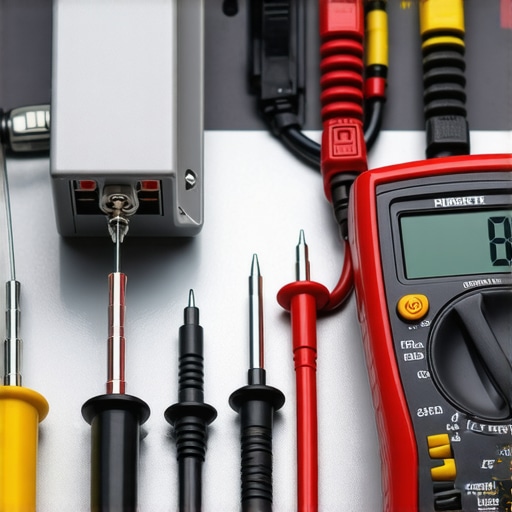 If you want to elevate your DIY game, go beyond simple parts swapping. Spend some time on oven diagnostics pinpointing faults before calling a repair expert by documenting the exact symptoms and error codes. My challenge to you: tonight, pull your bottom rack out and find that sump filter. If it is slimy, clean it. It is the single most effective thing you can do to prevent a three-hundred-dollar repair bill next month.
The Hardest Lesson I Learned While Kneeling Under a Sink
After a decade of tinkering, the biggest lightbulb moment for me wasn’t about a specific wire or bolt; it was realizing that appliances are actually quite logical once you ignore the noise. One major myth is that a machine is ‘totaled’ if it makes a weird noise. In reality, a strange sound is just a roadmap. If you hear a grinding noise, check the pump. If you see flashes, is your oven sparking? Most of these issues are solvable for under fifty dollars. Another hard-earned truth: never trust a visual inspection alone. I’ve seen fuses that looked pristine but were completely dead inside. Always let the multimeter be the final judge. Lastly, remember that dirt is the enemy. If you find that your dishwasher leaves a greasy film on everything, it is rarely the machine failing and usually just a cry for a deep clean of the internal spray arms.
The Toolkit That Actually Pays for Itself
I don’t believe in buying a massive chest of tools you will never use. For effective dishwasher parts and diagnostics, you need a precision set of Nut Drivers—specifically 1/4″ and 5/16″—because almost every appliance in America is held together by them. I also highly recommend keeping a small brass wire brush handy. If you are trying to restore an older unit, the best way to remove stubborn rust from an oven rack or a dishwasher tine is to tackle it early before it spreads to the tub. Beyond physical tools, I trust official OEM part databases more than any generic forum. When you are looking for specific parts and diagnostics, having the exact model number from the door sticker is your only guarantee that the part will actually fit.
Stop Being a Hostage to Your Appliances
It is incredibly empowering to realize you don’t have to wait three days for a technician to show up and charge you three hundred dollars for a fifteen-minute fix. You have the ability to master dishwasher parts and diagnostics on your own terms. Start small, be patient with yourself, and remember that every ‘broken’ machine is just a puzzle waiting for the right solution. You’ve got this. Have you ever spent hours troubleshooting a massive problem only to find a tiny five-dollar part was the culprit? Let me know your biggest ‘Aha!’ moment in the comments below.