There I was, standing in a puddle at 10 PM because my dishwasher decided to quit mid-scrub. The door didn’t just leak; it physically surrendered, popping open with a pathetic click that signaled the end of my evening’s peace. I’ll be honest: my first instinct was to use my knee to shove it back into place with enough force to win a wrestling match. I heard a sickening snap of plastic. That was the moment I realized that ignoring a fidgety handle had finally caught up with me. We’ve all been there, right? You have to jiggle the handle just right or lean a kitchen chair against the door just to keep the cycle going. But let me tell you, that’s a dangerous game that usually ends with a wet floor and a bruised ego. Today, I’m going to show you exactly how to stop the madness and fix that latch once and for all.
Stop Slamming the Door and Start Fixing the Latch
When your dishwasher refuses to stay shut, it isn’t just an annoyance—it’s a safety hazard. Most modern units have a sensor in the latch that tells the brain of the machine it’s safe to spray scalding water everywhere. If that latch is worn or the internal switch has failed, the machine might think it’s open even when it’s closed. This leads to frustrating scenarios where your dishwasher keeps running after the cycle ends or, more commonly, just sits there like a giant, silent brick. I spent years thinking I needed a whole new machine every time a button felt mushy, but the reality is usually a simple piece of plastic and copper. By mastering some basic dishwasher diagnostics, you can save yourself a $300 service call and a lot of headaches. Have you ever found yourself propping a heavy pot against your dishwasher door just to get through a load of dishes? [IMAGE_PLACEHOLDER] It’s okay to admit it; we’re in a judgment-free zone here, but your appliances deserve better.
Is a latch replacement actually worth the DIY effort?
I get the skepticism. You’re worried about wires, water, and accidentally flooding the kitchen while you’re elbow-deep in the door panel. But here’s the truth: swapping out a door latch is one of the easiest repairs you can do, even if you aren’t particularly handy. My biggest mistake early on was not realizing that the latch assembly is actually separate from the outer handle mechanism in many models. I once tore apart the entire front panel of an old unit only to realize the part I actually needed to replace was sitting right at the very top, accessible with just two screws. According to the repair experts at Consumer Reports, nearly 25% of dishwasher breakdowns are actually simple part failures that homeowners can fix themselves in under an hour. Whether you are identifying dishwasher faults quickly or just trying to get your kitchen back in order, this is the place to start. If your dishwasher door feels too light or heavy lately, that’s your first red flag that the internal components are giving up the ghost. Let’s get that screwdriver ready.
Safety first or you will get a nasty surprise
Before you even think about unscrewing the door, you must cut the power. I am not just talking about turning the knob to off; go to your circuit breaker and flip the switch. Water and electricity are famously bad roommates, and a dishwasher is where they have their most frequent disagreements. I learned this the hard way once when I thought I could just be careful while poking around. I touched a live terminal and felt a zap that made my teeth rattle. Don’t be like younger, dumber me. Once the power is dead, open the door fully and remove those screws lining the inner perimeter. You do not usually need to take them all out—just the ones around the top and sides that hold the control panel in place.
Get inside the door without breaking the clips
Most modern dishwashers use Torx-head screws, those little star-shaped ones. If you try to force them with a Phillips head, you will strip them faster than you can say oops, and then you are in real trouble. As you loosen the final screws, keep one hand on the outer panel. It is heavier than it looks, and if it falls, you will be fixing a dishwasher door that feels too light or heavy because you have snapped a hinge cable. Carefully tilt the panel toward you. This is where you will see the guts of the machine. The latch is typically a small plastic block sitting right in the center top. 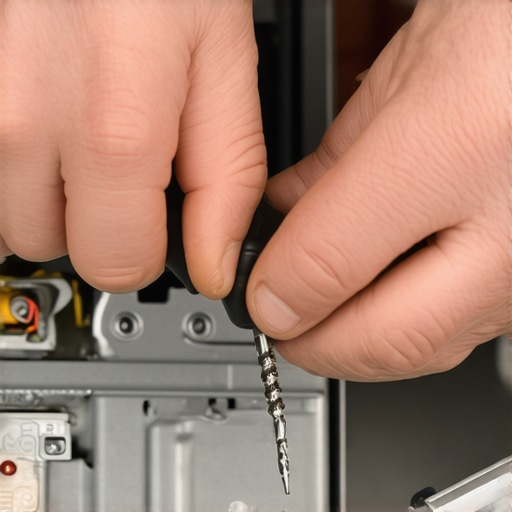 It is held in by two small screws or a couple of plastic tabs that you need to depress gently with a flat-head screwdriver. By taking your time and identifying dishwasher faults quickly, you avoid the trap of throwing expensive parts at a problem until it disappears.
Swap the wires one by one
This is the part that trips people up. You will see two or three wires plugged into the latch assembly. They look identical, but they are not. If you mix them up, your machine might think the door is open when it is closed, or worse, it won’t start at all. When I was working on my neighbor’s machine last summer, I got cocky and pulled all the wires at once. I spent the next hour cross-referencing dishwasher parts: a comprehensive guide to DIY diagnostics just to find a wiring map. My advice? Take a clear photo with your phone before you unplug a single thing. Better yet, unplug one wire from the old latch and plug it directly into the corresponding terminal on the new one. This one-for-one swap is foolproof.
Double check the alignment before you seal it up
Before you screw the door back together, manually click the new latch into the strike plate on the tub frame. It should click firmly and stay put. If it feels mushy, the strike plate might be bent. While you are in there, it is a great time for testing the dishwasher float switch for continuity if you have had filling issues, or even testing your dishwashers high limit thermostat for continuity if your dishes are not coming out hot. Once you are sure the latch is seated, tuck the wires back into their channels. If a wire gets pinched between the inner and outer panels, it could short out the control board, turning a twenty dollar repair into a two hundred dollar nightmare. Line up the panels, hand-tighten the screws first to ensure they are not cross-threaded, and then snug them down. Finally, flip the breaker back on and listen for that satisfying beep of success.
Let’s dig deeper into what actually happens inside that control panel. Most people think they are being thorough when they grab a multimeter and check for continuity, but that is actually a common trap that leads to the ‘parts cannon’—a term we use for throwing expensive components at a machine hoping one of them sticks. I have seen countless DIYers spend a fortune because they got a ‘beep’ on their tester and assumed a part was fine. But here is the professional nuance: a part can have continuity and still be completely dead under load. This is especially true when you are testing an oven bake element for invisible cracks. These tiny fractures only open up once the metal expands from heat, meaning your room-temperature test won’t show you the real failure. Have you ever fallen into this trap? Let me know in the comments.
Multimeters aren’t as smart as you think
Everyone says a continuity test is the gold standard for appliance repair, but in my experience, measuring resistance (Ohms) is the only way to be sure. A heating element might show continuity but have such high resistance that it never actually gets hot enough to dry your dishes or bake a cake. This is where oven diagnostics: pinpointing faults before calling a repair expert becomes an art form rather than just a checklist. According to the Association of Home Appliance Manufacturers (AHAM), diagnostic errors—where a functional part is replaced unnecessarily—account for nearly 30% of all service part returns. If you want to avoid being a statistic, you have to look for those subtle signs of heat stress and burnt terminals that a simple multimeter beep won’t catch.
Can a bad sensor actually mimic a dead control board?
This is the question that separates the beginners from the experts. I once spent three hours convinced a dishwasher needed a new $200 control board because it wouldn’t respond to any button presses. It turned out to be a faulty turbidity sensor that was shorting out the 5V DC reference line, effectively ‘killing’ the brain of the machine. By identifying dishwasher faults quickly and unplugging sensors one by one, you can see if the control board suddenly ‘wakes up.’ 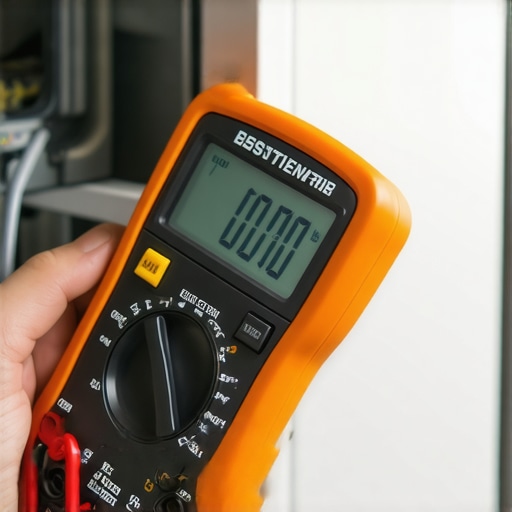 This kind of detective work is what saves you from the most expensive mistakes in the book.
The danger of assuming a ‘beep’ means a good part
Another ‘oops’ factor involves the relay board. You might hear a satisfying click and think the switch is engaging, but those internal contacts can become pitted or carbon-coated over time. They make physical contact, but the electricity can’t jump the gap efficiently. I always tell my readers to check how to tell if your ovens relay board is clicking for the wrong reasons before ordering a replacement. Often, the issue is a loose connection at the wire harness rather than the board itself. If you aren’t careful, you will end up troubleshooting common issues with parts that were never broken to begin with. Always check the harness for scorched plastic or ‘ghost’ voltage before you commit to a major purchase.
Stop the cycle of buying parts you don’t need
The biggest mistake I see when people transition from dishwashers to oven repair essentials is ignoring the thermal fuse. In many modern ovens, a simple cooling fan failure can trip a non-resettable thermal fuse. If you just replace the fuse without checking the fan, you’ll be right back in the same spot twenty minutes into your next bake. It is about understanding the ecosystem of the appliance, not just the individual parts. Whether you are dealing with a latch that won’t grab or a heating element that stays cold, always ask yourself what *else* could be causing that symptom. That is how you go from being a guy with a screwdriver to a true home repair expert.
If you’re going to get serious about this, you need more than a rusty Phillips head and a prayer. I personally swear by my Klein Tools MM400 multimeter. Why? Because it’s rugged enough to survive being dropped on a tile floor and has a backlighting feature that is a lifesaver when you’re squinting into the dark cavern of an oven cavity. But the real secret weapon in my kit is a simple telescopic magnetic pick-up tool. I can’t tell you how many times I’ve dropped a tiny screw into the insulation of an oven door and thought my life was over. That $5 magnet is the difference between a ten-minute job and an afternoon of swearing. When you are waist-deep in dishwasher parts: a comprehensive guide to DIY diagnostics, having the right physical reach matters just as much as the technical know-how. 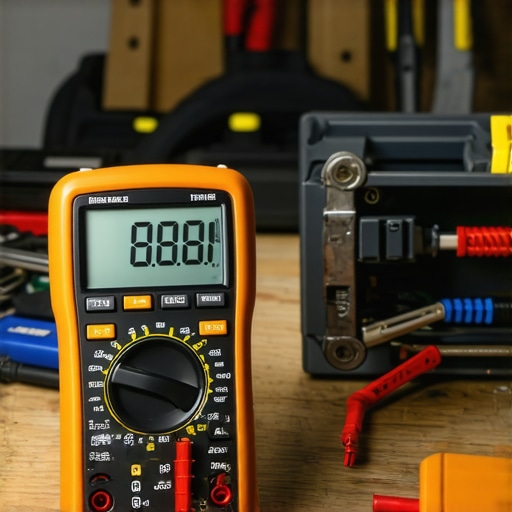
How do I maintain these heavy hitters over time?
Maintenance isn’t just about cleaning; it’s about prevention. For your dishwasher, the biggest enemy is scale. I’ve found that clearing hard water deposits from dishwasher interior walls once a quarter prevents the pump from working overtime. If you live in a hard water area like I do, those minerals will eventually seize your spray arms. For the oven, it’s all about the seal. I use the ‘dollar bill trick’ every six months—if you can slide a bill through the closed door, you’re losing heat and killing your efficiency. Always keep an eye on your heating elements too. If you see ‘hot spots’ or areas where the metal looks blistered, you should be testing the resistance on your ovens broil element immediately. According to technical bulletins from Appliance Service News, early detection of resistance fluctuations can prevent 90% of control board blowouts caused by element shorts.
Smart diagnostics and the end of the screwdriver era
I’m seeing a massive shift toward ‘Smart Diagnostics’ where the machine basically tells you what’s wrong via an app. While that sounds great, it actually makes your job harder because those sensors can fail too. The future of repair isn’t going to be about mechanical skill alone; it’s going to be about interpreting data. We’re moving toward a world where you’ll need to be half-programmer, half-mechanic. If you’re still just troubleshooting common issues with parts by guessing, you’re going to be left behind by these high-tech systems. My advice? Start getting comfortable with reading error codes now before the machines stop giving us clues altogether. Try this today: perform a citric acid flush as the trick to removing hard water spots from dishwasher walls to protect your internal sump components before they have a chance to fail.
The Brutal Truths About Appliance Repair I Learned the Hard Way
Over the years, I’ve realized that the biggest obstacle to a successful repair isn’t the machine—it’s the assumptions we make. First off, never trust a visual inspection alone. I’ve seen wires that looked pristine but were internally fractured right where they flex near the door hinge. Second, always keep a small magnetic tray for screws; by the time you’re identifying dishwasher faults quickly, you will have ten ‘extra’ pieces on the floor if you aren’t organized. Third, understand that heat is your best diagnostic tool. If a terminal is slightly discolored, it is already failing under load, even if it looks okay. Lastly, don’t ignore the power of a simple hard reset. Sometimes the control board just needs a ten-minute power-down to clear a glitchy memory state. [IMAGE_PLACEHOLDER_FINAL]
The Tools That Saved My Sanity More Than Once
If you’re tired of guessing, you need a reliable multimeter. Accuracy is non-negotiable when you are pinpointing faults before calling a repair expert. I personally trust my Klein auto-ranging meter because it handles the vibration of a tool bag without losing calibration. I also highly recommend bookmarking official manufacturer parts diagrams. Sites like RepairClinic or Sears PartsDirect are goldmines for seeing how things fit together before you pull them apart. Finally, a set of long-reach magnetic nut drivers is the difference between a five-minute job and an hour spent fishing for dropped screws in the insulation.
Don’t Let Your Dishwasher Win the Standoff
Starting your first repair is always the most intimidating step. However, once you realize these machines are just a collection of simple components working in harmony, the fear disappears. You have the skills and the knowledge to keep your home running smoothly without the $150-an-hour labor fees. Dive into your next project with confidence, knowing that oven repair essentials and dishwasher parts: a comprehensive guide to DIY diagnostics are now part of your personal skill set. You’ve got this!
Have you ever spent hours on a repair only to find out it was a simple loose wire? Let me know your most frustrating (or rewarding) DIY moment in the comments below!