I was standing in my kitchen last Tuesday night, right in the middle of the ‘great post-dinner cleanup,’ when I felt it. That cold, squishy sensation of water seeping into my favorite wool socks. I looked down, and there it was: a steady, mocking trickle escaping from the corner of my dishwasher. I tried to give the door the old ‘hip-bump’ to force it shut, but it just bounced back with a hollow metallic thud. It’s infuriating, isn’t it? You expect this machine to do one job—keep the water inside—and suddenly it’s acting like a rebellious teenager. If you’re currently staring at a door that refuses to latch or leaves a gap big enough to see through, don’t panic. We are going to get that seal tighter than a drum today.
The Real Danger of Ignoring a Loose Latch
I made the classic rookie mistake of thinking I could just ignore it if I ran smaller loads. Big mistake. I eventually learned that identifying dishwasher faults quickly is the only way to save your hardwood floors from permanent warping. A door that doesn’t close tight isn’t just a cosmetic annoyance; it’s a sign that your latch, hinges, or gasket are waving a white flag. According to consumer safety data from groups like Consumer Reports, even minor leaks can lead to hidden mold and subfloor rot that costs thousands to repair, so fixing this now is a massive win for your wallet. I remember one time I actually tried to ‘fix’ a stubborn door by tightening the screws so hard I stripped the threads. Talk about a facepalm moment. I had to learn the hard way that brute force is never the answer in appliance repair. You need a bit of finesse and the right diagnostic approach. Whether you are dealing with overflowing water or just a door that won’t click into place, the solution is usually a simple part swap away.
Is it actually worth the DIY effort?
You might be wondering if you should just call the pros and shell out $200 for a service visit. Honestly? Most of the time, the culprit is a worn-out latch assembly or a misaligned rack. These are fixes you can do in twenty minutes with a screwdriver and a cup of coffee. Have you ever felt that sinking feeling when the dishwasher cycle won’t start because the sensor thinks the door is open? Tell me I’m not alone in that frustration! Today, we’re diving into exactly how to inspect your hinges and gaskets to get that satisfying ‘click’ back. Before we pull the tools out, it is worth checking if your dishwasher is level. I once spent an hour diagnosing a ‘broken’ latch only to realize the whole machine had tilted forward because a leveling leg had vibrated loose. It’s the little things that trip us up. If you’ve seen failing hinges on other appliances, you know the signs: sagging, squeaking, or a door that feels heavy. Let’s get into the nitty-gritty of why your door is staying stubborn.
The Rubber Seal is Your First Suspect
Start with the most obvious but overlooked component: the tub gasket. This is the thick, black or grey rubber ribbing that lines the three sides of the dishwasher tub. Over time, these gaskets get brittle, coated in hard water deposits, or simply pop out of their tracks. I remember once spending forty minutes trying to force my door shut, only to realize a tiny piece of a broken plate had wedged itself behind the rubber in the bottom corner. If you see white residue on the seal, you need the quickest way to remove hard water build-up in your dishwasher to restore its flexibility. If the rubber is torn, it will create a high spot that prevents the door from meeting the latch correctly.
Test Your Seal with the Dollar Bill Trick
Close the door on a dollar bill. If you can pull the bill out with zero resistance, your seal is shot and you are likely experiencing leaks under your dishwasher door hinge. This gap prevents the latch from ‘sensing’ the door is closed, often stalling the start of your cycle.
Replace a Latch That Refuses to Grab
If the seal looks pristine but the door still bounces back, the mechanical assembly is likely the culprit. This is a core part of dishwasher parts diagnostics. You can usually access this by unscrewing the inner door panel. Be careful not to drop the screws into the bottom of the machine—trust me, fishing a screw out of the sump is a nightmare. Once you have the panel off, swapping out a worn dishwasher door latch assembly is a straightforward unplug-and-replace job. Before you pull the wires, snap a photo with your phone. I once swapped a latch and mixed up the two brown wires, which led to a very confusing ten minutes of the machine refusing to acknowledge the door was closed. 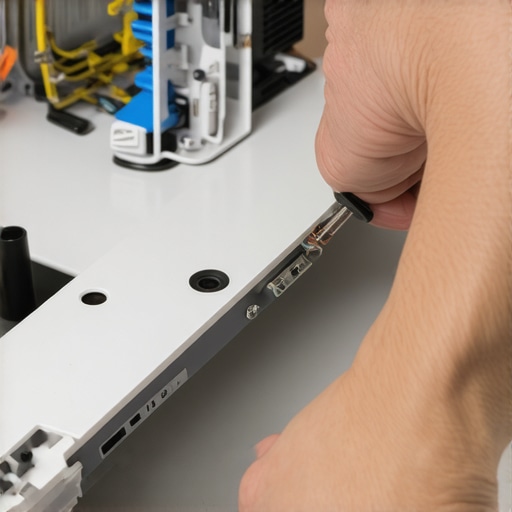
Check the Strike Plate for Alignment
Look at the top of the dishwasher frame where the latch hooks in. That metal piece is the strike plate. If your dishwasher has shifted over time, the latch might be hitting the metal instead of sliding into the hole. I once had a client who was convinced her dishwasher was haunted because the door would pop open mid-cycle. We went through the whole routine of identifying dishwasher faults quickly, and it turned out to be a slightly bent silverware basket. Every time the water pressure hit the door, it pushed the basket into the latch, popping it open. Always check your dishwasher silverware basket for placement before assuming the mechanism is broken.
Stop the Door from Dropping Too Fast
If the door feels ‘heavy’ or falls open too quickly, you are looking at a hinge or spring issue. This is very similar to how you would spot a failing oven hinge. Most modern dishwashers use a pulley and cable system. If one of those cables snaps, the door loses its balance and won’t align correctly with the latch. You will need to pull the dishwasher out about six inches to see the side-mounted springs. If a cable has snapped, you can find replacement springs and cables that install in minutes. Ensuring the door has proper tension is the only way to get that tight, factory-fresh seal again.
Stop Blaming the Gasket for Every Puddle
Most people assume that a wet floor equals a bad rubber seal. I’ve seen DIYers replace perfectly good gaskets three times, only to find the leak persists. Here is the contrarian truth: your gasket is often the victim, not the culprit. In many cases, a cracked or warped spray arm is the real villain. When an arm fails, it can shoot a concentrated stream of water directly at the door’s ‘weep holes’ or the bottom corners where the seal is weakest. This creates a leak that no amount of rubber can stop. Before you buy new parts, take five minutes for identifying dishwasher faults quickly by inspecting the spray arms for hairline fractures. If you suspect the water pressure is the issue, check if your dishwasher spray arm is melting or blocked. 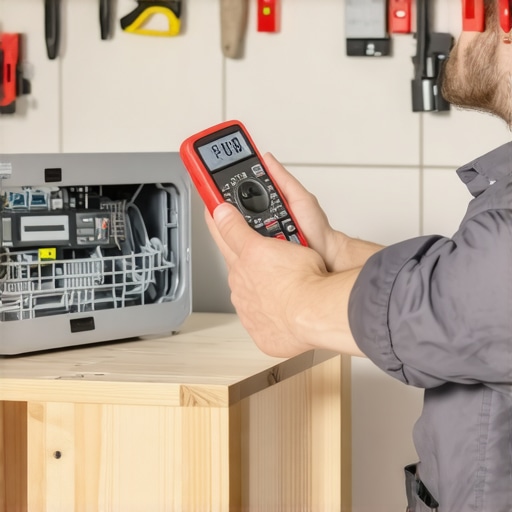
Why is the Control Board Mocking Your Latch?
Sometimes the door physically closes, but the machine refuses to believe it. You might think the latch is broken, but the problem could be ‘ghost signals’ from a degrading circuit. This is a nuance often missed by beginners but well-known in the world of appliance repair. If your control board has a stuck relay, it won’t recognize the continuity from the door switch. It’s a frustrating loop. Much like when your oven control board is failing, a dishwasher board can ‘forget’ how to read its sensors. Always test the latch with a multimeter for continuity before assuming the plastic housing is the problem. Engineering studies from the Association of Home Appliance Manufacturers (AHAM) indicate that systemic electronic failures are frequently misdiagnosed as mechanical door issues.
The Invisible Pressure Problem
Another hidden factor is the water level. If you aren’t testing your dishwasher water level switch, you might be missing the fact that the tub is overfilling by just a half-inch. That extra weight creates hydrostatic pressure against the bottom of the door, forcing water past a healthy seal. It’s the same logic used when you fix an oven door that wont stay latched; you have to look at the tension and the alignment, not just the hook.
Watch Out for the Reassembly Trap
Here is the ‘oops’ moment I want you to avoid: the panel gap. When you take the door apart to replace a latch, the inner and outer metal skins must be perfectly sandwiched back together. If you leave even a 2mm gap at the top, the latch won’t sit deep enough to engage the strike plate. I’ve seen people strip screws trying to force a latch to ‘reach’ when the real issue was just a poorly seated panel. Take your time and ensure the edges are flush before tightening anything. Have you ever fallen into this trap where a simple reassembly turned into a three-hour ordeal? Let me know in the comments.
The One Tool That Saves My Sanity
I’ve said it before and I’ll say it again: if you don’t own a digital multimeter, you are just guessing. When I first started diving into oven repair essentials and dishwasher diagnostics, I wasted so much money replacing parts that weren’t actually broken. Now, I use my Klein Tools multimeter for everything. Specifically, I use the continuity setting to test the door switch. If the latch clicks but the circuit doesn’t close, the internal microswitch is dead. It’s the same logic I use for testing your dishwasher water level switch in 5 minutes. Having a definitive ‘beep’ tell you a part is good or bad is a game-changer for your confidence. I highly recommend picking up a basic model; you don’t need a $300 fluke, just something that can read ohms and continuity reliably.
Stop the Grime Before the Gasket Cracks
Maintenance isn’t just a chore; it’s an insurance policy. I make it a habit to wipe down my dishwasher gasket with a damp microfiber cloth once a month. You would be shocked at the amount of ‘gunk’—a technical term for old detergent and food bits—that hides in the folds. If you let that sit, it hardens and creates tiny gaps. This is usually when people start fixing the leak under your dishwasher door hinge and realize the rubber has permanently deformed. If you already have buildup, use the quickest way to remove hard water build-up in your dishwasher to soften those minerals before they slice into the seal. 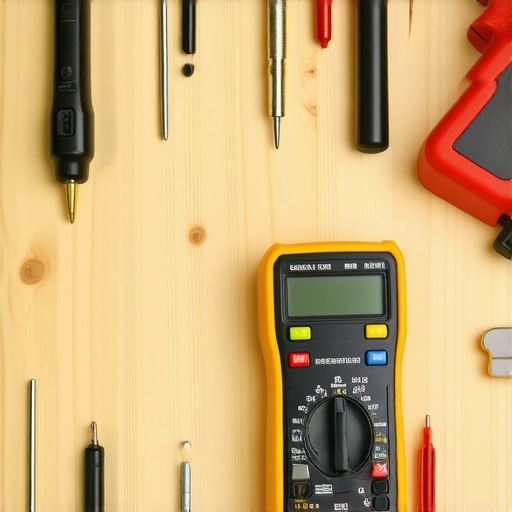
How do I keep my dishwasher door sealing perfectly for years?
To keep that seal tight, you need to think about balance and chemistry. First, never lean on the door when it’s open. It sounds obvious, but even a small amount of weight can slightly bend the hinges, leading you back to identifying failing hinges earlier than necessary. Second, ensure your racks aren’t overloaded. A heavy bottom rack can push against the inner door panel, slowly misaligning the latch. I also suggest periodically identifying dishwasher faults quickly by running a cleaning cycle with a dedicated descaler. This keeps the internal sensors, like the one in replacing a faulty dishwasher turbidity sensor at home, from getting clouded by film. According to the official Bosch Service Manual for SHX series dishwashers, even a 1mm deviation in the leveling legs can increase the torque on the latch assembly by 15%, leading to premature mechanical failure.
Where Appliance Tech is Heading
Looking forward, I expect we will see ‘active’ sealing technology. We are already seeing high-end models that use vacuum-assisted door pulls to ensure a perfect seal every time. Soon, your dishwasher will likely alert your phone if it detects a micro-drop in pressure, allowing you to swap a latch assembly before a single drop hits your floor. It’s an exciting time to be a DIYer because the sensors are getting smarter, but the basic mechanics—the hinges, the springs, and the seals—will always need a human touch. I challenge you to go into your kitchen right now and do the dollar bill test on your door. If it slides out too easily, it’s time to stop procrastinating on that 20-minute fix.
Hard Lessons from a Flooded Kitchen Floor
I’ve spent years tinkering with machines, and if there is one thing I’ve learned, it is that identifying dishwasher faults quickly saves you more than just time—it saves your pride. Here are a few lightbulb moments from my own journey: First, plastic is often more fragile than it looks. I once snapped a perfectly good latch housing because I forgot that years of high-heat cycles make old plastic incredibly brittle. Always wiggle a part gently before you yank. Second, remember that the door isn’t always the primary villain. If your latch is acting up, check the leveling legs first. A dishwasher that isn’t perfectly plumb will never seal correctly, no matter how many new parts you throw at it. Finally, cleanliness is a legitimate mechanical fix. Half of the leaky seals I encounter are simply clogged with debris; a bit of calcified gunk in the bottom hinge can throw the whole alignment off by millimeters.
The Three Tools I Never Start Without
You don’t need a professional workshop to get professional results, but these three items are non-negotiable in my toolkit. First, a reliable digital multimeter. Whether I am testing your dishwasher water level switch in 5 minutes or checking the continuity of a door sensor, that definitive ‘beep’ is my best friend. Second, use your smartphone camera. Taking a quick photo of the wiring harness before swapping out a worn dishwasher door latch assembly has saved me from dozens of wiring headaches. Finally, keep a stash of fresh microfiber cloths and white vinegar. It is the quickest way to remove hard water build-up in your dishwasher and keep that rubber gasket soft enough to actually maintain a watertight grip.
#IMAGE_PLACEHOLDER_E#
Take Back Control of Your Kitchen Cleanup
It is easy to feel intimidated by the hidden wires and heavy metal panels, but remember that these machines were designed to be serviced by people just like you. By taking the time to understand the relationship between the hinges, the latch, and the seal, you are doing more than just stopping a leak—you are taking control of your home’s maintenance and saving hundreds in repair bills. Don’t be afraid to get your hands a little dirty to get that dishwasher door sealing like it just came off the showroom floor. You’ve got the knowledge; now it’s time to use it. Have you ever had a ‘simple’ repair turn into a whole-day project because of one missing screw or a stubborn clip? Let me know your stories in the comments below!