The first time I smelled burning plastic in my kitchen, I didn’t think ‘dishwasher.’ I thought ‘house fire.’ My heart dropped as I sniffed around the outlets, but the scent was strongest right in front of my stainless steel tub. When I cracked the door open, a cloud of acrid steam hit me, and there it was: my bottom spray arm was drooping like a wet noodle, charred right where it had touched the heating element. It is a gut-punch when a machine that is supposed to clean your life ends up adding another expensive repair to your to-do list. I made the classic rookie mistake of just buying a replacement part immediately, thinking I had fixed the problem. Two cycles later, that brand-new arm was just as toasted as the first one because I had not bothered to identify dishwasher faults quickly before throwing money at it. Today, I want to make sure you do not waste your cash like I did by showing you exactly what causes this meltdown.
Why Your Plastic Parts are Turning into Puddles
If you have found yourself staring at a warped piece of plastic, you are probably wondering how a machine full of water could possibly get hot enough to melt itself. It feels like a design flaw, does it not? But usually, it is a symptom of a mechanical failure elsewhere. When I finally sat down to read a comprehensive guide to dishwasher parts, I realized that the heating element is a beast that needs to be tamed by constant water flow. According to experts at Consumer Reports, internal temperatures during the drying cycle can reach levels that easily warp thin plastics if they are not properly secured. Have you ever found a warped spray arm in your machine, or am I the only one who ignored the warning signs for too long?
Is it even safe to keep using my dishwasher like this?
I get this question a lot from neighbors who see the damage and panic. The short answer? Not until you find the source. A melting arm is a fire hazard and a sign that your machine’s internal environment is out of whack. If the plastic drips onto the heating element, it can create toxic fumes or even ignite.
The Usual Suspects Behind the Heat
Before you go replacing a cracked spray arm mount, you need to look at the geometry of your machine. The most common reason an arm melts is that it simply fell or became unseated. I once spent an hour frustrated because the arm looked fine, but it was sitting a fraction of an inch too low. Often, the issue is as simple as why your bottom spray arm isn’t spinning; if it stops moving while the heater is active, that intense radiant heat stays focused on one spot until the plastic gives way. You have to be a bit of a detective here, looking for the tiny failures that lead to the big, smelly mess.
Make Sure the Spray Arm Can Actually Spin
The heating element at the bottom of your machine is like a toaster on steroids. It gets red-hot to dry your dishes, but it relies on the movement of the spray arms and the presence of water to keep the internal cavity from becoming an oven. If your spray arm stops rotating during a cycle, it sits stationary over that element, soaking up concentrated radiant heat until the plastic reaches its melting point. You need to manually flick the arm with your hand; it should spin freely for several rotations like a propeller. If it hits the rack or feels gritty, you have found your culprit. This is often caused by a buildup of debris or a worn-out hub. When I was troubleshooting my own unit, I realized a stray toothpick had jammed the gear, which is a classic example of why your bottom spray arm isn’t spinning properly. Clear out any physical blockages before you assume the motor is dead.
Look for Sagging Mounts and Snapped Clips
Even if the arm spins, it might be hanging too low. I remember trying to save a few bucks by ‘patching’ a loose mount with a zip-tie. Within one cycle, that zip-tie had fused to the heating element like a piece of chewing gum on a hot sidewalk, creating a toxic stench that lingered for days. It was a mess. I learned the hard way that the plastic clips and supports holding the arms in place become brittle over time due to constant heat exposure. If the support snaps, the arm will droop just enough to touch the element. If you notice any wobbling, you should look into replacing the upper spray arm support in a modern dishwasher or the bottom mount before the next load. 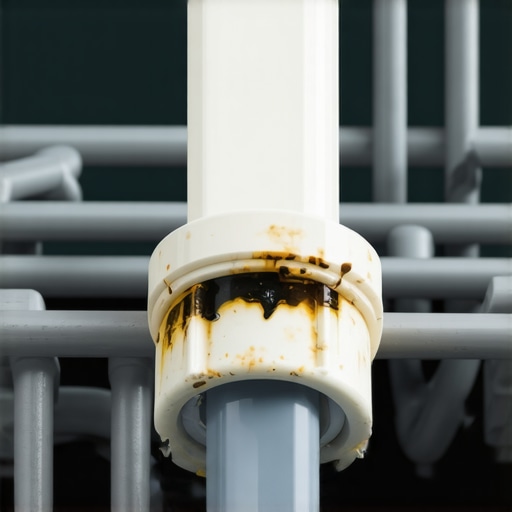
Is Your High-Limit Thermostat Letting the Heat Run Wild?
Your dishwasher has a built-in ‘brain’ designed to cut power if things get too hot, called the high-limit thermostat. Think of it as a circuit breaker for temperature. If this component fails in the ‘closed’ position, the heating element might stay energized far longer than it should, turning your plastic tub into a literal furnace. This is a common point of failure when you see warping on the walls or the silverware basket. You can test this yourself using a multimeter to check for electrical pathing. If you are comfortable with basic tools, testing your dishwashers high limit thermostat for continuity is the most direct way to prove the part is faulty. If there is no continuity when the machine is cold, the thermostat is likely the reason your plastic parts are turning into puddles.
Check for Similar Red Flags in Your Oven
Interestingly, this melting phenomenon isn’t exclusive to dishwashers. I have seen similar disasters in kitchens where an oven element fails and starts off-gassing. If you ever notice that specific, acrid scent while cooking dinner, you should investigate why your oven smells like plastic every time you bake as well. Often, it is a stray plastic lid or a failing wire coating, but the diagnostic process is the same: follow the smell, find the heat source, and check the supports. In both machines, the heating element is a ‘dumb’ component that just does what it is told; the sensors and the physical spacing are what keep your home safe.I’ve seen a lot of DIYers immediately blame the heating element for being ‘too hot,’ but here’s the contrarian truth: the element is just a resistance coil; it does not have a ‘variable’ heat setting in most home models—it is either on or off. The real nuance that most people miss is that the water circulation acts as a coolant for the machine’s internal environment. If your circulation pump is struggling, the heat does not dissipate, and that is when your plastic starts to warp. You might spend money on new plastic parts, but unless you are testing your dishwashers circulation pump for continuity, you are just treating the symptom, not the disease. According to technical safety standards from the Association of Home Appliance Manufacturers (AHAM), proper water spray is the primary failsafe against thermal damage in modern units. 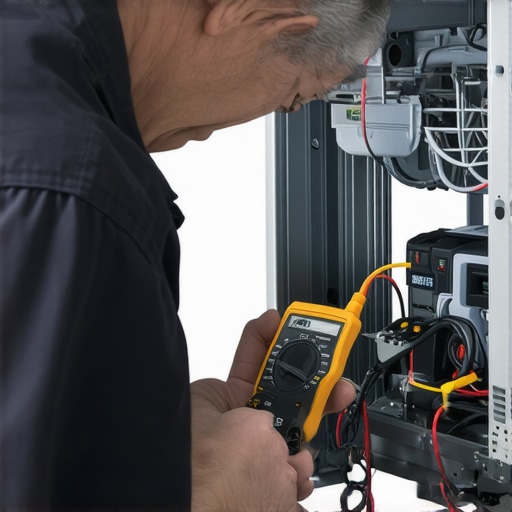
Don’t Let Your Control Board Lead You Astray
One major ‘oops’ factor I see is what I call the ‘Code Trap.’ People see an error code and assume the machine has already done the diagnostic work for them. If your dishwasher says it is not heating, you might rush to buy an expensive element, but the real issue could be an is your dishwasher float switch stuck that is preventing the cycle from ever engaging the heater. You have to identify dishwasher faults quickly by verifying the hardware with a meter, not just trusting the display. The same logic applies to ovens; if you are fixing an oven that heats way past the set temperature, do not just swap the thermostat. It could be a ‘stuck’ relay on the control board or a compromised sensor wire.
Does a melting spray arm mean your control board is fried?
Not necessarily. While a runaway relay on the board can keep the element energized indefinitely, it is much more common for the physical supports or the circulation motor to fail first. If you have checked the pump and the arm still will not spin, you need to dive into comprehensive dishwasher diagnostics to rule out the board before committing to a costly replacement.
Mastering the Art of Oven Diagnostics
When it comes to oven repair essentials, the biggest mistake is failing to look for ‘ghost’ issues like uneven resistance. For example, if you are replacing the oven bake element because of uneven cooking, you might actually have a failing sensor or a terminal block that is slowly burning out. I always recommend testing your oven bake element for hidden cold spots using a laser thermometer or by observing the glow pattern during preheat. If one section stays dark while the rest is cherry red, the element is failing internally. This kind of pinpointing of faults saves you from the cycle of ‘parts cannon’ repairs where you just keep firing money at the machine without a clear target. Have you ever fallen into the trap of replacing the same part twice because you missed a hidden nuance? Let me know in the comments below.After years of wrestling with these machines, I have realized that the difference between a ‘parts swapper’ and a repair master is the gear you carry. I do not mean a thousand-dollar setup; I mean a basic digital multimeter that can read ohms. When I am testing your dishwasher water level switch in 5 minutes, I am not looking for ‘sort of working’—I am looking for zero or infinity. If you are serious about this, stop guessing if a part is bad. For instance, when I am testing the most reliable way to test an oven thermal fuse, that little beep on the continuity setting is the only thing that gives me peace of mind before I order a replacement part.
Why a Cheap Multimeter Saves You Hundreds
Most homeowners fail because they rely on visual inspection alone. But electricity is invisible. I personally use an auto-ranging meter because it prevents you from blowing a fuse if you set the dial incorrectly. This tool is how you confirm that your heating element isn’t just ‘looking okay’ but is actually capable of drawing current. I predict that as we move toward smarter, IoT-enabled kitchens, we will see ‘self-healing’ systems that can bypass minor sensor faults, but until then, your hands and a meter are the only way to truly identify dishwasher faults quickly.
How do I maintain my kitchen appliances over the long haul?
Maintenance is not just about wiping the exterior; it is about the internal components that nobody sees until they break. I make it a habit every six months to go through how to clean your dishwashers hidden sump filter. If that filter is clogged, your pump works harder, gets hotter, and eventually fails. I also recommend how to unclog a dishwasher air gap without a plumber because that little piece of plastic on your sink is the only thing standing between you and a nasty backup of dirty water. According to the Whirlpool Technical Service Pointer #W10131216, failing to maintain adequate water flow is the primary cause of premature component burnout in high-efficiency models. 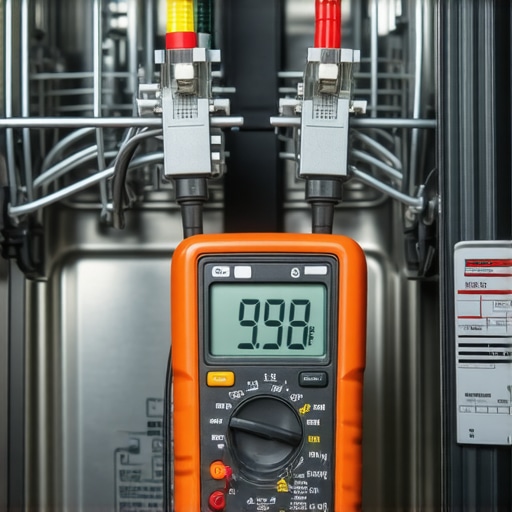
Stop the Heat Loss and Seal the Leaks
Beyond the internals, do not ignore the rubber seals. If you have an older machine, finding the right gasket for an older dishwasher model can be a nightmare if you wait until it is pouring water on your floor. I have started using what I call the ‘Dollar Bill Trick’—which involves testing your oven door seal with the dollar bill trick—to see if the heat is escaping. If the bill slides out too easily, you are literally burning money every time you bake. If your oven feels like it is taking forever to hit temp, it might just need a digital nudge. You can use the fast way to recalibrate your oven for accurate temperatures to get things back in sync without calling a technician. My advanced tip? Grab a laser thermometer and map your oven’s ‘hot spots’ during preheat. It will change the way you cook and help you realize exactly when a bake element is starting to fail before it actually snaps.
Hard-Earned Lessons from My Kitchen Meltdowns
Over the years, I have learned that your appliances are constantly talking to you; we just have to learn the language. Here are a few lightbulb moments I had while elbow-deep in soapy water:
The Sniff Test is Never Wrong: If you smell burning plastic, do not finish the cycle. Your dishwasher is telling you that its internal cooling system—the water circulation—has failed. I used to ignore it, thinking it was just ‘new machine smell,’ but it was actually the sound of a repair bill growing.
Parts Are Often Just Symptoms: Replacing a warped spray arm without checking the mount is like putting a band-aid on a broken leg. The real ‘disease’ is often a hidden blockage or a mechanical failure that stops the arm from spinning.
Precision Beats Power: You do not need to be a professional technician to identify dishwasher faults quickly. You just need to be observant. If you see that your dishwasher interior looks pitted or corroded, it is a sign that your water chemistry or heat levels have been off for a long time.
Tools That Turned Me from a Parts-Swapper into a Repair Pro
If you want to stop guessing and start fixing, you need a small kit that gives you data, not just opinions. These are the three things I never go into a kitchen without:
An Auto-Ranging Digital Multimeter: This is the single most important tool for any homeowner. It is how you confirm if a part has continuity or if it is truly dead. I trust it because it does not lie; either the circuit is closed or it is not.
A Non-Contact Laser Thermometer: I use this for oven repair essentials to map out hot and cold spots. If your oven is baking unevenly, this tool proves whether it is the bake element or just poor airflow.
The OEM Service Manual: While YouTube is great, the specific wiring diagram for your model is the ultimate source of truth. It helps you understand exactly how to identify dishwasher faults quickly by showing the path of power from the control board to the heater.
Your Kitchen Is Waiting for a Second Chance
Taking that first panel off can feel intimidating, but remember that these machines are just a series of logical switches and pumps. Once you understand the relationship between heat and water flow, the mystery disappears. You have the power to save hundreds of dollars by simply asking is your oven control board failing before you call a pro. Don’t be afraid to get your hands dirty and reclaim your kitchen from the threat of the ‘plastic puddle.’ You can successfully identify dishwasher faults quickly and keep your home running smoothly for years to come. Have you ever opened your dishwasher only to find a ‘modern art’ version of your favorite plastic container? Tell me your most frustrating melting story in the comments below!