I remember standing in my kitchen last Tuesday, coffee in hand, ready to put away what I thought was a clean load of dishes. I pulled out the bottom rack and my stomach did a little flip. There it was: a grey, sludge-filled puddle sitting right where the drain should be, decorated with tiny bits of spinach from three days ago. My dishwasher had finished its full cycle, the dry light was glowing green, but the floor of the machine looked like a swamp. It’s a gut-punch moment. You pay for a machine to save you time, yet here you are, staring at a mess that requires a deep-cleaning session before you can even think about starting your day. This isn’t just about a few stray crumbs; it’s about a system failure that leaves your kitchen smelling like a damp basement. We are going to solve this today by looking at the guts of your machine and getting that water moving again. Have you ever opened your dishwasher only to realize the ‘clean’ dishes actually smell worse than when they went in?
The Disgusting Reality of a Clean Cycle That Fails
When I first started tinkering with my own appliances, I made a classic rookie mistake. I thought that if the bottom was dirty, I just needed more detergent. I doubled the pods, thinking the extra soap would blast away the grime. Instead, I ended up with a mountain of suds and a motor that was struggling to breathe. It turns out that a dirty floor is rarely a soap problem; it is almost always a flow problem. If your machine isn’t draining or the water isn’t circulating, all that debris just settles at the lowest point. This often happens because of a clogged filter or a failing pump. You can start by learning how to identify dishwasher faults quickly to narrow down if it’s a mechanical part or just a build-up of old leftovers. If you see standing water specifically, you should check why the bottom of your dishwasher is always full of water before you go buying any expensive replacement parts. Often, the solution is much simpler than a total overhaul.
Is This Sludge Really Dangerous for My Family?
It is easy to shrug off a little bit of grime as a cosmetic issue, but the science says otherwise. According to a study published in the journal Applied and Environmental Microbiology, the warm, damp environment of a dishwasher is a perfect breeding ground for opportunistic fungi and bacteria like Exophiala, which can thrive if the machine isn’t draining and drying properly. That residue at the bottom is essentially a petri dish for things you don’t want near your forks. This is why it is so important to how to clean your dishwashers hidden sump filter on a regular basis. Most of us don’t even know that filter exists until it starts smelling like a compost bin. Beyond the health concerns, a dirty bottom usually means your spray arms are just recirculating dirty, gritty water onto your ‘clean’ plates. To prevent this, you need to ensure you are using the best way to load your dishwasher for maximum water reach so that the spray can actually hit the floor and flush out the debris. We’re going to walk through the exact steps to clear that gunk out and keep it from coming back, starting with the components that are likely causing the bottleneck.
Clear the Easiest Obstructions First
Before you go pulling the whole unit out from under the counter or ordering expensive replacements, you need to look at the path of least resistance. Your dishwasher is basically a giant pump connected to a series of tubes, and most drainage failures happen because something is physically blocking the exit. I always tell people to start at the sink. If your dishwasher drains into a garbage disposal or an air gap, that is your first checkpoint. I cannot tell you how many times a simple blockage in the plastic cylinder on top of the sink was the only thing standing between a dry floor and a swampy mess. You can easily learn how to clean your dishwashers air gap to stop sink backflow with nothing more than a bottle brush and a little bit of patience. If that air gap is clear and the water still stays put, the problem is deeper inside the guts of the machine.
Inspect the Drain Hose Loop
Take a look under your sink at the corrugated plastic hose coming from the dishwasher. It should have a ‘high loop,’ meaning it arches up higher than the drain inlet before connecting. Without this loop, dirty sink water can actually flow backward into your dishwasher. If your hose is sagging like an old clothesline, that standing water in the bottom of your machine might actually be ‘backwash’ from your morning coffee being poured down the drain. If the physical layout is correct, then it is time to open the door and start the dirty work.
Rescue Your Sump From Hidden Objects
Pulling out the lower rack reveals the filter assembly, the most common site for ‘sludge’ accumulation. This is where the magic (and the grime) happens. I remember one specific Saturday when I was absolutely convinced my drain pump had died. I had already priced out replacing a noisy dishwasher drain pump assembly and was ready to spend eighty bucks on a part I didn’t need. When I reached into the sump area after removing the mesh filter, I felt something hard and jagged. It was a single, translucent Lego brick from my son’s collection. It had bypassed the main filter and was wedged perfectly against the drain impeller, physically stopping the blades from spinning. Once I fished it out with needle-nose pliers, the machine roared back to life and drained in seconds. 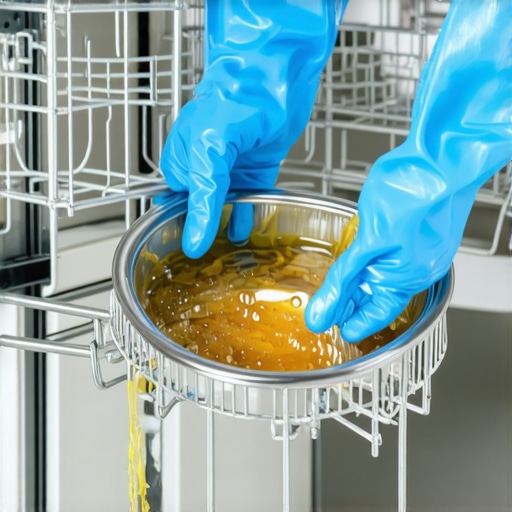
Solve the Check Valve Mystery
If your filter is sparkling clean and there are no toy bricks in the way, you are likely looking at the one part that stops your dishwasher from draining completely: the check valve. This little rubber flap acts like a one-way door. It lets dirty water out but prevents it from rushing back in once the pump stops. Over time, these valves can get warped by heat or coated in grease until they stick shut. You need to know the best way to inspect your dishwashers check valve for clogs to ensure it hasn’t turned into a permanent wall. For more complex issues involving multiple components, referring to dishwasher parts a comprehensive guide to diy diagnostics will help you rule out electrical failures versus mechanical blocks.
Stop Blaming the Soap for Your Greasy Plates
Most homeowners assume that if their dishes come out with a cloudy film, they simply need a ‘stronger’ detergent. I have seen people switch to aggressive, industrial-grade pods only to find their drain hose eventually clogged with undissolved wax and chemical binders. This is where the common wisdom fails. In my experience, a greasy film isn’t a soap problem—it’s a sensor problem. Specifically, the turbidity sensor. This tiny optical ‘eye’ measures how much light can pass through the wash water. If it is coated in calcium or a thin layer of biofilm, it tricks the machine’s control board into thinking the water is clean far too early. You might find yourself replacing a faulty dishwasher turbidity sensor at home long before a new brand of detergent makes a difference. If your machine is constantly cutting the cycle short, it’s not being ‘efficient’; it’s being lied to by a dirty sensor.
Why Does My Multi-Meter Say the Part Is Good When It Isn’t?
This is the ultimate trap for the intermediate DIYer. You pull out your multimeter, check for continuity on the heating element, hear that ‘beep,’ and assume the part is fine. However, a study published in the International Journal of Engineering Research regarding electrical failure modes highlights a phenomenon known as ‘thermal intermittent failure.’ In plain English: a component can show perfect continuity at room temperature but fail the moment it expands under a heavy electrical load. This is why testing your dishwashers circulation pump for continuity is only the baseline. If you aren’t testing for resistance (ohms) and comparing it to the manufacturer’s specific range found in dishwasher parts a comprehensive guide to diy diagnostics, you are only getting half the story. 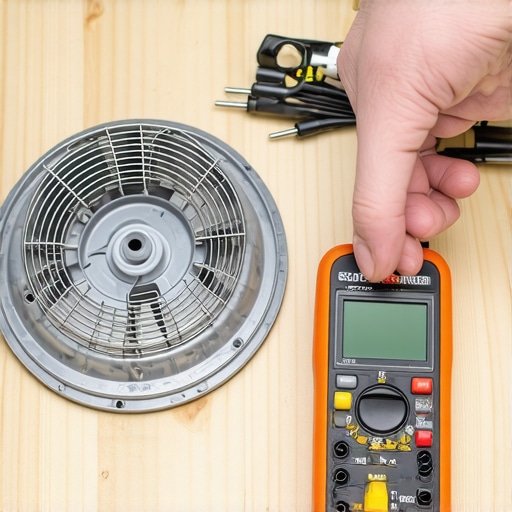
The Invisible Trap of Over-Tightening Your Components
There is a specific ‘Oops’ factor I see constantly when people transition from dishwashers to oven repair essentials troubleshooting common issues with parts. When you are replacing the oven bake element in 15 minutes or less, the instinct is to crank those mounting screws as tight as possible to prevent a fire hazard. Ironically, over-tightening is what causes the most damage. Ovens deal with extreme thermal expansion; if the element or the terminal block doesn’t have a microscopic amount of ‘wiggle room’ to expand, the metal will eventually fatigue and snap, or you’ll strip the threads right out of the porcelain-coated frame. This same logic applies to the dishwasher. If you over-torque the bolts when replacing a noisy dishwasher drain pump assembly, you risk warping the plastic housing, which creates a slow, rhythmic leak that you won’t notice until your subfloor is ruined. Always aim for ‘snug,’ not ‘strained.’ Have you ever fallen into this trap of over-fixing a problem? Let me know in the comments. Whether you are dealing with why your dishwasher is leaving white streaks on silverware or trying to understand the truth about dishwasher pods and your drain hose, the nuance is always in the physics of the machine, not just the parts you swap out.
Precision Testing Beats Guesswork Every Time
I spent years guessing at problems before I finally invested in a decent digital multimeter. If you are serious about saving money, you cannot rely on visual inspections alone—burnt wires are obvious, but a failed thermistor looks identical to a good one. For example, when you are testing an oven temperature sensor with just a multimeter, you aren’t just looking for a simple connection; you are looking for specific resistance values that change with the room temperature. If the resistance is even slightly out of the manufacturer’s tolerance range, your oven won’t hold a steady temp, leading to those frustrating moments where your recipe fails for no apparent reason. I always keep a copy of the technical service sheet handy—it is usually tucked in a plastic sleeve inside the machine’s cabinet—because it tells me exactly what Ohms I should see when testing the resistance on your ovens broil element. Precision is the only way to kill the expensive ‘part-swapping’ habit that eventually makes DIY more expensive than just buying a new unit. 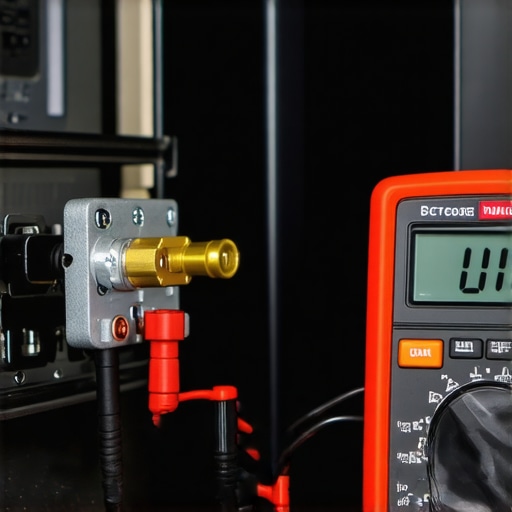
How do I keep these machines humming for another decade?
Long-term reliability isn’t about luck; it is about managing the environment inside the machine. According to the Association of Home Appliance Manufacturers (AHAM), the leading cause of premature pump failure in modern high-efficiency dishwashers is actually the build-up of calcium carbonate from hard water, which increases the torque required for the motor to spin. This is why you need to master the quickest way to remove hard water build-up in your dishwasher before the motor burns out. I make it a habit to run a citric acid wash every three months to keep the gaskets supple and the spray arms clear. While you are at it, don’t ignore the plumbing side of the equation; knowing how to unclog a dishwasher air gap without a plumber can prevent the backflow that leads to that nasty sludge at the bottom of the tub. Maintenance is just a series of small wins that prevent a catastrophic Saturday afternoon failure.
Smart Sensors and the Next Wave of Home Repair
We are moving into an era where your appliances will tell you exactly what is wrong, but you still need the skills to interpret that data. Many new units have hidden diagnostic modes that flash codes or show ‘L1’ or ‘F5’ on the display. Before you panic, use oven diagnostics pinpointing faults before calling a repair expert to translate those cryptic messages into actionable steps. Even if the machine suggests is your oven control board failing check these 4 symptoms, it might just be a loose ribbon cable or a bit of oxidation on the terminal. In the next few years, I expect more manufacturers to release proprietary apps for home calibration. For now, you can stay ahead of the curve by knowing the fast way to recalibrate your oven for accurate temperatures yourself. My challenge to you today: pull off your dishwasher’s bottom kickplate and search for that hidden tech sheet. Read it. It is like a secret map to your specific machine, and having it ready will save you hours of frustration when something eventually goes ‘clunk’ in the night.
Three Truths My Toolbox Taught Me the Hard Way
After years of wrestling with pumps and heating elements, I’ve realized that repair is 90% psychology and 10% turning a wrench. First, the ‘Expensive Part Fallacy’ is real. We often assume that a major failure means a major expense, but as I saw with that Lego brick, it’s usually a five-cent obstruction or a simple build-up. Second, cleanliness is actually a mechanical specification. When you learn how to identify dishwasher faults quickly, you’ll see that half the ‘broken’ sensors are just covered in grease or calcium. Third, your machine has a memory of sorts. If you treat it with hard water and cheap pods, those minerals will eventually seize the motor bearings. Prevention isn’t just a chore; it’s an investment in your appliance’s lifespan.
The Exact Kit You Need to Stop Guessing
If you want to move beyond being a ‘part swapper’ and become a true diagnostic expert, you need a specific set of tools that offer objective data. I never start a job without my Digital Multimeter. Whether I’m testing an oven temperature sensor with just a multimeter or checking a pump for continuity, the numbers don’t lie. Next, keep a bag of Citric Acid under your sink. It’s the only way to master the quickest way to remove hard water build-up in your dishwasher without using harsh chemicals that degrade rubber gaskets. Finally, always have a high-intensity headlamp. You can’t fix what you can’t see, especially when you’re head-first in a dark cabinet looking for a leak. #IMAGE_PLACEHOLDER_E#
Your Machine is Waiting for a Second Life
There is a profound sense of satisfaction that comes from hearing your dishwasher hum through a perfect cycle after you’ve fixed it yourself. You aren’t just saving money; you are opting out of the disposable culture that tells us everything must be replaced the moment it hiccups. By mastering dishwasher parts a comprehensive guide to diy diagnostics, you take control of your home’s efficiency and your own budget. Whether you are moving on to oven repair essentials troubleshooting common issues with parts or just keeping your kitchen sludge-free, remember that you are more capable than the instruction manual suggests. Go get your hands a little dirty—the results are worth every second. Have you ever found something completely bizarre stuck in your dishwasher’s drain? Let me know in the comments!