There I was, standing in front of my range with a tray of pale, sad-looking nachos that refused to crisp up. The cheese was barely sweating, and the chips were as limp as a wet newspaper. I’d set the oven to “Broil,” but that top coil stayed as cold and dark as a dormant volcano. It’s a frustrating moment that makes you want to just order pizza and give up on the whole “home-cooked meal” thing. My kitchen, usually a place of triumph and the smell of roasting garlic, suddenly felt like a site of technological betrayal. But before you go spending hundreds on a service call, I want to share a secret: your oven isn’t a mystery box, and you don’t need a degree in electrical engineering to fix it. I’ve spent years tinkering with these machines, and if there’s one thing I’ve learned, it’s that most people replace parts they don’t need to because they skip one simple five-minute test.
Stop Playing Guessing Games with Your Broiler
I’ll be the first to admit that I haven’t always been the “handy” neighbor. In fact, a few years back, I made the classic rookie mistake of ordering a new heating element the second my oven stopped getting hot. I didn’t bother pinpointing the fault first; I just threw money at the problem. I can still remember the sheer disappointment when the new part arrived, I hooked it up, and… nothing. The oven *still* didn’t work. I felt like a complete amateur. It turns out the element was fine, but I had a scorched wire tucked away in the back where I couldn’t see it without pulling the whole thing apart. That’s why learning how to test an oven broil element using a simple ohmmeter is the very first skill I teach anyone who asks for help. We’re going to find out exactly what’s going on under the hood so you don’t end up with a spare parts bin as full as mine. It’s about more than just saving cash; it’s about that feeling of mastery over your own home.
Is a Cheap Multimeter Actually Trustworthy?
I know what you’re thinking because I thought it too. “Can a little plastic tool from the hardware store really tell me more than my own eyes?” The answer is a resounding yes. While your eyes can spot obvious physical damage—like when you’re checking your oven’s bake element for tiny blisters—electricity is invisible. You can’t see a break inside the ceramic casing of a broil element. According to data from the home repair experts at Family Handyman, a simple continuity test is the most reliable way to confirm an electrical path exists. If that path is broken, the resistance will be “infinite,” and no amount of wishing will make that coil glow red again. Have you ever been convinced a part was broken only to find out it was something completely different? Drop a comment below and let me know your biggest DIY face-palm moment; I promise I won’t laugh because I’ve probably done it too. By the time we’re done here, you’ll know exactly how to pull that element and read the numbers correctly. If the numbers look good, then we can start inspecting your oven control board for burn marks or other culprits that might be cutting the power. But first, let’s get that multimeter out and see if your broiler has officially given up the ghost. It’s time to stop guessing and start knowing. If you’re feeling overwhelmed, remember that knowing when to stop diying and call an oven repair expert is also a sign of a pro. But for now, let’s see if we can save you that $150 service fee ourselves by getting down to the nitty-gritty of resistance.
Get Your Hands Dirty Without the Shock
Before we dive into the guts of the machine, we need to talk about the most important tool you own: your safety. I once rushed a repair on a whirlpool range, thinking I’d flipped the right breaker. As I reached for the terminal with my bare hand, a tiny blue spark jumped to my thumb. It wasn’t enough to hurt, but it was a jarring reminder that electricity doesn’t care about your hunger.
Kill the Power Before You Touch a Thing
The first rule of oven repair essentials troubleshooting common issues with parts is to ensure there is zero juice flowing. Don’t just turn the knob to ‘Off.’ Pull the oven out and unplug it, or if it’s hardwired, flip the double-pole breaker in your service panel. Once it’s dark, I always double-check by trying to turn on the oven light. If that bulb stays dark, you’re safe to proceed.
Freeing the Element from the Oven Ceiling
Open the door and look up. Most broil elements are held in place by two or four screws on the back wall and a couple of support brackets on the ceiling. Use a 1/4-inch nut driver—it’s usually the magic size for appliance screws. As you lower the element, be extremely careful with the wires attached to the back. 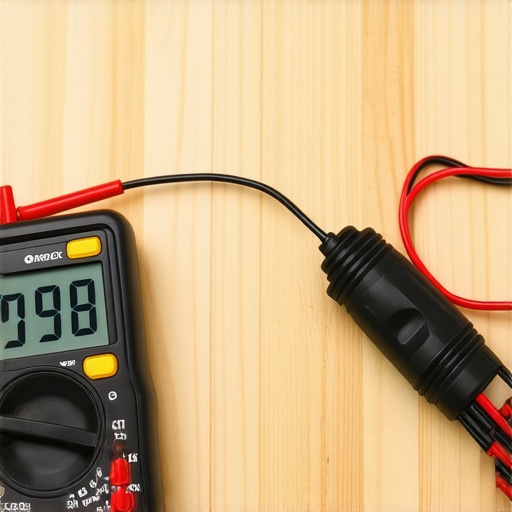 In my ‘coat-hanger incident,’ I let the wires slip back into the insulation behind the oven wall, turning a ten-minute job into a three-hour rescue mission. I now use a clothespin or a piece of tape to secure those wires to the oven frame the second I disconnect them. While you have it out, it’s also a great time for how to inspect your ovens power cord for heat damage just to be thorough.
Dialing in Your Multimeter the Right Way
Now, grab that multimeter. If you have an auto-ranging model, just set it to the Ohms (Ω) setting. If it’s manual, set it to the lowest scale, usually 200 ohms. Think of this like checking if a garden hose is clogged; we are sending a tiny bit of power through the coil to see if it makes it to the other side. Touching the two probes together should give you a reading close to 0.0 or 0.1—that’s your baseline. This is the same logic used when testing the resistance on your dishwasher heating element, so once you master this, you’re halfway to being the neighborhood appliance guru.
What Those Numbers Actually Mean for Your Nachos
Touch one probe to each terminal of the element. You’re looking for a specific range—usually between 10 and 40 ohms. If your screen stays on ‘1’ or ‘OL’ (Open Loop), the ‘hose’ is severed inside. The element is dead. If you get a reading within that range, your element is actually fine, and the problem lies elsewhere. At that point, you might need to start testing your ovens high limit thermostat with ease or checking the control board. If the element tests ‘open,’ you’ve found your culprit and can confidently order a replacement without guessing.Even when your multimeter shows a healthy 20 ohms, you aren’t necessarily out of the woods. One of the biggest myths in the DIY community is that a ‘pass’ on a continuity test means the part is perfect. In reality, elements can develop microscopic internal fractures that only expand and fail when they reach operating temperature. This is exactly why testing your oven bake element for hidden cold spots is a step most amateurs skip. You might have a circuit that’s technically ‘closed’ but practically useless once it starts drawing real current. According to data from the United Servicers Association, diagnostic errors often stem from ignoring how components behave under load versus a static test.
Is your control board lying to you about those error codes?
Sometimes the oven itself is its own worst enemy. You see a code on the screen and assume the sensor it’s pointing to is fried. But here’s the nuance: the control board is just a computer, and it can get confused by ‘phantom’ signals or failing relays. If your screen is acting up, look into why your oven display shows a garbled mess of characters before you start ripping out sensors. I’ve seen people replace expensive sensors only to realize a cheap relay on the board was sticking. Learning how to identify a bad oven relay on the control board can save you from the expensive ‘parts cannon’ approach. Have you ever fallen into this trap of trust? Let me know in the comments because I’ve certainly been there, staring at a screen that told me one thing while the problem was three inches to the left. 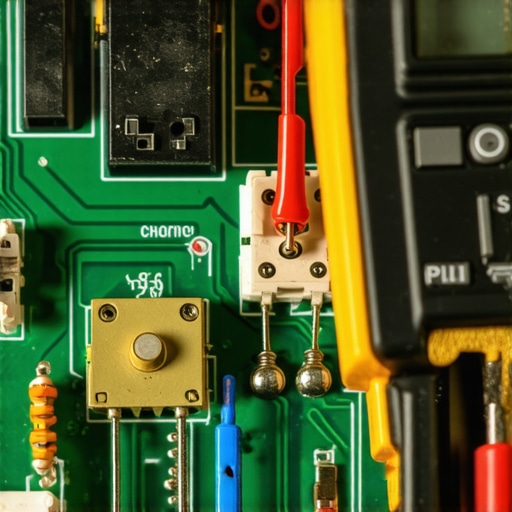 One final ‘oops’ factor to watch out for is the dependency trap. Appliances are built with safety chains. If one link breaks, the whole thing shuts down. For instance, if you’re working on a cleaning machine, checking the thermal fuse on your dishwasher before buying a new one is mandatory. If that fuse is blown, the element won’t get power, even if the element itself is brand new. It’s all part of the oven repair essentials troubleshooting common issues with parts—understanding that the ‘dead’ component is often just the victim, not the criminal. Always trace the power from the source to the part, not the other way around.It is one thing to find a bad element; it is another to keep the whole system from crumbling before its time. I personally swear by my Fluke 117 multimeter. Sure, it is pricier than the fifteen dollar knock-offs from the bargain bin, but its ‘LoZ’ (Low Impedance) mode prevents ghost voltages from lying to you when you are elbow-deep in a circuit. When I am deep in dishwasher parts a comprehensive guide to diy diagnostics, accuracy is my only friend. Most people ignore the mechanical wear and tear that leads to electrical failure. For example, if you do not know how to clean the hidden debris under your dishwasher filter, your circulation pump is going to work twice as hard and burn out three years early. It is a domino effect that starts with a tiny bit of gunk and ends with a five hundred dollar repair bill.
How can I stop major repairs before they start?
The secret is a quarterly ‘health check’ that goes beyond just wiping down the glass. I use a specific ritual for my appliances. For the oven, it involves a visual inspection of the wiring harnesses every time I have the back panel off for a cleaning. For the dishwasher, it means using the fast way to clean grimy dishwasher door gaskets to ensure the seal stays supple. According to the technicians at Master Samurai Tech, a leading authority in modern appliance engineering, understanding ‘circuit loading’ is more critical than just checking for simple continuity. They emphasize that a ‘good’ reading on a cold component does not guarantee performance under a full 240V load. This is why I always advocate for checking connections for any signs of discolouration or ‘pitting,’ which indicates arcing and future failure. 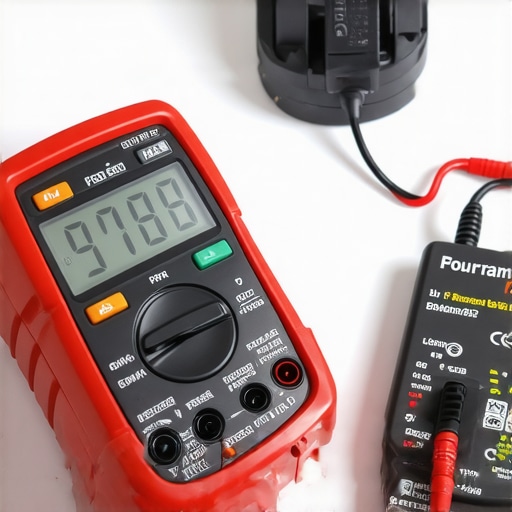 Looking ahead, I predict we are moving toward a world where your appliances will have ‘predictive resistance’ monitoring built into the Wi-Fi modules. In five years, your oven will likely send a notification to your phone saying its resistance is drifting out of spec before you even notice the nachos are not crisping. But until then, we rely on our tools and our eyes. Learning parts and diagnostics how to identify dishwasher faults quickly is your best defense against the planned obsolescence of modern manufacturing. I want you to try this: go grab your multimeter and check the resistance of your dishwasher element tonight, even if it is working fine. Establishing a baseline now while the machine is healthy is the smartest move you can make for future troubleshooting.
Lessons I Paid for with Burnt Dinners and Wasted Cash
Over the years, I have realized that the biggest enemy of a DIY repair is not a lack of skill, but a lack of patience. I used to be the guy who would see a cold broiler and immediately order a fifty-dollar part without checking a single wire. Now, I know better. First, never trust your eyes alone. An element can look pristine but have a microscopic internal break that only a multimeter can find. Second, remember that heat changes everything; if you find yourself testing your oven temperature sensor without calling a pro, remember that sensors can drift as they get hot. Finally, always look for the cascade effect. A failed element often stems from a loose terminal or a weak relay, so oven repair essentials troubleshooting common issues with parts means looking at the whole circuit, not just the broken piece. This mindset shift has saved me more money than any coupon ever could.
The Toolkit That Saved My Sanity and My Wallet
You do not need a truck full of gear, but you do need the right stuff to avoid the frustration of a half-finished job. I always keep a high-quality auto-ranging multimeter nearby because accuracy is the difference between a fixed oven and a blown fuse. I also recommend a set of magnetic nut drivers; they prevent those tiny 1/4-inch screws from falling into the dark abyss of the oven insulation. #IMAGE_PLACEHOLDER_E# For those who want to dive deeper into water-based appliances, I highly suggest checking out parts and diagnostics how to identify dishwasher faults quickly to round out your skills. I trust these tools because they have turned my guessing into knowing, giving me the confidence to tackle any brand of appliance that dares to break down on my watch.
From Frustrated Homeowner to Kitchen Hero
Repairing your own appliances can feel like a high-stakes gamble, but it is actually a series of logical steps. When you take the time to test your broiler or learn when to stop diying and call an oven repair expert, you are taking control of your home’s efficiency and your own budget. Don’t let a cold element ruin your night—grab your tools, follow the data, and get back to making those perfect nachos. You have the skills to handle these oven repair essentials troubleshooting common issues with parts yourself. Have you ever replaced a part only to realize the problem was something much simpler, like a loose wire? Let me know your most surprising discovery in the comments below!