I still remember the sound. It wasn’t a bang, but a slow, grinding metallic groan that echoed through my kitchen right as I was preheating for a Sunday roast. I brushed it off as “just an old appliance thing.” That was my first mistake. A week later, my oven door wouldn’t even stay shut, and I was staring at a repair bill that could have been avoided if I’d just looked at the hinges. Dealing with a heavy, spring-loaded door is intimidating, but ignoring the signals is worse. Today, I’m going to show you exactly how to catch these failures before you’re left holding a glass panel in your hands or dealing with a door that won’t stay latched properly.
[image placeholder]
The Sneaky Ways Your Oven Tells You It’s Tired
Your oven door is essentially a heavy cantilevered weight held up by two relatively small pieces of steel. Over years of holding that door open to baste turkeys or check on brownies, those hinges take a beating. One of the earliest signs I missed was the “gap.” If you look at your oven from the side and see heat escaping or a visible space between the gasket and the frame, your hinges are already losing their tension. This isn’t just a cosmetic issue; it’s a massive energy drain. According to the Association of Home Appliance Manufacturers, even small gaps in oven seals can lead to significant heat loss, forcing your appliance to work twice as hard to maintain temperature. Catching this early is the core of oven repair essentials and saves your electricity bill from skyrocketing.
Is fixing a heavy oven door actually worth the trouble?
I get it. The idea of pulling apart a major appliance feels like a recipe for disaster. I used to think I’d need a professional for everything. But after spending way too much on a service call just to have a guy lubricate sticky oven door hinges safely, I realized much of this is basic diagnostics you can handle on a Saturday morning. The real fear shouldn’t be the DIY process; it should be the moment that hinge finally snaps. When the spring goes, the door can drop with enough force to shatter the inner glass or bend the frame. Have you ever noticed your door feeling slightly heavier than usual lately, or maybe it makes a clicking sound when you reach the halfway point? Let me know, because that’s usually the point of no return where you need to start pinpointing faults before the metal fatigue wins.
Take the Door Off Without Hurting Yourself
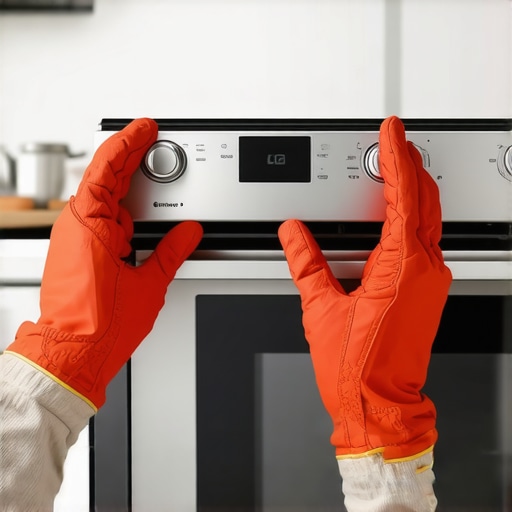
Before you can even think about fixing the tension, you have to get that massive piece of glass and steel out of your way. Most modern ovens use a hinge locking system that acts like a safety catch. Open the door fully and look at the hinges where they meet the oven frame. You will see two small metal tabs. I once made the mistake of trying to lift a door without flipping these tabs down; the hinge snapped shut with enough force to nearly break my thumb. Flip those locks into the ‘open’ position. This locks the hinge arms in place so you can tilt the door up to about a 45-degree angle and lift it straight out of its slots. If you find the door is unusually difficult to move, you might be dealing with a door that won’t stay latched because the receiver slots are bent.
Check for the Snap That Ruins Your Sunday
Once the door is on a flat, padded surface—use a towel so you don’t scratch the glass—you can inspect the inner workings. If you’ve been replacing a snapped oven door hinge spring, you’ll notice the spring is either stretched out like an old slinky or snapped entirely. Think of these springs like the suspension on a car; once they lose their ‘bounce,’ the whole system sags. I remember a specific repair on a client’s 10-year-old range where the spring hadn’t snapped, but it was so encrusted with years of baked-on grease that it couldn’t contract. A simple cleaning wouldn’t cut it. In cases of metal fatigue, replacement is the only way to ensure the door seals tight enough to prevent heat loss.
The Secret to a Perfect Seal Every Time
Reinstalling the door is where most DIYers get frustrated. You have to line up both hinge arms simultaneously, which is like trying to thread two needles at once while holding a twenty-pound weight. If the door isn’t perfectly level, you’ll end up with a gap at the top. This is the perfect time for testing your oven door seal with the dollar bill trick. Close the door on a dollar bill; if you can pull it out with no resistance, your hinges aren’t pulling the door in tight enough. This often happens if you’ve recently been installing a new oven door handle without stripping the screws and accidentally knocked the door out of alignment. Always double-check that the locking tabs are flipped back into their original position after the hinge arms are seated in the frame slots.
When Lubrication is the Hero
Sometimes the hinges aren’t broken; they’re just screaming for help. If you hear a high-pitched squeak or feel a grinding sensation, you need to lubricate sticky oven door hinges safely using a food-grade, high-heat lubricant. Never use standard WD-40; the heat from the oven will cause it to smoke and smell like a mechanic’s shop. A tiny bit of graphite or high-temp silicone grease on the pivot points can make a door feel brand new. While you have the door apart, keep an eye out for other issues like why your oven door glass is rattling, as loose mounting screws are often the culprit behind that annoying vibration. Proper oven diagnostics start with these mechanical basics before you ever touch a control board or a heating element.
Stop Replacing Elements Before You Test the Terminal Block
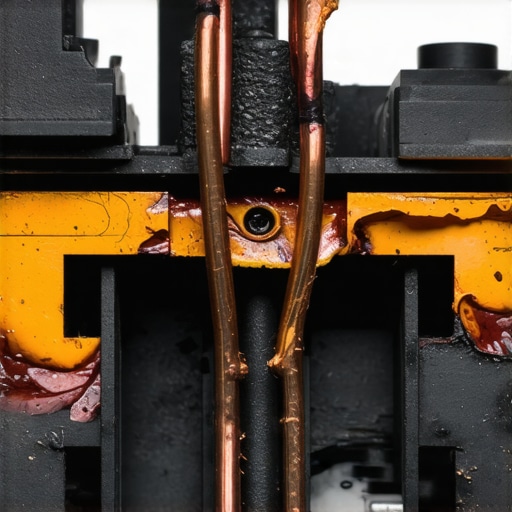
The biggest mistake I see DIYers make is what I call the ‘parts cannon’ approach. If the oven isn’t heating, they immediately buy a new bake element. But here is a contrarian take: the element is often the last thing that actually fails. In many cases, the culprit is a loose wire or a scorched connection at the power entry point. You should be checking for a burnt terminal block on your electric oven before you spend a dime on parts. If those connections are loose, they create high resistance, generate heat, and can literally melt the plastic housing. The National Fire Protection Association (NFPA) notes that electrical distribution and lighting equipment are leading causes of home structure fires, and faulty appliance wiring is a significant contributor. Don’t just swap the element; verify the path of power first.
Why does my oven still bake unevenly after I replaced the sensors?
It is incredibly frustrating to swap out a temperature sensor only to find your cakes are still burnt on the bottom and raw in the middle. Most people assume the hardware is faulty, but the nuance often lies in the control board’s logic or the physical calibration. Sometimes the solution isn’t a new part but knowing the fast way to recalibrate your oven for accurate temperatures. Modern control boards can drift over time, and a simple offset adjustment in the settings can save you from fixing an oven that bakes too slow by manually aligning the digital reading with a physical thermometer. If you have already replaced the sensor and still see wild fluctuations, you might be testing if your oven relay board is clicking for the wrong reasons, which indicates a failing solder joint rather than a bad probe.
The Dishwasher Drain Myth That Costs You Hundreds
When a dishwasher leaves a pool of water at the bottom, the first instinct is to buy a new drain pump. I have fallen into this trap myself. However, in my experience, the ‘oops’ factor here is usually the check valve or the air gap. Before you tear the machine out, try cleaning your dishwasher air gap to stop sink backflow. If that’s clear, the issue might be a tiny piece of plastic or a fruit pit stuck in the valve. Diving into dishwasher parts and DIY diagnostics requires looking at the smallest components first. For instance, if your dishes are coming out cloudy, it’s rarely the soap. You’re likely dealing with a faulty dishwasher turbidity sensor, which tells the machine the water is clean when it’s actually still filthy. Have you ever fallen into the trap of replacing a major pump when it was just a clogged $10 sensor? Let me know in the comments. Proper oven repair essentials and dishwasher maintenance are about outsmarting the machine, not just out-muscling it.
The Three Tools That Actually Save Your Sanity
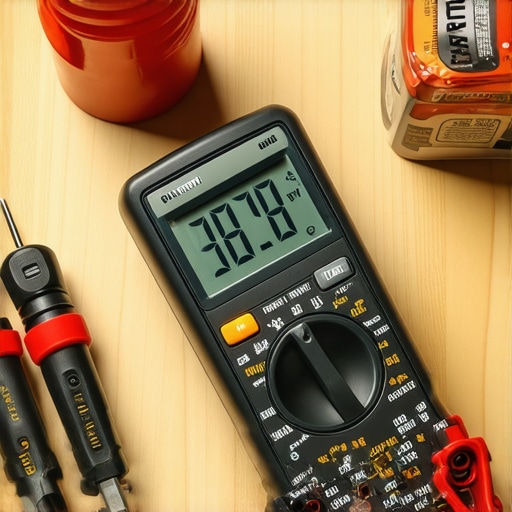
I’ve spent years grabbing whatever tool was closest, but I learned the hard way that a ten-dollar multimeter can lie to you when you’re diagnosing an oven that keeps tripping the circuit breaker. I finally upgraded to a Fluke 117 because of its low-impedance feature, which prevents ghost voltages from giving you a false reading on a failing element. According to technical documentation from Fluke Corporation, ghost voltages can appear in wires that are near-energized circuits, leading a DIYer to think a part is live when it’s actually dead. If you’re serious about the most reliable way to test an oven thermal fuse, having a meter that handles auto-ranging and continuity with a fast-response beeper is a game changer. Beyond the meter, a set of magnetic-tipped nut drivers—specifically the 1/4-inch and 5/16-inch sizes—will prevent you from losing screws into the dark abyss of a dishwasher’s bottom pan.
How do I maintain these kitchen workhorses for the long haul?
Maintenance is less about deep cleaning and more about thermal and chemical management. For dishwashers, you have to how to clear a hard water clog in your dishwasher inlet valve before the buildup forces the solenoid to work until it burns out. Hard water is a silent killer for both machines, creating scale that acts as an insulator on heating elements. In the oven, I make it a point to avoid the high-heat ‘Self-Clean’ cycle. That extreme temperature often fries the delicate solder joints on the control board. Instead, I recommend using the quickest way to remove hard water build-up in your dishwasher and applying similar manual, non-corrosive cleaning methods to your oven surfaces to preserve the electronic components.
Don’t Let Digital Locks Stop Your Future Repairs
I suspect we’re heading toward a world where appliance manufacturers lock down diagnostics behind proprietary apps and encrypted error codes. We’re already seeing ‘Software Defined Appliances’ where a manufacturer might require a subscription to unlock full convection settings. This trend makes mastering the physical mechanics of oven repair essentials even more vital. If you can identify a failing mechanical relay or a clogged valve today, you’ll be far more prepared when the machines become even more ‘intelligent’ and less user-friendly. Before you assume your next repair is too complex, try one specific advanced tip: use your phone to record the sound of your dishwasher’s drain cycle. Comparing that recording to a healthy machine can tell you more than a sensor ever will. Go ahead and grab your multimeter now—check the resistance on your oven’s bake element today to see if it’s within the standard 20 to 40-ohm range before it fails during your next big dinner.
Hard Truths from a Decade of Kitchen Fixes
Over the years, I have realized that the biggest enemy of a DIY fix isn’t the complexity of the machine, but our own tendency to ignore the warning signs. I once spent three hours trying to figure out why my dinner was taking forever, only to realize I should have been testing the bake element for invisible cracks that were causing intermittent failures. Another hard lesson? Never trust a visual inspection alone. A wire can look perfectly fine but have zero continuity. Before you commit to a major repair, check the path of electricity; often, the solution is as simple as fixing a burnt terminal block where the power first enters the machine. Most importantly, remember that grease isn’t just a cleaning problem—it’s a mechanical one. Baked-on residue can seize up moving parts faster than actual metal fatigue ever will.
[image placeholder]
The Tools That Saved My Saturday More Than Once
Having the right gear transforms a stressful afternoon into a satisfying project. I never start a diagnostic without my auto-ranging multimeter; it is the only way to be sure when testing your dishwashers high limit thermostat for continuity or checking element resistance. For those deep-seated screws in the back of a dark cabinet, a set of magnetic-tipped nut drivers is non-negotiable—they prevent the ‘clink-clink’ sound of a lost screw falling into the abyss. I also highly recommend keeping a small bottle of high-temperature, food-grade silicone grease in your kit. It is the secret weapon for anyone who needs to lubricate sticky oven door hinges safely without causing smoke or smells during the next bake. Finally, use your smartphone as a borescope; taking a video of the back of a panel before you pull it off will save you hours of guesswork during reassembly.
Take the Power Back into Your Own Hands
There is a unique sense of accomplishment that comes from hearing your dishwasher hum perfectly or seeing your oven hit the exact temperature on the first try. You don’t have to be a master technician to keep your kitchen running; you just need to be observant and willing to try. Mastering these oven repair essentials gives you an edge in a world where appliances are designed to be replaced rather than fixed. Don’t be afraid to pull that panel off and see what’s happening inside. Most of the time, the machine is just waiting for someone to give it a little attention and a fresh part. Have you ever found a random screw at the bottom of your dishwasher and had no idea where it came from? Let me know in the comments below!