I stood there, staring through the greasy glass of my oven door, watching a tray of lasagna that had been in for forty-five minutes and hadn’t even started to bubble. It was heartbreaking. I’d followed the recipe to the letter, but my appliance had other plans. For a long time, I thought I was just a bad cook or that preheating was a suggestion rather than a rule. It turns out, I was just ignoring the signs of a dying heating element.
The Frustrating Mystery of the Pale Roast Chicken
I remember one specific Sunday where I tried to impress my in-laws with a roast. Two hours in, the meat thermometer wasn’t even budging. I felt like a total failure. I eventually realized that my oven wasn’t actually reaching the temperature on the dial. If you are tired of your dinner schedule being held hostage, we are going to fix that today. We’ll look at everything from testing your oven bake element for hidden cold spots to simple calibration tricks. My goal is to save you the $150 service fee I wasted years ago because I didn’t know the simple reason your oven won’t reach 450 degrees. It is often just one small part acting up, and you can usually find the culprit by performing some basic oven repair essentials on your own.
Is my oven actually broken or am I just overreacting?
It is easy to think you are crazy when the light is on and you feel heat, but the food isn’t cooking. According to data from the Association of Home Appliance Manufacturers, even high-end ovens can lose calibration by as much as 25 to 50 degrees over several years of heavy use. You aren’t imagining things; your oven is likely underperforming. Before you start shopping for a new range, you need to check if you’re dealing with an oven control board failing or perhaps something as simple as a worn-out gasket. I once spent an entire afternoon scrubbing my oven thinking it was dirty, when really, I just needed to start with some basic oven diagnostics. Have you ever pulled a cake out of the oven only to find the center is completely liquid while the edges are burnt? It happens to the best of us, and usually, the fix is easier than you think.
Test the Seal Before Tearing the Oven Apart
Start by looking at the most obvious, yet most ignored part: the door seal. Think of your oven gasket like the weather-stripping on your front door in the middle of winter. If it is brittle, crushed, or torn, you are literally heating your kitchen while your food stays raw. One of the best ways to confirm this is by testing your oven door seal with the dollar bill trick. You simply close the door on a dollar bill and try to pull it out. If it slides out with zero resistance, your gasket is dead, and your oven cannot hold the heat necessary for a proper bake.
Inspect the Coils for Hidden Cracks and Cold Spots
If the seal is tight, the next culprit is the heating element itself. Diagnostics for an oven are remarkably similar to checking dishwasher parts a comprehensive guide to diy diagnostics; it is all about tracing the path of power and identifying where the flow stops. I once spent an entire Saturday afternoon troubleshooting a stove because the bottom element looked fine—it was even glowing a faint orange. I assumed it was working perfectly. I was wrong. Half of the element had a microscopic fracture that prevented it from reaching full output, meaning it took triple the time to reach 350 degrees. You should be testing an oven bake element for invisible cracks or blisters. If you see any rough spots that look like a miniature volcano, that is where the electrical resistance is failing and the heat is escaping. 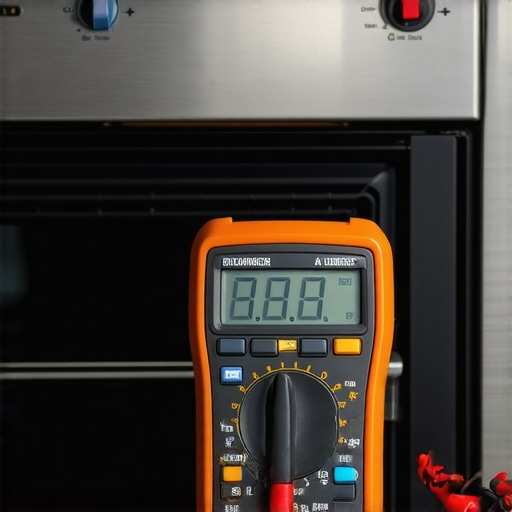
Get Technical with a Multimeter
Sometimes the hardware looks pristine, but the communication is broken. This is where you need to get comfortable with testing your ovens high-limit thermostat with ease. Using a multimeter on an oven element is like checking a garden hose for a kink. If the water (electricity) cannot flow from one end to the other, the hose (element) is useless. Set your meter to Ohms and touch the probes to the terminals. A reading of infinity means the internal wire is snapped, even if the outside looks brand new. Also, take a peek at the back of the unit. You would be surprised how often a total lack of heat is actually caused by how to check for a burnt terminal block on your electric oven. If those wires are scorched or loose, the power simply cannot get to where it needs to go, regardless of how new your heating element is.
Recalibrate the Control Dial to Save Your Dinner
Finally, if everything checks out but your food is still inconsistent, your thermostat might just be lying to you. Use a secondary oven thermometer to see if the internal temperature matches the display. If they are off by 20 degrees or more, you need to learn the fast way to recalibrate your oven for accurate temperatures. Most digital boards allow you to adjust the ‘offset’ in the settings menu, saving you from a full control board replacement. You might also notice why your oven preheat light never turns off, which is a classic symptom of the sensor and the control board being out of sync. It is a simple software fix that prevents you from buying a whole new appliance.
Let’s dig deeper into why so many DIY repairs fail even when you think you’ve followed the manual. Most homeowners fall into what I call the ‘parts-cannon’ trap—throwing new components at a problem without verifying the actual fault. Everyone says that if an oven isn’t heating, you just swap the element, but in my experience, jumping to conclusions costs more than the repair itself. Sometimes, the issue is a ‘soft failure’ where a part technically works but operates outside its required electrical parameters. For example, you might find yourself wondering why your gas oven igniter glows but doesn’t light. Many people assume a glow equals a functional part, but a weak igniter won’t pull enough amperage to open the safety valve, a nuance that often escapes the casual repairman.
Don’t Fall for the Myth of the Binary Component
In the world of professional repair, we often talk about ‘sensor drift.’ According to research by the Association of Home Appliance Manufacturers (AHAM), electronic sensors can lose their accuracy over time due to repeated thermal cycling. This means your sensor might tell the control board the oven is at 350 degrees when it is actually struggling at 310. If you don’t perform proper oven diagnostics, you’ll replace a perfectly good control board when a $20 sensor was the culprit. This applies to your cleaning appliances too; if you are identifying dishwasher faults quickly, always check the resistance of the thermistor before assuming the main logic board is fried. Have you ever fallen into this trap and replaced a part that wasn’t broken? Let me know in the comments.
Can a single faulty wire mimic a total control board failure?
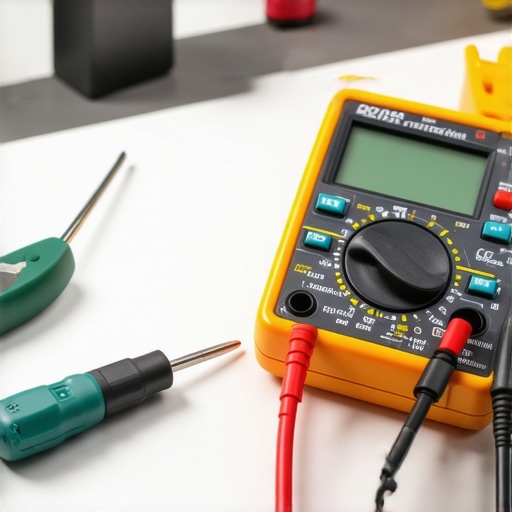
The answer is a frustrating yes. One ‘oops’ factor I see constantly is the failure to inspect the wiring harness for heat-pitting or corrosion. I’ve seen people spend hundreds on dishwasher parts only to realize a single spade connector had oxidized. This is especially true when testing your dishwashers high-limit thermostat for continuity. If the connection is loose, the resistance increases, the heat rises at the terminal, and the thermostat trips prematurely. This nuance is why a multimeter is your best friend. Before you start oven repair essentials, you must check for ‘voltage drops’ under load. A component might show 120V when it’s off, but that voltage can collapse the moment the relay clicks if there is a compromised wire in the circuit.
The Critical Warning About Static and Modern Boards
If you do decide to open up the control housing, here is your warning: modern appliance boards are incredibly sensitive to Electrostatic Discharge (ESD). A tiny spark from your finger that you can’t even feel is enough to scramble the microprocessor. This leads to issues like why your oven display shows a garbled mess of characters. Always use an anti-static wrist strap or at least touch the metal chassis of the appliance before touching the green circuit board. I’ve seen seasoned veterans brick a $300 board because they were working on a carpeted floor in the winter. Knowing when to stop diying and call an oven repair expert is often about recognizing when the technical requirements exceed your current toolset, especially when it comes to delicate electronics and gas pressure calibrations.
Grab These Tools Before You Unscrew Anything
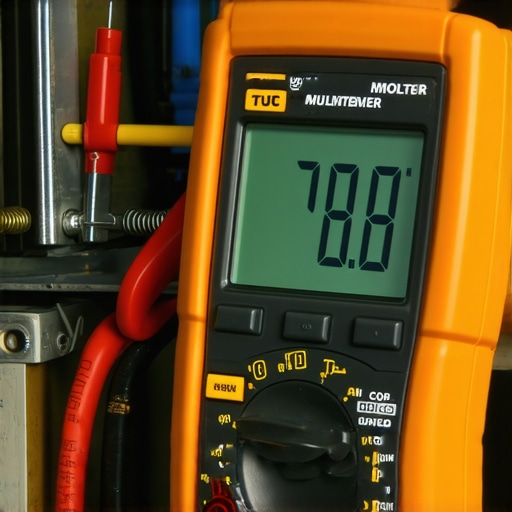
I’ve realized over the years that having the right tools is half the battle. You don’t need a professional workshop to handle most kitchen issues, but a basic digital multimeter is absolutely non-negotiable. I personally use a high-quality model with a CAT III safety rating because it can handle the high-voltage spikes of an oven without blowing an internal fuse or putting me at risk, which is vital for oven diagnostics. If you want to get serious about your DIY game, my number one tip is to learn how to test for continuity on every part you remove. It takes thirty seconds and saves you from the ‘parts-cannon’ disaster I mentioned earlier. Go grab a multimeter today and test your toaster or an old lamp just for practice; you’ll feel like a pro the second those digits jump on the screen.
Stop Fire Risks Before They Start Behind the Range
Next, let’s talk about the parts of your appliance that are usually out of sight and out of mind. I’m talking about the electrical backbone that feeds these hungry machines. The National Fire Protection Association (NFPA) reports that electrical failure or malfunction is a leading cause of home fires, often stemming from old or damaged wiring and overloaded circuits. That is why I always make it a habit to be inspecting your ovens power cord for heat damage whenever I pull the unit out to clean behind it. If the plug feels warm to the touch or looks even slightly discolored, you aren’t just looking at a repair issue; you’re looking at a serious safety hazard. While you are back there, you might as well take the best way to remove stubborn rust from an oven rack into account so your oven interior stays as healthy and hygienic as the exterior.
The Secret to a Dishwasher That Actually Drains
The same logic of preventative care applies to your cleaning routine. Most people wait until they hear a high-pitched whistling noise from their dishwasher before they even think about checking the pump or the spray arms. Usually, that noise is just the machine screaming for help because the intake is partially blocked by a stray toothpick or a piece of broken glass. Knowing how to clean your dishwashers hidden sump filter is the single most effective way to extend the life of your motor and ensure your dishes actually come out clean. If you let debris build up in the sump, you’ll eventually be searching for the one part that stops your dishwasher from draining completely, and trust me, replacing a heavy-duty drain pump is a lot more expensive and physically demanding than simply rinsing a plastic mesh filter under the kitchen sink once a month.
How do I prevent my appliances from failing prematurely?
Consistency is your best friend when it comes to appliance longevity. I’ve found that a quick quarterly systems check prevents 90% of the emergency calls I used to make. This means checking the door gaskets for cracks, listening for new vibrations, and ensuring your spray arms aren’t clogged with hard water deposits. However, you also need to know when to stop diying and call an oven repair expert. If you find yourself staring at a charred control board or a gas leak you can’t pin down with soapy water, that is the moment to put the tools away. Looking forward, we are seeing a massive shift toward smart, connected appliances. Modern units are starting to include sensors that can predict a bearing failure in a pump weeks before it happens, sending a notification directly to your phone. This trend toward predictive maintenance will eventually make the mystery breakdown a thing of the past, but for now, your eyes and your multimeter are still your best defense against a broken kitchen.
I’ve spent a decade elbow-deep in kitchen electronics, and if there is one thing I’ve learned, it’s that your gut feeling is usually more expensive than a multimeter. When you stop guessing and start measuring, you stop wasting money on parts you don’t actually need.
The Most Expensive Mistake I Made as a Beginner
The single biggest lightbulb moment for me was realizing that visibility does not equal functionality. Just because an igniter glows or a control board lights up doesn’t mean they are performing their job correctly. I once replaced three different boards before realizing I just needed to be pinpointing faults with a simple voltage test. Another lesson? Never assume a new part is a good part. Out-of-the-box failures are rare but they happen, and they will drive you crazy if you don’t test for continuity before installation. Finally, I learned that a clean appliance is a functional one; half of the issues people face are simply due to debris or scale build-up that mimics a mechanical failure.
My Unshakable Kit for Household Troubleshooting
If you want to move beyond the “replace and pray” method, you need a few core resources. First, a digital multimeter is your compass; without it, you are lost in the woods. I also highly recommend keeping a dedicated notebook for your appliances. Write down the model numbers and the dates you performed maintenance like identifying dishwasher parts for replacement. For technical deep-dives, I always refer back to the manufacturer’s wire diagrams, usually tucked in a plastic pouch behind the bottom kickplate. If you are dealing with physical hardware issues, like how to fix an oven door that drops open too fast, a simple set of heavy-duty springs and a torx screwdriver set will cover 90% of your needs.
Reclaim the Joy of Cooking and Cleaning
Fixing your own gear isn’t just about saving a few hundred dollars on a service call, though that is a fantastic perk. It’s about the confidence that comes from knowing exactly how your home works. Whether you are dealing with a range that won’t bake or a machine that is running indefinitely, you have the power to find the answer. Don’t let a blinking error code intimidate you. Take it one wire at a time, stay safe by cutting the power, and know when to stop diying and call an oven repair expert if things get too complex. You’ve got this. Have you ever replaced a part only to find out the problem was something much simpler? Let me know in the comments below!