I remember the first time I stared into the belly of my gas range, watching that little silicon carbide bar glow a bright, cheerful orange. My stomach growled, my kids were asking for pizza, and yet, the oven stayed as cold as a Michigan winter. I figured, ‘Hey, it’s glowing, so it must be working, right?’ Wrong. That little light-show is one of the biggest traps in the world of DIY appliance repair. It’s exactly why your gas oven isn’t heating even though the igniter glows, and it drove me absolutely nuts for three days until I finally grabbed my multimeter and realized I was being lied to by a piece of glowing metal. [IMAGE_PLACEHOLDER]
The Frustrating Glow That Leads Nowhere
If you have ever been stood up by your dinner because your oven refused to preheat, you know the sinking feeling. Most of us assume that if the igniter is glowing, it has enough juice to get the party started. In reality, an igniter can glow but still be technically dead. It is a classic case of oven diagnostics gone wrong. I once spent sixty bucks on a new gas valve because I was convinced the igniter was fine. Guess what? The valve was perfect; the igniter just didn’t have the ‘oomph’ to pull the required current. According to technical data from experts at RepairClinic, a standard igniter needs to draw between 3.2 and 3.6 amps to open the safety valve; if it is old and high-resistance, it might glow but fail to reach that threshold.
Is a Multimeter Actually Worth the Hassle?
You might be thinking, ‘Can’t I just buy a new part and swap it out?’ Sure, you could, but you are essentially gambling with your weekend. Testing for resistance is the only way to be 100% certain. I used to be intimidated by those little digital screens and tangles of wires, but once I learned how to test a gas oven igniter with a multimeter, I felt like I had a superpower. It takes two minutes and saves you from the ‘part-swapping’ tax we all pay when we guess.
Stop Wasting Money on Parts You Do Not Need
Today, I am going to walk you through exactly how to pin down this sneaky failure. We are going to look at why resistance matters and how to read those numbers without needing an engineering degree. It is about more than just fixing a stove; it is about taking control of your kitchen again. If you have been struggling with a stove that takes forty minutes to reach 350 degrees, you are likely dealing with a weak component that is on its last legs. Have you ever replaced a part only to find out it wasn’t the problem? Tell me about your most frustrating ‘guesswork’ repair in the comments below!
Kill the Power Before You Touch a Single Screw
Before you even think about grabbing a screwdriver, you need to unplug that unit. Working on a live gas range is like trying to pet a stray cat while holding a can of tuna; eventually, you are going to get scratched. I learned this the hard way years ago when I tried to nudge a wire while the oven was plugged in. A sudden spark and a tripped breaker later, I realized that my ego was far larger than my electrical knowledge. Safety is the first pillar of oven repair essentials troubleshooting common issues with parts. Once the power is dead and the gas is off, you can safely remove the oven racks and the bottom metal plate to reveal the burner assembly. This plate is usually held by two screws at the back. Pull it out, and you will see the igniter sitting right next to the burner tube.
Check for Physical Cracks or Burn Marks
Sometimes the diagnosis is visible to the naked eye. If you see a tiny white line or a hairline crack on the dark silicon carbide of the igniter, it is toast. It is similar to how dishwasher parts a comprehensive guide to diy diagnostics often highlights visual wear before moving to electrical testing. However, since your igniter is glowing, it probably looks okay. This is where most people stop and assume the gas valve is the culprit, but that is a rookie mistake. 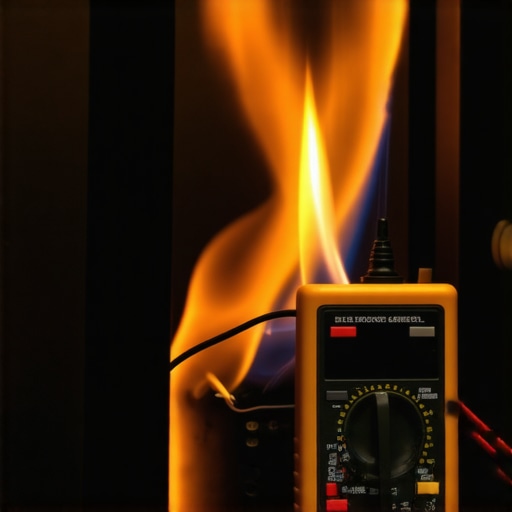
The 3.2 Amp Rule You Can’t Ignore
The igniter and the gas safety valve are in a committed relationship. The valve will not open unless the igniter draws enough current to prove it is hot enough to light the gas instantly. Think of the igniter as a bouncer at a club; if he doesn’t have enough muscle (amps), the door (valve) stays shut. To test this, you need a clamp-on ammeter or a standard multimeter set to measure current in series. If you are unsure of the setup, check our guide on how to test a gas oven igniter with a multimeter to avoid blowing a fuse in your meter. When I first tried this, I didn’t realize my meter’s fuse was blown, and I spent twenty minutes wondering why I was getting a zero reading while the igniter was bright orange.
Could It Be the Thermal Fuse Instead?
If your igniter isn’t glowing at all, or if you suspect the power isn’t even reaching the burner, you need to look elsewhere. Some ovens utilize a thermal fuse as a safety cutoff. If the oven overheated once, this fuse might have popped, breaking the circuit entirely. Knowing how to test your ovens thermal fuse for continuity can save you from replacing a perfectly good igniter. If the fuse is fine, but the gas still won’t flow despite a strong amp draw, you might actually be looking at a mechanical failure. In that case, you’ll need to learn how to identify a weak gas valve in your wall oven. Most of the time, though, it is that glowing piece of metal that has simply grown too weak to do its job.People always tell you to check for continuity and call it a day. In my experience, a simple ‘beep’ on your multimeter is often the start of a wild goose chase. You see, there is a massive difference between a part that works on the workbench and one that survives the 400-degree inferno of your oven. This is the ‘Cold Test Fallacy.’ I have seen bake elements pass a continuity test with flying colors, but the moment they expand under heat, a microscopic crack opens up and breaks the circuit. If you are only pinpointing faults before calling a repair expert while the range is at room temperature, you are only getting half the story.
The Ghost in the Control Board Machine
One of the most expensive mistakes you can make is assuming that because an element isn’t heating, the element is the problem. Sometimes, the ‘brains’ of the operation—the control board—has a sticky relay. In advanced oven repair essentials, we look for ‘ghost’ readings. This happens when a relay is partially fused; it sends enough voltage to trigger a multimeter, but not enough current to actually heat the coil. It is a frustrating middle ground that leads many DIYers to buy parts they do not need. According to data from NEMA (National Electrical Manufacturers Association), relay contacts in high-heat appliances are prone to ‘pitting,’ which increases resistance over time until the component fails under load—even if it looks fine to a basic tester.
Is Your Oven Control Board Actually Repairable?
Many people will tell you that if the board is toast, you have to buy a brand new one for hundreds of dollars. That is a myth that keeps the manufacturers rich. If you have some basic soldering skills, you can often find how to tell if your oven control board is repairable by looking for ‘cold’ solder joints or burnt traces. Swapping a five-dollar relay can save a three-hundred-dollar board and keep your appliance out of the landfill. 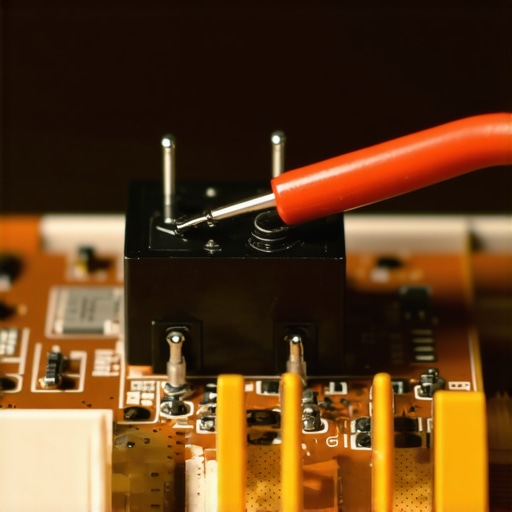
The Over-Tightening Trap and Other Mistakes
Here is a specific warning for you: do not go ‘Hulk’ on your screws when you install a new element or sensor. I once snapped a terminal off a brand-new sensor because I thought it needed to be airtight. It doesn’t. Those components need room to expand and contract as they heat up. This principle applies to your other kitchen heavy-hitters too; for instance, identifying dishwasher faults quickly often reveals that leaks are caused by over-compressed gaskets rather than loose ones. If you are testing an oven temperature sensor with just a multimeter, remember that the resistance should change predictably as the temperature rises. If the numbers jump around like crazy, the sensor is failing internally, regardless of what the ‘cold’ reading says. Have you ever replaced a part only to realize the issue was a loose wire or a slightly-too-tight screw? Let me know in the comments, I’d love to hear your ‘oops’ stories!Speaking of loose wires, I’ve realized that having the right tools isn’t just about speed; it’s about precision. If you are still using a generic adjustable wrench for everything, you are begging for a rounded bolt head. I personally swear by a dedicated magnetic nut driver set. There is nothing worse than dropping a screw into the dark abyss of an oven’s insulation. When I’m testing an oven fan motor for resistance, I need my hands free, not fishing for dropped hardware with a magnet on a stick. Also, if you’re tackling the wet side of things, having the correct tool for removing a rusted dishwasher heating element nut can turn a two-hour nightmare into a five-minute win. I use a specialized thin-walled socket because standard ones often won’t clear the plastic housing without cracking it. 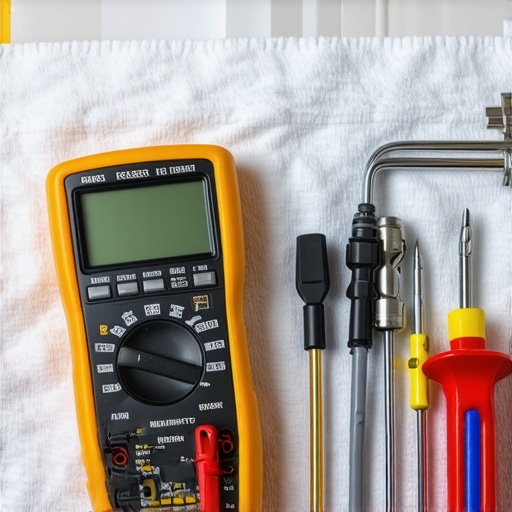
Don’t Let Hard Water Kill Your Valves
One of the biggest long-term threats to your appliances isn’t use—it is the water itself. Calcium and magnesium build-up can seize an inlet valve faster than you can say ‘leak.’ I’ve seen brand-new machines fail in eighteen months because the owners didn’t know the quickest way to remove hard water build-up in your dishwasher involves more than just a quick wipe down. It requires a deep descaling of the internal spray arms and sensors. According to technical service documentation from Whirlpool’s Job Aid for Gas Ranges, igniter resistance can increase significantly after just 500 cycles if the oven is frequently used for high-heat self-cleaning, leading to the exact ‘glow-but-no-ignition’ scenario we discussed. This is why I advise against using the self-clean feature; the extreme heat is a slow death sentence for sensitive electronics.
How do I keep my appliances running for a decade?
Maintenance isn’t a one-time event; it is a rhythm. Every six months, I pull my dishwasher filter. If you haven’t done it lately, the best way to clean a greasy dishwasher filter is a soak in hot, soapy water—not a scrub with a wire brush, which can tear the fine mesh. In the oven, I check the door alignment. Learning how to spot a failing oven hinge before the door drops can save you from a shattered glass panel and a very expensive floor repair. Finally, take twenty minutes this weekend and learn how to calibrate your oven with a simple thermometer. It is the most empowering ‘pro’ tip I can give you to ensure your baking remains consistent. Looking ahead, I suspect we are moving toward ‘plug-and-play’ diagnostic modules that will beam error codes directly to your phone before the part even fails. Until that smart-tech becomes the standard, your multimeter remains your best friend. Go grab a thermometer and check your oven’s accuracy right now—you might be surprised how far off it actually is!
The Hardest Lessons I Learned Facing a Cold Oven
I’ve spent more hours than I’d like to admit hunched over a stove with a flashlight in my mouth, and if there is one thing I’ve learned, it is that a multimeter is only as good as the person holding it. One of the biggest traps is relying on a simple continuity test for parts that have to operate under high heat. While you are at it, remember that the most reliable way to test an oven thermal fuse is to check it while the wires are disconnected to prevent ‘back-feeding’ a signal from another component. Another lightbulb moment for me was realizing that fixing an oven that bakes too slow for your recipes isn’t always about the igniter; sometimes, the insulation has settled or the door seal is leaking heat like a sieve. Finally, never ignore the ‘ghost’ signals from your electronics. If you suspect your brain-board is acting up, you should check these 4 symptoms before you commit to a three-hundred-dollar replacement.
The Three Must-Have Items in My Repair Arsenal
To stop the guesswork, I’ve narrowed my toolkit down to three essentials that go beyond the basic screwdriver. First, a clamp-on ammeter is non-negotiable for gas ovens; it lets you see that 3.2-amp draw in real-time without cutting wires. Second, a high-quality infrared thermometer. This is the only way to truly see how to fix an oven that bakes unevenly because it identifies cold spots in the cavity that a standard sensor might miss. Third, I always keep a magnetic telescopic reach tool handy. Trust me, once you drop a mounting screw into the dark void behind the oven’s back panel, you will realize it is the best five dollars you ever spent. I trust these tools because they provide data, and data is the only thing that beats frustration in the world of DIY diagnostics.
Take the Leap and Fix It Yourself
There is a specific kind of pride that comes with sliding a tray of cookies into an oven you fixed with your own two hands. Don’t let the wires and the technical jargon intimidate you; these machines are just a collection of simple circuits working together. By taking the time to learn the rhythm of your appliances, you aren’t just saving money—you are becoming the master of your home. Whether you are dealing with a glowing igniter or a temperamental control board, remember that oven repair is a skill that pays dividends for a lifetime. You’ve got the knowledge, you’ve got the steps, and now it is time to get that kitchen back in peak condition. What is the most ‘impossible’ repair you actually managed to pull off on your own? Let me know in the comments below!