I stood in my kitchen, staring at a blackened tray of what used to be expensive ribeye. The oven said 350 degrees, but the smoke detector screaming in the hallway told a different story. It is a gut-sinking feeling. You trust the digital display, but your nose knows the truth. For years, I thought these appliances were black boxes of mystery. I once spent nearly three hundred dollars replacing a main control board because I assumed the brain was dead, only to find out it was a simple, cheap metal rod—the temperature sensor. I felt like an idiot. But that mistake taught me exactly how to spot the difference between a minor sensor tweak and a major electronics failure.
Stop Guessing and Start Testing the Right Way
If your oven is acting possessed, you are likely facing one of two culprits. It is either the sensor—a simple thermistor—or the control board, which acts as the computer. When my oven first started acting up, I noticed signs your oven temperature sensor is inaccurate, like cookies being raw on the bottom but burnt on top. It is tempting to panic. You start looking at new stoves or calling a tech who charges a fortune just to show up. Don’t do that. Most of the time, you can narrow this down with a simple, inexpensive tool. According to technical standards from the National Electrical Manufacturers Association, precise temperature regulation in modern ovens relies on specific resistance values that change with heat. If that resistance is off by even a tiny bit, the whole system collapses. Before you start identifying the correct control board for your wall oven, we need to rule out the small stuff.
Is the Control Board Actually Worth the High Price Tag?
The skeptic in me always asks if the manufacturer is just trying to get me to buy the most expensive part. Sometimes, yes. But a bad board has tell-tale signs that a sensor simply does not. If your display is flickering, buttons are not responding, or you are hearing a weird clicking, you might want to check is your oven control board failing. Have you ever been convinced a major part was broken, only to find a loose wire or a cheap sensor was the real villain? I would love to hear your almost threw it out stories! If you are not seeing those digital errors, your first step is testing an oven temperature sensor with just a multimeter. It is the easiest way to save yourself a massive headache. Let’s dig into the specifics of how these two parts fail so you can get back to baking without the smoke alarm.
Grab Your Multimeter and Crack the Code
To start, think of your oven as a simple circuit. The control board is the conductor of an orchestra, and the sensor is the lead violinist telling the conductor how fast to go. When they stop talking to each other, the music—or in your case, the dinner—falls apart. I remember a humid Tuesday in July when I was helping a neighbor with a Frigidaire that would not get past 200 degrees. He was ready to buy a new one. We pulled the sensor out, which is just a small metal probe typically held in by two screws at the back of the oven cavity. By testing an oven temperature sensor with just a multimeter, we found the resistance was completely haywire. It was reading 2500 ohms at room temperature when it should have been around 1080. That tiny discrepancy told the board the oven was already hot, so the board never sent power to the elements.
The Five Minute Sensor Check That Saves Hundreds
Before you even touch the control board, you have to verify the sensor health. Disconnect the power to the oven—never skip this or you will get a zap you will not forget—and find the plastic harness connecting the sensor to the internal wiring. Set your multimeter to the ohms (Ω) setting. If you see a reading of “Open” or “0,” the sensor is dead. If the reading is significantly higher or lower than the manufacturer’s spec for room temperature, it is drifting and needs to be replaced. 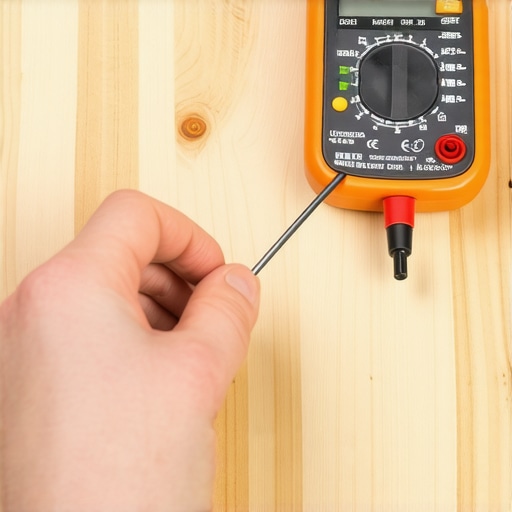
Look for the Visible Clues on the Board
If the sensor tests perfectly, your focus shifts to the brain. Control boards are notorious for “ghosting”—behaving fine one minute and failing the next. I once spent an hour chasing a phantom heat issue only to realize the board had a cold solder joint that only disconnected when the kitchen got warm. If you suspect is your oven control board failing, look for physical burn marks on the back of the green circuit board. These are often called “hot spots” and look like little charred patches. If you see these, or if you are how to diagnose a buzzing noise from your oven control board, the internal relays are likely toasted. A relay is just a mechanical switch; if it is buzzing, it is struggling to hold the connection to your heating elements.
Rule Out the Gatekeepers
Sometimes the problem is not the brain or the nerves, but a blown fuse acting as a gatekeeper. If your oven is completely dead—no lights, no heat, nothing—you should be using the most reliable way to test an oven thermal fuse. This fuse is a safety device designed to pop if the oven overheats. If it is blown, it cuts the circuit entirely to prevent a fire. Similarly, if your oven heats but does so incredibly slowly, you might actually be replacing the oven bake element in 15-minutes-or-less. A cracked element can sometimes still glow slightly but will not produce the necessary heat to reach baking temperatures. I have seen DIYers replace a whole control board only to realize the bottom element had a hairline fracture they missed because they did not look closely enough with a flashlight.One of the biggest misconceptions in appliance repair is that a glowing igniter is a functional one. I have seen countless DIYers look through that little window, see the orange light, and assume the gas valve must be the problem. But here is the truth: gas igniters are made of silicon carbide or silicon nitride, and as they age, their electrical resistance increases. They might still glow bright enough to see, but they will not pull the specific amperage required to trigger the safety valve to release gas. This is exactly why your gas oven isn’t heating even though the igniter glows. You need to stop looking and start measuring. According to technical insights from the Association of Home Appliance Manufacturers, consistent amperage is the only reliable metric for safety valve actuation. If you are stuck, learning how to test a gas oven igniter with a multimeter should be your next move.
Could Your Self-Clean Habit Be Killing Your Oven?
Another nuance most people miss—and manufacturers rarely highlight—is the danger of the self-clean cycle. It is a common ‘Oops’ factor that costs homeowners hundreds in electronic repairs. The extreme heat required to burn off grease, often exceeding 900 degrees Fahrenheit, is a brutal stress test for the control board. I have noticed that boards frequently fail right after a deep clean because the internal cooling fan simply could not keep up with the thermal load. Before you reach for that button, check how to tell if your oven control board is repairable, because a total replacement is expensive. This same logic of looking for root causes applies elsewhere; for instance, when dishwasher parts start failing, we often blame the expensive pump when the real issue is just a blocked sensor or a logic error caused by steam moisture hitting the board. 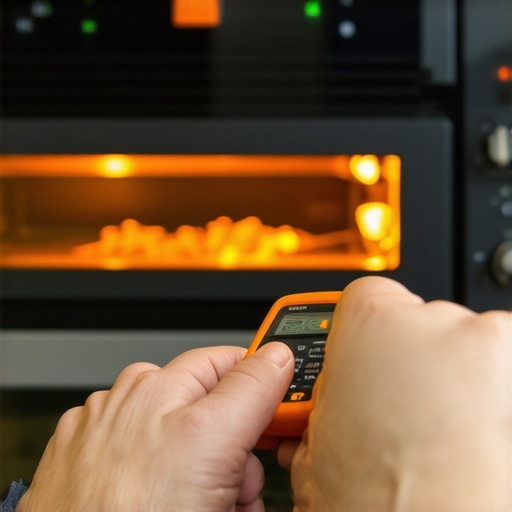
Why Calibration is Often a Waste of Time
If you find why your oven temperature drops randomly during baking, do not jump straight to the calibration settings. Most modern ovens allow you to offset the temperature by about 35 degrees, but this is usually a band-aid for a failing component, not a permanent cure. If your oven is drifting significantly, it is a sign of a hardware failure like a weak relay or a drifting thermistor. Have you ever fallen into this trap and replaced a part that was perfectly fine? Let me know in the comments below! Whether you are chasing an oven ghost or learning how to identify dishwasher faults quickly, the key is to trust the electrical data, not just your eyes.
Get a Real Multimeter or Keep Paying the Tech
I used to buy the five-dollar multimeters from the bargain bin, thinking they were all the same. I was wrong. When you are dealing with sensitive electronics, a tool that drifts by 5% can lead you to replace a perfectly good control board. I now swear by a CAT III rated digital multimeter because accuracy is everything. It is about the input impedance; cheap meters can actually load the circuit you are trying to test, giving you a false reading that sends you down a rabbit hole. If you are serious about oven repair essentials troubleshooting common issues with parts, investing in a tool with a high sampling rate is non-negotiable. According to the General Electric (GE) Appliance Service Training Manual, even a small amount of oxidation on your probe tips can add 10-20 ohms of resistance, which is enough to make a healthy sensor look like it is failing and cost you a hundred bucks in unneeded parts.
How do I maintain my kitchen tech over time?
Long-term reliability is not about luck; it is about preventing the death by a thousand cuts that heat and moisture cause. For ovens, this means checking the door gasket every year. A leaky seal forces the heating element to work twice as hard, leading to premature burnout of the relays on the board. For your cleanup crew, you should be testing your dishwashers circulation pump for continuity if you notice the water is not hitting the top rack with enough pressure. Most people wait until the kitchen is flooded to look at their dishwasher parts, but a quick visual inspection of the sump filter every month can save the motor from grinding on glass shards or peach pits. 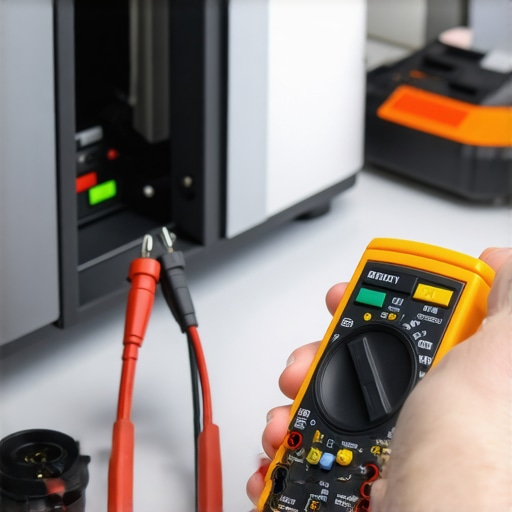
Tools That Make the Impossible Repairs Easy
There is nothing more frustrating than knowing exactly what is wrong but not being able to physically reach the part. I spent two hours once trying to use standard pliers on a rusted heating element nut in a dishwasher until I finally bought the correct tool for removing a rusted dishwasher heating element nut. It is a thin-walled deep socket that fits where standard sockets simply cannot reach. This is where I see the DIY world heading: more specialized, accessible tools that bridge the gap between homeowner and master technician. As appliances become more integrated with home networks, we will likely see more focus on software diagnostics, but the physical basics remain king. If you want to level up your game, stop just swapping parts and start oven diagnostics pinpointing faults before calling a repair expert. My challenge to you is simple: Next time your oven acts up, do not just look for a glow. Pull that sensor and measure the resistance yourself. It is the only way to truly know your machine and save your hard-earned money.
Lessons Bought with Burnt Dinners and Wasted Cash
Looking back at my early DIY disasters, I realize now that my biggest mistake wasn’t a lack of skill, but a lack of patience. I used to think that an error code on the display was gospel. If the screen said F3, I bought a sensor; if it went blank, I bought a board. But the hardest lesson I learned is that the wire harness between those two points is just as likely to fail. Vibration from years of use or a tiny bit of corrosion on a terminal can mimic a total hardware failure. If you are serious about oven diagnostics pinpointing faults before calling a repair expert, you have to treat every connection as a suspect. Another lightbulb moment for me was realizing that heat is the ultimate enemy of electronics. We design these machines to cook food at 500 degrees, but the sensitive brain on top is only protected by a few inches of fiberglass insulation. This is why I always tell people to check their cooling fans first; if that fan isn’t pulling heat away from the board, even a brand-new part will fry in months. Don’t let the digital readout intimidate you; it’s just a tool, not the final answer.
The Minimalist Kit That Solves 90% of Failures
You don’t need a van full of parts to be successful at this. My essential toolkit is actually quite small, but every piece is there for a reason. First, a CAT III rated multimeter is the only way to get the precision you need for sensor drifting issues. Second, I never start a job without the specific manufacturer’s service manual. These used to be hidden behind paywalls, but now you can find most of them online. They contain the resistance charts that tell you exactly what your sensor should read at different temperatures. Finally, for those tricky physical repairs, like replacing the lower heating element in a dual fuel oven, a set of nut drivers and a flexible flashlight are worth their weight in gold. I trust these tools because they remove the guesswork. When you can see the component clearly and measure its output accurately, the ‘mystery’ of appliance repair simply evaporates.
Stop Fearing the Machine and Start Fixing It
The goal of DIY isn’t just to save a few bucks—though that’s a nice perk—it’s to take back control of your home. Modern appliances can feel like disposable tech, but most of them are surprisingly modular and repairable if you have the right mindset. Whether you are diagnosing an oven that keeps tripping the circuit breaker or just trying to get your cookies to bake evenly again, the data is your best friend. Trust your meter, check your connections, and don’t be afraid to pull the appliance away from the wall to see what’s happening behind the scenes. Armed with oven repair essentials troubleshooting common issues with parts, you are more than capable of keeping your kitchen running smoothly without the high cost of a service call. Have you ever replaced a major part only to find out a loose wire or a cheap fuse was the real problem? Let me know in the comments below!