I remember the smell clearly—toasted plastic and a hint of ozone. My wall oven had decided to quit right before a Sunday roast, and the display was doing a jittery dance. Like many of you, I jumped online and ordered the first “universal” control board that popped up. It was a disaster. The plugs didn’t match, and I almost shorted out the whole unit. Identifying the right control board for your wall oven isn’t just about matching the brand name; it’s about the detective work under the hood.
Stop Guessing Before You Fry Your Wiring
Most people think they can just look up their oven brand and pick a part. If only it were that simple! When I first started messing with oven repair essentials, I didn’t realize that manufacturers change board revisions mid-year. You might have the same model number as your neighbor, but if yours was built in June and theirs in July, the boards could be totally different. Before you start shopping, you need to be sure the board is actually the culprit. Sometimes a flickering screen is just a loose wire, while other times your oven control board is failing and showing classic symptoms like erratic temperatures or dead buttons. Don’t be like me and skip the prep work. I once replaced a $150 board only to realize it was actually a $15 thermal fuse that had blown. Talk about an expensive lesson in patience!
Is DIY Board Replacement Actually Worth the Risk?
I get it. You’re worried about blowing up your kitchen or making a mistake that costs more than a new oven. It is a valid fear! But here is the truth: if you can use a screwdriver and take a photo with your phone, you can do this. The key is pinpointing the fault before you open your wallet. According to data from Consumer Reports, the electronic control board is the brain of the appliance, and while it is one of the most expensive components, replacing it yourself can save you hundreds in labor costs. Have you ever stared at an error code and felt like your oven was mocking you? I want to hear about your most frustrating repair moment in the comments below. If you see a garbled mess of characters on your screen, don’t panic. We are going to walk through how to find your specific model and serial number—the DNA of your appliance—so you never buy the wrong part again. It is time to move past the buzzing noises and get back to baking.
Grab Your Flashlight and Find the Data Tag
Finding your oven’s ‘DNA’ starts with a physical search. Unlike a toaster, a wall oven hides its identification sticker in a few predictable spots. I usually start by opening the oven door and looking at the frame—specifically where the door meets the chassis. If it isn’t there, check the side of the door itself or the underside of the control panel lip. When I was helping a friend fix their Kenmore, we spent twenty minutes searching before finding the tag hidden behind the bottom storage drawer frame. This tag is your holy grail for oven repair essentials because it lists the full model and serial number. 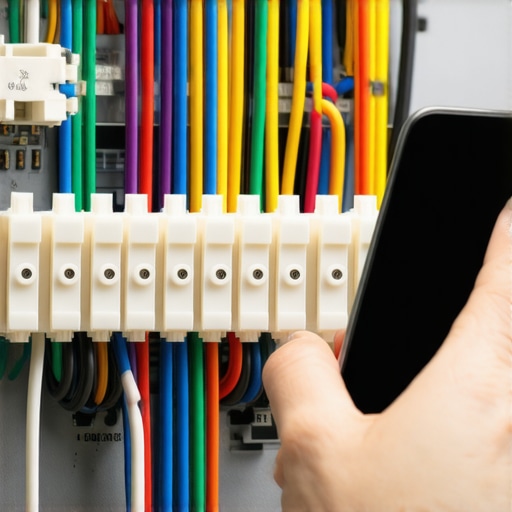
The Model Number is Only Half the Story
Don’t stop at the model number. Manufacturers often release ‘series’ or ‘versions’ of the same appliance. A ‘series 11’ oven might use a different relay than a ‘series 15,’ even if the front panel looks identical. If you ignore the serial number, you might end up fixing an oven that heats way past the set temperature because the new board has different resistance tolerances than your original sensor expects. Always cross-reference the serial number to ensure the board revision matches your specific production run.
Read the Board Directly to Avoid Mismatches
Sometimes the sticker is missing or unreadable. In that case, you have to go straight to the source. Carefully pull the oven out—get a helper, these things are heavy—and remove the back or top panel to expose the electronics. On the green or blue fiberglass of the board, you will see a silk-screened number. This is the OEM part number. I remember a particularly frustrating afternoon with an old GE unit where the model tag was charred. By reading the board number directly, I discovered the previous owner had already replaced it with a ‘compatible’ part that was actually causing a buzzing noise from your oven control board. I wouldn’t have known that without looking at the board’s own markings.
Photograph the Wiring Before You Unplug Anything
This is the most important step for any DIYer. Before you touch a single wire, take high-resolution photos from three different angles. These wires are like a roadmap; if you take a wrong turn during reassembly, you risk a short circuit. Use these photos alongside oven diagnostics to ensure every spade connector goes back to its designated terminal.
Rule Out the Peripheral Sensors First
Before you drop $200 on a new board, make sure the board is actually the problem. A dead display or buttons that don’t respond usually point to the board, but temperature issues can be deceptive. I once nearly bought a board because the oven wouldn’t stay at 350 degrees, but after testing an oven temperature sensor with just a multimeter, I found the sensor was the real culprit. Checking these smaller components first tells you how to tell if your oven control board is repairable or if the issue is just a simple ‘plug and play’ sensor swap. This detective work saves time and prevents you from becoming a parts-changer who hopes for the best.
The biggest lie in the DIY world is that a multimeter beep solves every mystery. I have seen countless homeowners get stuck because they found continuity in a heater or igniter and assumed the part was healthy. But here is the professional nuance: a component can pass a continuity test and still fail to reach the necessary amperage to trigger the next step in the cycle. This is especially true when identifying a weak gas valve in your wall oven; the resistance might look perfect on paper, but the valve won’t open because the draw is too low. This is where most beginners give up and call a pro, thinking the ‘brain’ of the unit is dead when it’s actually just a tired valve.
Why Your Multimeter Might Be Lying to You
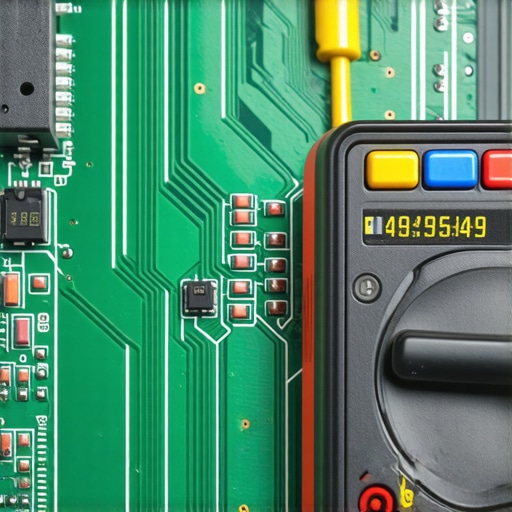
Most people think a circuit is either ‘on’ or ‘off.’ In reality, electronics are much more sensitive to resistance than we give them credit for. When I was first learning about oven diagnostics, I spent three hours chasing a ghost. My meter showed 120 volts at the board, but the second the element tried to kick in, that voltage dropped to almost zero. This is called ‘voltage drop under load,’ and it is the #1 mistake DIYers make. If your connections are corroded or loose, you might see a healthy voltage on your screen, but there isn’t enough ‘pressure’ to actually move the current. Before you buy a new board, check your terminal block for burnt connections. A slightly melted plastic housing can cause enough resistance to mimic a total board failure.
Can a Part Be Half Broken and Still Pass a Test?
Absolutely. Think about your dishwasher’s motor. You might be testing your dishwasher’s circulation pump for continuity and get a perfect reading, yet the dishes stay dirty. Technical data from the Association of Home Appliance Manufacturers (AHAM) suggests that nearly 30% of ‘faulty’ control boards returned to manufacturers are actually perfectly functional. The real culprit is often a ‘lazy’ component—like a pump that spins but lacks the torque to move water under pressure. This is a classic trap. I once saw a homeowner replace three boards because they ignored dishwasher parts diagnostics that would have pointed to a simple mechanical clog in the spray arm. Always remember: electricity is only half the battle; mechanical movement is the other.
Avoid the Expensive Parts Cannon Approach
The ‘parts cannon’ is what we call it when you start throwing new components at a machine hoping one of them sticks. It is expensive and frustrating. Instead, focus on the sequence of operations. Does the dishwasher drain before it fills? If it doesn’t, don’t look at the heater; look at the dishwasher float switch. If you are dealing with a gas unit and you see a glow but no fire, the igniter glows but does not light because it is not pulling enough amps to open the safety valve. Probing for amperage is the advanced move that separates the amateurs from the experts. Have you ever fallen into this trap where a part tested ‘fine’ but still didn’t work? Let me know in the comments below, and let’s figure out the nuance together.
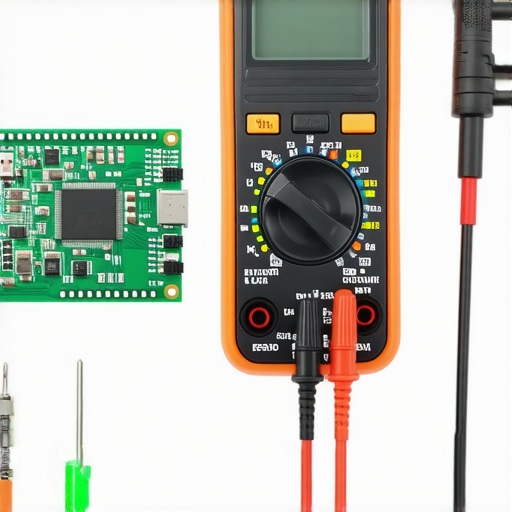
I didn’t learn the hard way just to keep these secrets to myself—I learned because I was tired of failing. If you are serious about DIY, you need to stop buying those five-dollar multimeters at the checkout counter. I personally use an auto-ranging multimeter with a LoZ (low impedance) mode because it filters out ‘ghost voltages’ that can trick you into thinking a dead board is actually alive. When you are deep into identifying dishwasher faults quickly, that accuracy is the difference between a one-hour fix and a three-day headache. I also keep a set of long-reach Torx drivers and a non-contact voltage tester in my primary kit. Why? Because reaching the back screws on a control housing shouldn’t require you to disassemble the entire chassis.
Stop Burning Money on Low-Quality Measurement Tools
The precision of your tools dictates the success of your repair. For instance, when I am diagnosing dishwasher parts, I don’t just look for continuity; I look for the specific Ohm range defined by the manufacturer. According to the technical specifications in the Whirlpool Service Manual for Global Wash Systems, a variation of even 5% in resistance on a thermistor can cause the entire cycle to hang. This is why having a high-quality meter is non-negotiable. It allows you to move past guesswork and start speaking the same language as the machine’s internal sensors. If you want to level up, invest in a set of ‘piercing probes’ that allow you to test voltage through the wire insulation without unplugging the harness—it is a total game-changer for intermittent power issues.
How can I maintain my kitchen tech over the long haul?
Maintenance is just repair performed in advance. For your oven, the biggest long-term win is actually the simplest: stop using the high-heat self-clean cycle. The extreme temperatures often fry the very control boards we have been discussing. Instead, focus on the physical integrity of the unit. I recommend testing your oven door seal with the dollar bill trick every six months. If heat is escaping, your components are working twice as hard and will fail twice as fast. For the dishwasher, you should be cleaning your dishwashers hidden sump filter monthly. A clogged filter increases backpressure on the pump, leading to premature motor burnout. These five-minute tasks are what keep your ‘fixed’ appliances from breaking again next season.
The Smart Home Revolution is Changing DIY
Looking ahead, I predict we are moving toward a ‘Predictive Repair’ era. We are already seeing high-end units with Wi-Fi modules that can email a technician the exact error code before you even realize the water isn’t heating. While this makes oven diagnostics feel more technical, it actually gives us DIYers more data to work with. Eventually, we will be using augmented reality apps on our phones to overlay wiring diagrams directly onto the physical appliance in front of us. The barrier to entry for complex repairs is dropping, provided you have the right foundational knowledge. I challenge you to go into your kitchen right now and check one thing: your dishwasher’s air gap or drain hose. Use oven repair essentials as your guide and see if you can spot a wear-and-tear issue before it becomes an emergency.
What I Learned After Frying My First Board
I used to think that as long as the part fit into the slot, it would work. I was wrong. The hardest lesson I learned about oven repair essentials is that thermal expansion is a real enemy. A board might work perfectly when the oven is cold, but fail the moment the internal temperature hits 350 degrees. This is why I always check if the oven control board is failing by testing it during a preheat cycle, not just at rest. Another ‘lightbulb’ moment? Always check the ribbon cables. Sometimes the board is fine, but the plastic connector has oxidized just enough to break the signal.
Gear That Makes the Job Actually Easy
You don’t need a van full of tools, but you do need the right ones. I never start a job without my smartphone to document every single connection before I pull them apart. For identifying dishwasher faults quickly or troubleshooting an oven, a magnetic parts tray is a lifesaver—you will thank me when that tiny screw doesn’t roll under the refrigerator. I also highly recommend bookmarking a reliable site for OEM diagrams; knowing exactly how to tell if your oven control board is repairable often comes down to seeing the schematic and realizing it’s just a burnt relay you can swap for five dollars.
You Are More Capable Than You Think
Repairing your own appliances isn’t just about saving a few hundred bucks on a service call; it’s about the confidence that comes from understanding the machines that run your home. The first time you hear that click and the oven starts heating properly, you’ll feel like a genius. Don’t let a complex wiring diagram intimidate you. Take it one wire at a time, use your oven repair essentials, and trust the process. Have you ever successfully fixed an appliance only to find a ‘spare’ screw left over at the end? Tell me your best DIY victory or ‘oops’ moment in the comments below!