I was right in the middle of preheating for a batch of chocolate chip cookies when I saw it—a bright, shimmering white spot on the bottom element of my old GE. It looked like a tiny welding torch was active inside my oven. I’ll be honest, my first instinct was to just close the door and hope it finished the batch. I figured it was just some spilled cheese from last night’s pizza finally burning off. Big mistake. That “spot” was actually a blister, and within ten minutes, my kitchen smelled like an electrical fire and the house went dark because the breaker tripped. If you see your element starting to look like it’s growing a wart or has a section that stays bright white while the rest is dull red, you’re looking at a ticking time bomb.
That Glowing Bubble is a Warning You Can’t Ignore
When you see a blister on your heating element, the outer protective sheath has actually failed. It’s no longer just a metal rod heating up; it’s a compromised electrical component exposed to the air. In my early days of DIY, I made the classic blunder of trying to “scrape off” what I thought was carbon buildup from a blistered spot. All I did was thin out the metal even more, leading to a spectacular spark show the next time I turned it on. Trust me, if your oven is sparking, you need to cut the power immediately. According to the National Fire Protection Association (NFPA), cooking equipment is the leading cause of home fires, and a failing element is a prime suspect. [image_placeholder]
Will my oven actually catch fire if I keep cooking?
It’s the question everyone asks because, let’s face it, we just want to eat our dinner. The short answer? Yes, it can. When that element finally snaps at the blister point, it can arc against the oven floor, creating a hole in the metal and igniting any grease nearby. You aren’t just looking at a ruined meal; you’re looking at a potentially dangerous situation that ends up diagnosing an oven that keeps tripping the circuit breaker. Today, we’re going to walk through exactly why these blisters form and how you can spot them before they turn into a mid-dinner disaster. Have you ever noticed a “bright spot” on your element and wondered if it was normal? Drop a comment and tell me what happened! By the way, troubleshooting common issues with parts is much easier when you catch them early. We’re going to make sure you know exactly how to handle this so you can get back to baking safely. Replacing it is easier than you think—usually, you can handle replacing the oven bake element in 15 minutes or less if you have the right part ready.Think of your oven’s heating element like a high-pressure hose. When it’s new, the walls are thick and can handle the strain of intense heat. But over time, the constant expansion and contraction from heat cycles create weak points in the metal alloy. When a blister forms, the protective outer sheath has essentially thinned out to the point where the inner ‘live’ wire is about to touch the air. This is exactly why your oven might start sparking without warning. I learned this the hard way during a Thanksgiving prep years ago. I ignored a tiny bubble on the back of the element, only for it to pop and send a shower of sparks onto the turkey drippings. I ended up diagnosing an oven that keeps tripping the circuit breaker for three hours instead of eating.
How to Tell if Your Element is Ready to Blow
Before you go out and buy parts, you need to verify the damage. If you see physical blistering or a literal hole in the black rod, the element is toast—there’s no ‘fixing’ it. However, sometimes the failure is invisible to the naked eye. If your oven is taking forever to heat up, you might be fixing an oven that bakes too slow by checking the electrical resistance. If the element looks fine but isn’t getting hot, it could be a micro-break in the internal wire that hasn’t burned through the outer shell yet. This is where pinpointing faults before calling a repair expert saves you a hefty service fee. 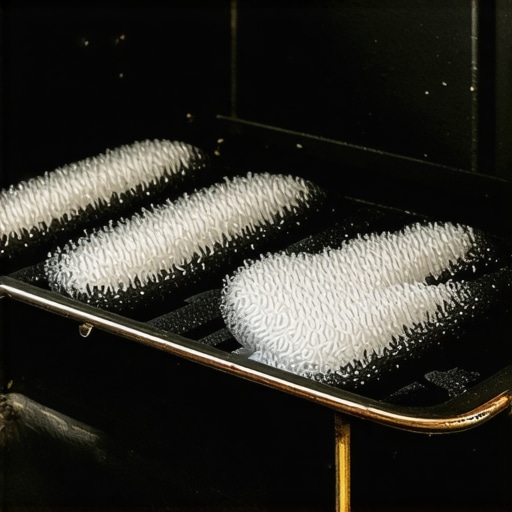
Grab Your Multimeter to Be Certain
The only way to be 100% sure an element is dead without a visible burn is a continuity test. First, unplug the oven or flip the breaker at the main panel. Safety is non-negotiable here because you’ll be touching terminals that carry 240 volts. Pull the oven away from the wall, remove the back panel, and disconnect the wires from the element terminals. Set your multimeter to the lowest Ohms setting and touch the probes to the two terminals. If the display shows ‘OL’ (Open Loop) or infinity, the internal path for electricity is broken. While you have the meter out, it’s also a great time to be testing your oven’s thermal fuse for continuity as well, just to rule out other safety components that might have tripped.
The Danger of Ignoring the White Hot Spot
If you see a spot that glows significantly brighter than the rest of the rod, turn the dial to off immediately. That spot is a high-resistance point where the metal is literally melting. I once worked on a unit where the owner thought the ‘pretty white light’ was just the oven working extra hard. By the time I got there, the element had melted completely and welded itself to the enamel oven floor. If you’re experiencing a strange scent during this process, why your oven smells like plastic might actually be the wire insulation melting due to the excessive heat at the failure point. Catching it now means you’re only replacing the oven bake element in 15 minutes rather than replacing the whole appliance.
Why Your Oven’s Self-Clean Cycle is a Repair Risk
Now, here is where things get controversial in the repair world. Most homeowners assume that the ‘Self-Clean’ feature is a handy maintenance tool, but in my experience, it’s a suicide button for older electronics. The extreme heat required for self-cleaning—often exceeding 800°F—is the leading cause of component failure in modern ranges. The Association of Home Appliance Manufacturers (AHAM) has highlighted how high-temperature environments can stress the metallurgical properties of internal wiring and sensitive digital components. You might think you’re removing grease, but you might actually be is your oven control board failing because a sensitive relay couldn’t handle the thermal load. If you must clean your oven, a bit of elbow grease and baking soda is significantly safer for the long-term life of the appliance. 
Why do some elements fail again just weeks after replacement?
This is a sophisticated nuance that trips up even seasoned DIYers. If you replace a blistered element and the new one burns out within a month, the element itself wasn’t the root cause. You are likely facing a ‘stuck relay’ on the control board. When the relay fails in the closed position, the element stays at 100% power indefinitely, never cycling off as it should to maintain temperature. This is why identifying the difference between a faulty oven sensor and a bad board is critical before you waste money on a second replacement part. The ‘Oops’ factor here is ignoring the diagnostic signs of a runaway oven until the thermal fuse finally blows to prevent a house fire. Before you panic, try testing your oven’s thermal fuse for continuity to see if the safety system successfully intervened. Have you ever fallen into the ‘Self-Clean’ trap only to find your oven dead the next morning? Let me know in the comments! Similarly, when it comes to the kitchen’s other workhorse, the truth about dishwasher pods and your drain hose is that the excessive sudsing from high-concentration pods can actually trick the pressure sensors in soft-water areas, leading to a dishwasher that drains but never starts. To keep things running smoothly, avoid abrasive tools on your filtration system; the best way to clean a greasy dishwasher filter is a simple soak in warm, soapy water to preserve the delicate mesh. Another hidden nuance involves calibration. Most people think if the oven is 25 degrees off, the board is dying, but most modern units allow for a manual offset. Learn how to calibrate your oven with a simple thermometer before assuming you have a major component failure. If the temperature fluctuates wildly, only then should you look for signs your oven temperature sensor is inaccurate.
If you’re serious about saving your appliances from the scrap heap, you need to move beyond a basic flathead screwdriver. I’ve seen more DIY projects ruined by stripped screws and rounded nuts than by actual mechanical failure. When you’re dealing with the wet, corrosive environment inside a cleaning machine, using the correct tool for removing a rusted dishwasher heating element nut is non-negotiable. I personally swear by a high-quality 5/16″ nut driver with a magnetized tip. It’s a tiny investment that prevents you from dropping a screw into the dark abyss of the sump, which would otherwise lead you straight to identifying dishwasher faults quickly rather than finishing the job in ten minutes.
The One Tool I Won’t Start a Repair Without
While the multimeter is the brain of the operation, a set of flexible socket extensions is the muscle. Modern appliances are designed for efficiency, which usually means they are incredibly cramped. If you’re swapping out a worn dishwasher door latch assembly, you’ll find the screws are often tucked behind the inner door panel at angles that a straight driver simply can’t reach. I’ve learned that forcing a tool at an angle is the fastest way to break a plastic housing. Take your time, use the right extension, and you’ll avoid the nightmare of replacing a dishwasher door latch assembly twice because you cracked the mount the first time. 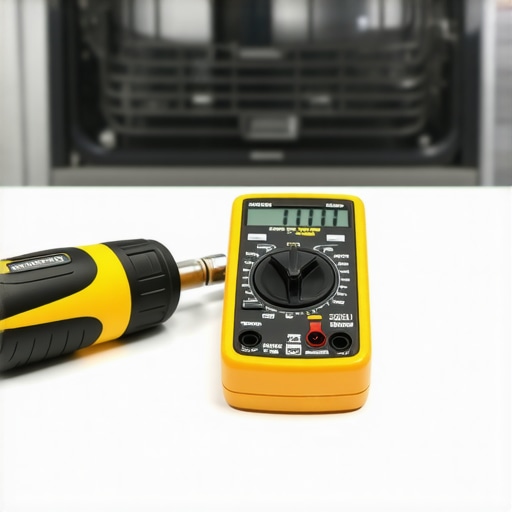
Don’t Ignore Your Dishwasher’s Cries for Help
We often focus on ovens because they’re the heart of the kitchen, but the dishwasher is the unsung hero that takes a daily beating from hard water and grease. When your machine starts acting up, don’t just keep hitting the ‘Start’ button. If it’s struggling to move water, you should be testing your dishwasher’s circulation pump for continuity. According to technical documentation from major manufacturers like Whirlpool, a pump reading outside of the 10-15 ohm range (at room temperature) is a sign of imminent motor failure. Ignoring a humming sound today usually leads to signs your dishwasher motor is burnt out tomorrow. Being proactive with dishwasher parts and DIY diagnostics can save you $300 in labor costs alone.
How can I actually prevent these failures before they start?
Maintenance is about more than just cleaning; it’s about observation. Every three months, I run a cycle with a specialized descaler to prevent calcium buildup on the sensors. This simple habit prevents the dreaded scenario of fixing a dishwasher that keeps draining and never starts. Looking ahead, I predict we will see more AI-integrated sensors in the next five years that will alert your smartphone to a failing heating element long before a blister even forms. For now, we rely on our eyes and our multimeters. I encourage you to grab your meter today and check the resistance on one component—whether it’s the element or a solenoid—just to get comfortable with the reading. Knowledge is the best tool in your box, and troubleshooting common issues with parts becomes second nature once you understand the math behind the machine. If you ever feel stuck, you can always contact us for more specific guidance on your model.
The Hardest Lessons from My Most Expensive Repairs
Over the years, I’ve realized that most appliance failures aren’t sudden accidents; they are the result of cumulative stress. When you see that blister on your heating element, it’s the machine literally telling you its structural integrity has failed. One lightbulb moment for me was realizing that troubleshooting common issues with parts is 90% observation and 10% turning a wrench. If you ignore the smell of ozone or the tiny pop when the oven turns on, you aren’t saving money—you’re risking a control board. I once saw a $20 element failure turn into a $400 repair because the owner kept resetting the breaker instead of diagnosing an oven that keeps tripping the circuit breaker. My advice? When the machine talks, listen before it screams.
The Diagnostic Toolkit I Actually Use
You don’t need a truck full of gear, but a few specific items are non-negotiable. First, get a multimeter with a continuity beep; it’s the only way to be sure when testing a gas oven igniter or an element. Second, a long-reach nut driver is vital because manufacturers love hiding screws in the darkest corners. Lastly, always keep a small LED flashlight handy—you can’t fix what you can’t see. These tools turn a frustrating afternoon into a quick win, especially when you are diving into dishwasher diagnostics for the first time. #IMAGE_PLACEHOLDER_E#
Take Back Control of Your Kitchen Maintenance
Repairing your own home appliances is about more than just saving a few bucks—it’s about the peace of mind that comes from knowing exactly how your home works. Whether you’re testing a circulation pump or swapping a burnt element, you are building a skill set that lasts a lifetime. Don’t let a technical manual or an is your oven control board failing checklist intimidate you; most of these machines are just a series of simple switches and heaters. You have got this. Have you ever caught a failing part just in time, or did it wait until a big family dinner to give up? Let me know your close-call stories in the comments below!