I remember standing in my kitchen three years ago, staring at a tray of cookies that looked more like pale puddles than actual dessert. My convection fan was spinning like a helicopter, but the air inside was barely lukewarm. In my infinite wisdom—and by that, I mean a desperate attempt to save fifty bucks—I had ordered a generic heating element that claimed to ‘fit most models.’ It didn’t. It fit the mounting bracket, sure, but it didn’t have the right wattage to keep up with the airflow. I learned the hard way that when it comes to oven repair essentials, getting the ‘almost right’ part is just as bad as having no part at all. Today, I am going to walk you through exactly how to identify the right heating element so you don’t end up with a raw dinner and a bruised ego like I did.
Stop Guessing Which Heating Element Your Oven Actually Needs
It is incredibly easy to get overwhelmed by the sheer number of black metal loops available online. Most people think a heating element is just a heating element, but convection ovens are a different beast entirely. Unlike a standard oven, your convection unit likely has a third element hidden behind the fan shroud. If you have noticed that your oven bakes unevenly or the fan is running but there is no heat, that circular element is usually the culprit. I once spent two hours pinpointing faults only to realize I was looking at the bake element when the convection ring was actually the one that had snapped in half. You need to verify the voltage and wattage specifically for your model number. According to the Association of Home Appliance Manufacturers (AHAM), even a 10% deviation in wattage can significantly impact the thermal distribution and safety of your appliance. That is why ‘universal’ is often a dirty word in my garage.
Can a generic part really ruin your dinner?
I get it—you are skeptical. You are wondering if that thirty-dollar difference between the OEM (Original Equipment Manufacturer) part and the knock-off actually matters. The truth is, it is about more than just the price tag; it is about the heat density. A cheaper element might not be rated for the high-speed air of a convection fan, leading to a sparking element or, worse, a short that fries your control board. I have seen folks try to save money only to end up identifying a new control board because the wrong element pulled too many amps. Have you ever had a repair go south because you tried to cut a corner on a part? It happens to the best of us, but I am here to make sure it does not happen this time. We are going to look at the mounting brackets, the terminal types, and why your model number is the only thing that should guide your purchase.
Look for the ID Tag Before You Search Online
You cannot rely on the brand name alone when you are hunting for parts. I once spent three days trying to find a part for a ‘Whirlpool Gold’ oven, only to realize there are roughly fifty different variations of that specific line. The actual model number is usually printed on a small metal tag or sticker located just inside the oven door frame, or occasionally behind the bottom kickplate. This number is the DNA of your appliance. Without it, you are basically throwing darts in the dark. Once you have that number, you can confidently start pinpointing faults instead of guessing. I remember a neighbor who bought a ‘universal’ element that looked identical to his old one, but the mounting feet were a quarter-inch too wide. He tried to bend them into place and ended up cracking the porcelain liner of his oven—a three-hundred-dollar mistake to save ten bucks on shipping.
Test for Continuity to Confirm the Death of the Element
Before you click ‘buy,’ you need to be certain the element is actually dead. Sometimes the problem is actually a loose wire or a failed relay on the control board. Grab a multimeter and set it to the lowest ohms setting. With the power disconnected—and I mean physically unplugged or the breaker flipped—touch your probes to the two terminals of the heating element. If the meter shows ‘OL’ or infinity, the element is definitely broken. However, if you see a reading between 10 and 50 ohms, your element is likely fine, and you might actually be testing an oven temperature sensor or checking the wiring instead. It is much better to spend five minutes with a meter than forty-five minutes replacing the oven bake element only to find out the oven still won’t heat up.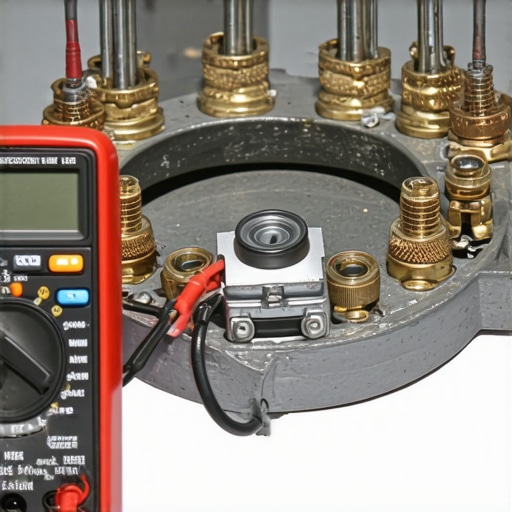
Inspect the Terminals and Mounting Brackets
Even if the model numbers match, always do a side-by-side visual comparison. Look at the terminals where the wires connect. Are they male spade connectors that the wires slide onto, or are they threaded posts that require a nut? I have seen cases where manufacturers changed the terminal style mid-production year. You should also check for a burnt terminal block while you are back there. If the wire harness itself is charred, a new element won’t fix the problem for long; it will just overheat again. Pay attention to the shape of the loop too. If you notice your oven broiler element only gets red in one spot, it is a sign of internal thinning in the coil, which is a localized hot spot waiting to pop. Match the physical dimensions exactly, including the distance between the mounting holes. This ensures that the element sits at the correct height to interact with the convection fan’s airflow, preventing hot spots and ensuring that your cakes actually rise evenly.Most DIYers I talk to fall for the ‘visual confirmation’ trap. They look at a gas igniter, see it glowing bright orange, and assume it’s doing its job. But here is the thing: why your gas oven igniter glows but doesn’t light is often because it isn’t pulling enough amps to trigger the gas valve. A weak igniter might still glow but fail to reach the 3.2 to 3.6 amp range required by most modern safety valves. If you aren’t using an amp clamp to verify this, you are just guessing. I once spent an entire Saturday morning troubleshooting common issues with parts only to realize the ‘working’ igniter was the thief in the night. This is a nuance many overlook, and it is why why your gas oven isn’t heating even though the igniter glows remains one of the top searches for frustrated home cooks.
The Glow Myth That Wastes Your Time
It is easy to assume that heat is a binary state—either the element is on or it is off. But electronics are rarely that simple. For example, how to tell if your ovens relay board is clicking for the wrong reasons is a skill that saves you hundreds. If you hear a click but don’t see voltage at the element, the relay’s internal contacts are likely scorched and useless, despite the sound.
Can your dishwasher be fooled by its own sensors?
When we move to the kitchen island, the diagnostics get even more technical. Most people think if a dishwasher is dirty, the filter is clogged. While you should definitely know how to clean your dishwashers hidden sump filter, the real culprit is often the turbidity sensor. This little device measures how ‘cloudy’ the water is. If it’s coated in a film of grease, it tells the control board the water is clean when it’s actually filthy, causing the cycle to end early. According to the Association of Home Appliance Manufacturers (AHAM), modern sensors are calibrated to such high efficiency standards that even a slight mineral buildup can throw off an entire wash cycle. I have seen people identify dishwasher faults quickly only to ignore the sensor because it ‘looked fine.’ 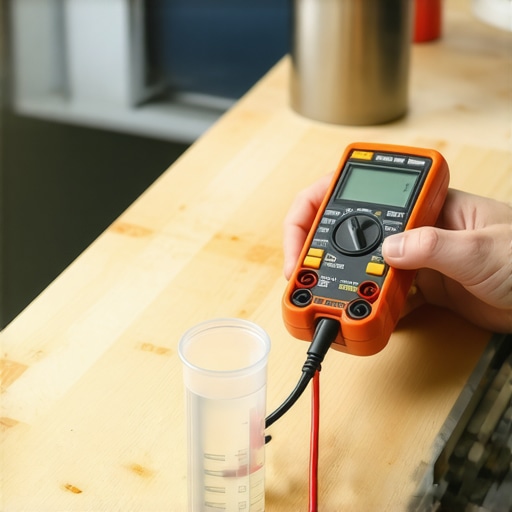
Don’t Let Continuity Readings Trick You
The ‘Oops’ factor often happens when testing your dishwashers circulation pump for continuity. You get a perfect ohm reading, so you assume the pump is fine. But wait—the motor’s electrical windings can be perfect while the plastic impeller inside is snapped or jammed with a piece of broken glass. I once helped a neighbor who spent $200 on a new control board because his pump ‘passed’ the electrical test, but it was physically incapable of moving water. This is why replacing a faulty dishwasher turbidity sensor at home or swapping a pump requires more than just a multimeter; it requires a physical inspection. Have you ever fallen into this trap? Let me know in the comments. It is these mechanical nuances that separate a successful repair from a parts-cannon approach. Before you buy anything, make sure you are not just testing the ‘heart’ of the component, but the ‘limbs’ that actually do the work.I have spent thousands of hours under sinks and behind ranges, and if there is one thing I have learned, it is that a fifteen-dollar multimeter from a big-box store will eventually lie to you. When you are diagnosing dishwasher parts, you need a tool that handles ghost voltage properly. I personally swear by the Fluke 117. It features a low-impedance mode (LoZ) specifically designed to prevent false readings caused by phantom electricity in the lines. If you are serious about DIY, stop using the budget stuff. I once misdiagnosed a perfectly good control board because my cheap meter picked up stray voltage that was not actually performing any work. Having the right gear turns a guessing game into a precise science.
How do I maintain my appliances over time?
Consistency is the secret to avoiding a Saturday morning spent pinpointing faults. For your oven, maintenance actually begins with what you do not do: never use the ‘Self-Clean’ cycle. While it is a built-in feature, the extreme heat is a leading cause for ovens that won’t reach high temperatures because it often fries the thermal fuse or the sensitive solder joints on the control board. Instead, a manual scrub once a quarter preserves the integrity of your heating elements. For the wet side of the kitchen, you should be inspecting your dishwasher float switch and door seals monthly. A tiny dab of food-grade silicone grease on those rubber parts can double their lifespan and prevent the brittle cracking that leads to floor-ruining leaks.The industry is shifting rapidly toward predictive maintenance. I predict that within the next five years, most mid-range appliances will come standard with vibration sensors that alert your phone before a pump bearing fails. But until your oven can talk to you, you have to be the one listening. If you find a fast fix for a dishwasher that won’t start, do not just celebrate the win—investigate the cause. Was it a power surge? If so, installing a dedicated appliance surge protector is the ‘scaling’ of your maintenance strategy that prevents a repeat performance.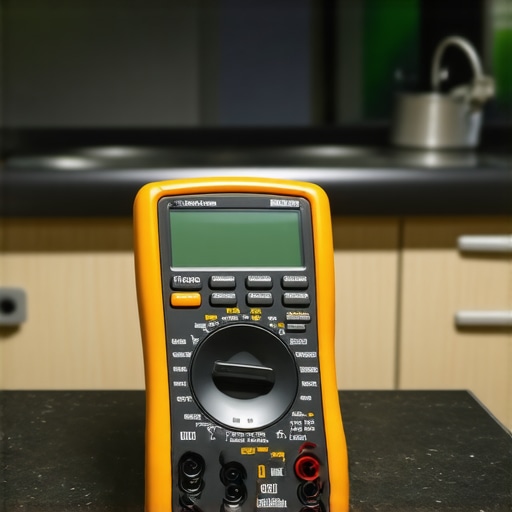 Here is a niche tip from the pros: check your dishwasher’s water inlet valve every two years for sediment. Technical documentation from manufacturers like Bosch specifies that even a 15% reduction in water flow due to calcium buildup can cause the internal heater to burn out prematurely. This happens because the water level never reaches the height necessary to fully submerge the element during the cycle. This weekend, I want you to pull your dishwasher’s bottom kickplate and check that valve screen. It takes ten minutes of work but could save you from an expensive heater replacement down the road. It is these small, proactive steps that separate the lucky homeowners from the master DIYers.
Hard Lessons from a Decade of Faulty Appliances
Over the years, I have realized that the biggest barrier to a successful repair isn’t a lack of skill; it is a lack of patience and precise information. One of my most painful lessons was learning that electrical continuity is only half the battle. A component can pass a meter test but still fail under a load. For instance, if you are diagnosing a buzzing noise from your oven control board, the sound itself is often a more reliable diagnostic than a static reading. Always listen to what the machine is telling you. Furthermore, I have learned that using ‘universal’ parts is often a gamble that ends in a second repair. Always cross-reference your specific model number to find the exact oven repair essentials required for your unit. Cutting corners on part quality almost always leads to a shorter appliance lifespan.
A Practical Toolkit for Serious Home Repair
If you want to move beyond the ‘parts cannon’ approach, you need the right references and gear in your arsenal. I never start a job without first hunting for the Manufacturer Tech Sheet—that small, folded schematic usually hidden behind the kickplate or in a plastic pouch inside the console. This document is a gold mine of error codes and wiring diagrams that are specific to your machine. For diagnosing dishwasher parts, I also recommend keeping a high-quality multimeter with a LoZ setting to avoid phantom voltage readings. Additionally, I swear by using a simple smartphone camera to take ‘before’ photos of any wiring. This prevents the nightmare of having a pile of parts and no idea where the blue wire goes. Regularly testing your dishwasher water level switch is another proactive habit that keeps my kitchen floor dry and my mind at ease.
Take Back Your Kitchen
Repairing your own appliances can feel daunting when you are staring at a pile of screws and a broken range, but remember that these machines are just a collection of logical systems designed to be serviced. When you stop fearing the unknown and start identifying dishwasher faults quickly, you save more than just the cost of a service call—you gain the confidence to maintain your entire home. You have the tools, the logic, and the step-by-step guidance now to ensure your kitchen runs smoothly for years to come. Don’t be afraid to get your hands a little dirty to keep your home running right; the satisfaction of a self-repaired oven is better than any takeout meal. Have you ever spent hours on a complex repair only to find out it was a simple two-minute fix? Let me know in the comments below!