I still remember the Great Thanksgiving Disaster of 2018. The turkey looked glorious—golden brown skin, aromatic herbs, the whole nine yards. But when I carved into it, the meat was practically raw at the bone. I was humiliated. My oven had beeped, insisting it was at 325°F, and I trusted that digital display like it was the gospel truth. It turns out, my oven was lying to me, and it had been for months. That realization was my lightbulb moment: your oven is only as good as the information its sensor provides. If that little metal probe is acting up, your recipes don’t stand a chance. Today, I’m going to help you decode those frustrating kitchen mysteries so you can stop guessing and start cooking with confidence again. Have you ever pulled a ‘perfectly timed’ cake out of the oven only to find it’s still soupy in the middle?
Your Oven Might Be Lying About the Temperature
If you have noticed that your oven heats way past the set temperature or takes an eternity to finish a simple batch of cookies, you aren’t crazy. The sensor is the ‘thermometer’ of your appliance, and when it fails, the control board has no idea when to cut the heat. I’ve spent too much time fixing an oven that bakes unevenly to let you make the same mistakes I did. One common red flag is when your oven preheat light never turns off. This usually means the sensor is struggling to reach the target resistance, leaving the heating elements stuck in a perpetual state of ‘trying.’ According to Consumer Reports, appliance repair costs can be kept significantly lower if you identify component failures before they cause secondary damage to more expensive parts like the control board. Trust me, catching a faulty sensor early is the difference between a $20 fix and a $400 headache.
Wait, isn’t it just easier to buy a brand new stove?
I get the skepticism. When the oven starts acting possessed, the temptation to just go to the showroom and point at the shiniest new model is real. Early in my DIY journey, I actually threw out a perfectly good range because I assumed the ‘brain’ was dead. I spent hundreds on a replacement only to realize later that I could have solved everything by testing an oven temperature sensor with just a multimeter. It’s a five-minute job. Before you start identifying the right control board for a replacement, you owe it to your wallet to check the sensor. Most of the time, the fix is simpler than you think, and you don’t need a degree in electrical engineering to get it done. We’re going to dive into the specific symptoms that scream ‘bad sensor’ so you can pinpoint the fault before you even think about calling a repair person.
Find the Sensor Without Tearing the Whole Kitchen Apart
Before you can fix anything, you need to lay eyes on the culprit. In most electric and gas ranges, the temperature sensor is that thin, pencil-like metal rod protruding from the back wall near the top. It is essentially the ‘nose’ of your oven, sniffing out the heat levels to tell the control board when to fire up the elements. I remember a time when I was so frustrated with a batch of burnt biscuits that I almost ripped the door off, only to find the sensor was covered in a thick layer of grease from a previous roast. A simple cleaning didn’t work because the internals were already fried, but finding it was half the battle. If you cannot see it immediately, you might need to check [oven-repair-essentials-troubleshooting-common-issues-with-parts](https://appliancebargainz.com/oven-repair-essentials-troubleshooting-common-issues-with-parts) to ensure your specific model doesn’t have a hidden placement. Always unplug the appliance first. I once skipped this step while [testing your dishwashers circulation pump for continuity](https://appliancebargainz.com/testing-your-dishwashers-circulation-pump-for-continuity) and ended up with a shock that I felt in my teeth for an hour. Don’t be that person.
Put Your Multimeter to the Ultimate Test
Once the oven is cold—and I mean room temperature cold—it is time for the real diagnostics. Resistance in a sensor changes based on heat; if you test it while the oven is still warm, you will get a false reading that sends you on a wild goose chase. You are looking for a specific Ohm rating, usually around 1080 to 1100 Ohms at room temperature for most standard RTD (Resistance Temperature Detector) sensors. Using the ‘Ω’ setting on your tool, you are [testing an oven temperature sensor with just a multimeter](https://appliancebargainz.com/testing-an-oven-temperature-sensor-with-just-a-multimeter) by touching the probes to the sensor’s connector pins. 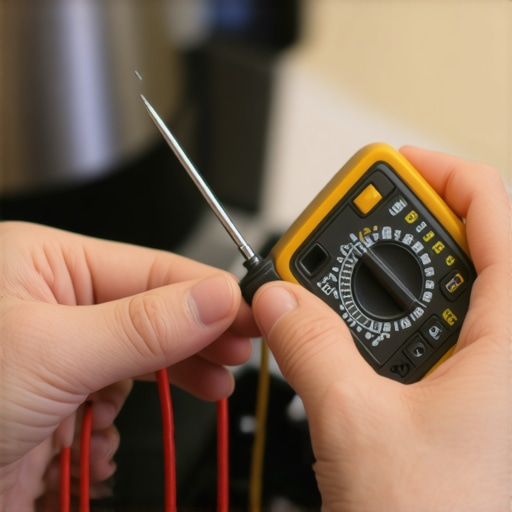 If your meter reads ‘OL’ (Open Loop) or shows zero resistance, the sensor is dead. It is like a bridge that has collapsed; the signal simply can’t get across. I once spent three hours trying to figure out [the simple reason your oven wont reach 450 degrees](https://appliancebargainz.com/the-simple-reason-your-oven-wont-reach-450-degrees), only to find the sensor wires had vibrated loose. Before you buy a new part, wiggle those wires to ensure the connection is solid.
Check These Other Hidden Faults If the Sensor Passes
If the sensor tests perfectly but your oven still acts like it has a mind of its own, the plot thickens. This is where you have to look at the ‘brain’ and the ‘muscles.’ Sometimes the sensor is fine, but [is your oven control board failing-check these 4 symptoms](https://appliancebargainz.com/is-your-oven-control-board-failing-check-these-4-symptoms) because it can no longer interpret the data it receives. It is also worth [testing the resistance on your ovens broil element](https://appliancebargainz.com/testing-the-resistance-on-your-ovens-broil-element) to make sure a physical break in the heating coil isn’t causing the uneven temperatures. I once fixed an oven that was ‘baking slow’ by simply realizing the bottom element had a tiny, almost invisible crack. Identifying these faults yourself is the gold standard of [oven diagnostics-pinpointing faults before calling a repair expert](https://appliancebargainz.com/oven-diagnostics-pinpointing-faults-before-calling-a-repair-expert). If you find that the sensor and elements are fine, you might even be dealing with a physical issue like a bad seal, which you can verify by [testing your oven door seal with the dollar bill trick](https://appliancebargainz.com/testing-your-oven-door-seal-with-the-dollar-bill-trick). Never assume the most expensive part is the one that broke; start small, test often, and trust the numbers on your meter.However, trusting the numbers is only half the battle; you have to know which numbers actually matter. Most people assume that if their digital display is working, the internal logic of the oven is sound.
Stop Blaming the Control Board for Everything
Most DIYers jump straight to the most expensive conclusion when things go haywire: the ‘brain’ must be dead. But here is a contrarian take based on years of grease-stained hands: the control board is rarely the first thing to fail. We live in an age where we assume digital components are fragile, but they are actually quite robust. Most ‘board failures’ are actually just communication breakdowns caused by oxidized connectors or vibrating wires that have worked themselves loose over years of heat cycles. I have seen people spend $300 on a new board when a simple cleaning of the ribbon cable or a bit of contact cleaner would have solved the mystery. Before you commit to a replacement, you should be checking why your oven relay board is clicking because that noise might just be the board trying to tell you a peripheral component is the real problem.
Why a Glowing Igniter Is Your Biggest Trap
This is the ‘Oops’ factor that catches even the most seasoned home cooks. You peak through the little window in your gas oven, see that comforting orange glow, and think the igniter is fine. This is a dangerous lie. In my experience, an igniter can glow brightly but still be fundamentally broken. It is all about the amperage draw, not the light. If the igniter does not draw enough current—typically between 3.2 to 3.6 amps for most modern units—the safety valve will never receive the signal to release the gas. This is exactly why your gas oven igniter glows but does not light. According to data from the Association of Home Appliance Manufacturers (AHAM), component degradation like this is frequently misdiagnosed as a faulty gas valve. Replacing a $150 valve when you needed a $30 igniter is a mistake you only want to make once. 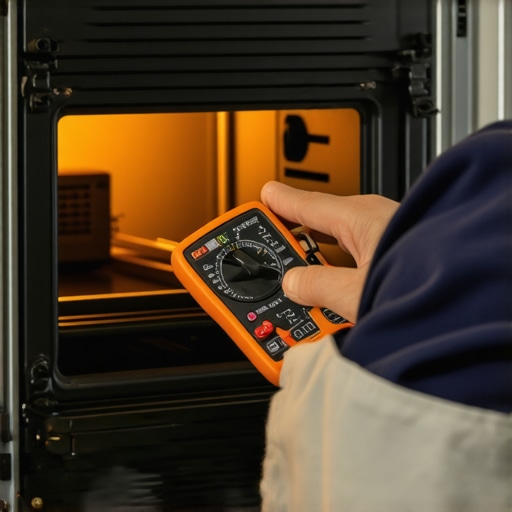
What if the Problem Is Not Electrical at All?
Sometimes we get so caught up in Ohm’s Law and multimeter readings that we forget about basic physics. This is especially true when transitioning from the oven to other kitchen workhorses. In the world of dishwasher parts and diy diagnostics, a failure to clean usually leads people to buy expensive new circulation pumps. But have you checked the spray arm for a tiny, nearly invisible piece of eggshell? Or wondered why your dishwasher detergent door won’t open? More often than not, it is just a poorly loaded tall plate or a stray spatula blocking the latch mechanism. Advanced diagnostics means looking at the machine as a cohesive system, not just a series of isolated wires. When you are identifying dishwasher faults quickly, always verify the physical path of water and movement before you start stripping insulation. Have you ever fallen into this trap of over-complicating a simple fix? Let me know in the comments. It is better to learn from each other’s ‘oops’ moments than to keep paying the ‘I-didn’t-know’ tax to a repair company.I used to think a toolbox was just a graveyard for mismatched screwdrivers until I realized that the right gear is the difference between a Saturday spent cooking and a Saturday spent crying over a frozen pizza.
Why I Never Start a Repair Without a Multimeter
If you are serious about saving money, you need to stop guessing. I personally use an auto-ranging digital multimeter because it eliminates the risk of setting the dial to the wrong scale and getting a confusing reading. This is the only way to be 100% sure when testing your dishwashers high-limit thermostat for continuity. If that thermostat is open, your water will stay cold, and your dishes will stay greasy. I have found that cheap, non-brand meters often fluctuate too much, which is why I stick to tools that can handle the high-heat environment of a kitchen. Whether you are oven diagnostics-pinpointing faults before calling a repair expert or just checking a fuse, accuracy is your best friend. 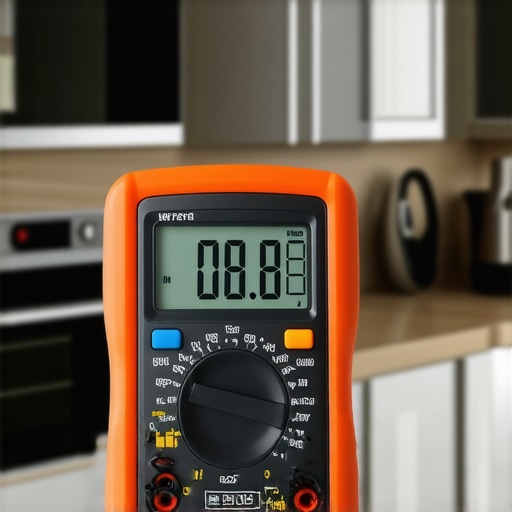
How Do I Stop These Parts from Failing Again?
Maintenance is not just about cleaning the surfaces you can see. Real longevity happens in the dark corners of the machine. For instance, the most common reason for a pump failure isn’t a manufacturing defect; it is cumulative stress from hard water. I make it a habit to use a citric acid-based cleaner once a month, which is the quickest way to remove hard water build-up in your dishwasher before it seizes the motor. Similarly, you should be proactive about how to clean your dishwashers hidden sump filter. When that filter clogs, the motor has to work twice as hard to circulate water, leading to early burnout. According to the Whirlpool Technical Service Manual, nearly 30% of field failures in heating circuits are actually caused by loose or corroded terminals rather than the components themselves. This means that simply tightening a connection or cleaning a spade terminal can add years to your appliance’s life.
The Future of DIY Repair is Digital
We are moving toward an era where appliances will literally tell us what is wrong. Many new models now include optical sensors that can detect water turbidity or even AI-driven boards that monitor current draw to predict a failure before it happens. However, even the smartest oven still relies on basic physics. You will still need to know things like how to replace your ovens internal cooling fan motor because mechanical parts will always wear out. The ‘smart’ side just helps us find the problem faster. I predict that within five years, we will see augmented reality apps that overlay repair instructions directly onto your phone screen as you look at the machine. Until then, we rely on our meters and our wits. If you want to move from ‘handyman’ to ‘expert,’ I challenge you to go beyond just replacing parts. Take ten minutes this weekend to perform the most reliable way to test an oven thermal fuse just to get a baseline reading. Understanding what ‘good’ looks like on your multimeter is the secret to spotting ‘bad’ before it ruins your next big dinner party.
The Hardest Lessons My Grease-Stained Hands Ever Taught Me
One of the most profound realizations I had after years of tinkering is that complexity is often an illusion. When you are oven repair essentials troubleshooting common issues with parts, the solution is usually the simplest thing you overlooked. I spent a whole weekend once trying to rewire a stove when the real culprit was just a dirty contact. Always clean before you replace. Another lightbulb moment was realizing that noise is a language. If you hear a weird sound, you should be diagnosing a buzzing noise from your oven control board immediately, rather than waiting for it to smoke. Finally, trust your tools more than your gut. If the multimeter says the resistance is off, believe it, even if the part looks brand new.
#IMAGE_PLACEHOLDER_E#
The Pro-Level Gear I Keep in My Kitchen Drawer
You don’t need a massive workshop to be successful at dishwasher parts and diy diagnostics. I recommend three specific things that have never failed me. First, a high-quality digital multimeter with an audible continuity setting. It makes testing an oven thermal fuse a ten-second job instead of a guessing game. Second, keep a stock of citric acid; it is genuinely the quickest way to remove hard water build-up in your dishwasher and prevents the intake valve from seizing. Third, I always keep a link to my specific model’s OEM diagram bookmarked on my phone. Knowing exactly where the dishwasher float switch is located before you start unscrewing panels saves your sanity and your knuckles.
Take Back Your Cooking Confidence
Repairing your own appliances isn’t just about saving a few hundred dollars—though that certainly feels great. It’s about the shift in mindset from being a passive user to an active fixer. When you understand the logic of oven repair, the machine stops being a mysterious black box and starts being a tool you control. Don’t be afraid to get your hands a little dirty; most of these components are designed to be serviced. Whether you are fixing an oven that bakes unevenly or just clearing a clog, every successful repair is a win for your home and your wallet. What is the one appliance ‘glitch’ that has been driving you crazy lately? Let me know in the comments below, and let’s figure it out together!