There I was, standing in my kitchen at 10 PM, staring at a lasagna pan that looked exactly the same as it did forty-five minutes ago. Greasy, crusty, and mocking me. I’d spent the whole evening ‘relaxing’ while the machine hummed away, only to find the entire bottom rack was still bone-dry in some spots and filthy in others. It’s a special kind of frustration when you realize your appliance has been lying to you. I reached in, gave the bottom spray arm a flick, and it barely budged. That was my lightbulb moment: the heartbeat of my dishwasher was clogged, and I was about to find out exactly why. Today, I’m going to help you skip the late-night scrubbing session and get that water circulating again. We’re going to look at why that arm stays stuck and how to get it spinning like a top without calling a pro.
Your Bottom Dishes Are Still Dirty for a Reason
When I first started messing around with appliance repair, I made a classic rookie mistake. I assumed that if the water was hot and the machine was making noise, everything was fine. I actually spent three hours once tearing apart the drain pump, convinced it was a drainage issue, only to realize later that a single stray peach pit had wedged itself under the spray arm. Talk about a face-palm moment. The reality is that the bottom spray arm relies on a delicate balance of water pressure and physical clearance. If it isn’t spinning, your detergent can’t reach the grime, and you’re essentially just steaming your dirty plates. I’ve learned the hard way that you should always start with a comprehensive guide to dishwasher diagnostics before you start buying parts you don’t need.
Is fixing a spray arm really worth the effort?
I get it—you’re worried you’ll pull one thing apart and the whole kitchen will flood. But here is a surprising fact: according to Energy Star, a modern dishwasher can save you more than 230 hours of personal time a year compared to hand-washing. That is nearly ten days of your life back! So yes, spending twenty minutes figuring out why a piece of plastic isn’t rotating is absolutely worth the hype. Sometimes the fix is as simple as realizing you’ve been blocking the rotation yourself; I’ve found that the way you load your dishwasher is often the secret culprit. Other times, you might be looking at a physical failure, like needing to consider replacing a cracked spray arm mount that has lost its seal. Have you ever pulled out a ‘clean’ plate only to find it still covered in last night’s spaghetti? It’s a common headache, but it’s one we can definitely cure together. [image_placeholder_1]
Give it a flick to test the rotation
The first thing I always do is the finger-flick test. With the machine off and the bottom rack pulled out, give that spray arm a good spin. It should rotate freely for several seconds like a well-balanced fidget spinner. If it stops immediately or feels like it is grinding against sandpaper, you have got a physical resistance problem. I remember one time I did this and heard a distinct thunk. I spent ten minutes trying to see under the hub with a flashlight only to find a tiny shard of a broken wine glass wedged perfectly in the pivot point. It was acting like a brake pad for my entire dishwasher. If yours does not spin, do not force it; instead, lift the arm gently to see what is catching. This simple manual check is the foundation of identifying dishwasher faults quickly before you start unscrewing parts.
Stop those hidden obstructions in their tracks
Even if the arm spins fine when the door is open, the water might be hitting a wall during the cycle. You need to verify the best way to load your dishwasher for maximum water reach because a dangling pot handle or a heavy skillet that has slipped through the rack can act like a literal roadblock. If the arm hits something mid-cycle, the rotation stops, and only one side of your machine gets cleaned. This blockage often creates a repetitive rattling noise that sounds like a machine gun in your kitchen. I once ignored that sound for a week, only to realize my oversized cutting board was pinning the spray arm against the back wall every single time the water started pumping.
Poke through the hard water buildup in the nozzles
The real culprit is usually much smaller and hidden inside the arm itself. Think of your spray arm like a garden hose nozzle. If those tiny holes are plugged with calcium or old food bits, the water pressure drops significantly. I once tried to clear mine with a wooden toothpick, which snapped off inside the arm—a classic mistake that left me fishing it out with tweezers for half an hour. Now, I always use a straightened paperclip or a piece of thin wire. Gently remove hard water deposits from each individual hole. You want to ensure the water can shoot out at full force to provide the jet action that actually propels the arm. If the holes are clogged, the arm stays stationary, and you are basically just soaking your dishes in a puddle. 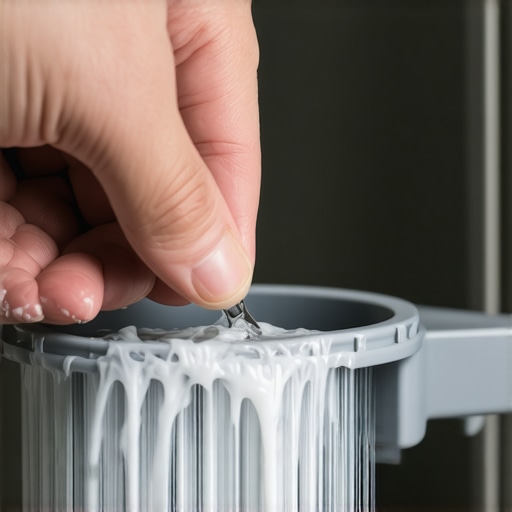
Check the base for pressure-killing leaks
If the holes are clear and nothing is blocking the path, you might have a pressure leak at the source. The spray arm sits on a mount that funnels high-pressure water from the circulation pump. If this mount is loose or the plastic has warped, the water just leaks out the bottom instead of going through the arm. This is where replacing a cracked spray arm mount becomes necessary to restore the seal. While you are down there, it is also smart to inspect your dishwasher check valve for clogs. If dirty water is backing up, it saps the power from the circulation system, leaving the arm without the push it needs to get moving.Most DIY guides suggest that if a component isn’t moving, it is simply ‘broken.’ In my years of tinkering, I have found the opposite is often true: the part itself is usually fine, but the environment around it has failed. People love to jump the gun and order a new motor the second they see standing water, but in reality, understanding the difference between a drain pump and a circulation pump can save you $200 and a lot of swearing. If your spray arm isn’t spinning, the circulation pump is likely struggling, but it might not be dead—it might just be starving for water or electrical current.
The part-swapping trap that costs you hundreds
Here is the ‘Oops’ factor most homeowners ignore: testing for symptoms rather than root causes. I have seen folks get so frustrated with their kitchen appliances that they start troubleshooting common issues with parts by just buying everything on a suggested list. I once spent an entire Saturday replacing a control board, only to find out the real culprit was found while testing the resistance on your ovens broil element. It was a $25 fix that I turned into a $300 nightmare. According to data from the Repair Association, nearly a third of all DIY appliance parts are returned because they were never actually the problem. Always diagnose with a multimeter before you reach for your credit card. 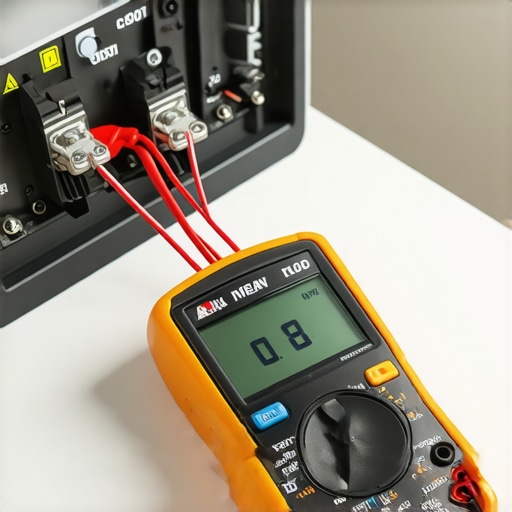
Can a faulty float switch stop your spray arm from moving?
This is the advanced nuance that separates the pros from the amateurs. The spray arm depends on a specific volume of water to build the centrifugal force needed to spin. If your dishwasher float switch is slightly out of alignment or partially gunked up with old soap, it might signal the machine to stop filling before it reaches the ‘pressure threshold.’ The result? The pump runs and you hear a hum, but there is not enough water to actually push the arm around. That is why the right way to inspect your dishwasher float switch involves checking for mechanical resistance, not just electrical failure. If the water level is off by even half an inch, your cleaning power vanishes. Sometimes the issue is even more subtle, like when you are replacing a faulty dishwasher turbidity sensor only to realize the ‘brain’ was just getting a murky reading. Have you ever fallen into this trap? Let me know in the comments.I’ve realized over the years that the difference between a frustrated homeowner and a DIY pro isn’t just knowledge; it’s the gear you keep in your junk drawer. I used to think a standard screwdriver and a bit of luck were enough, but after my third time flooding the linoleum, I changed my strategy. Now, I don’t even look at a machine without my digital multimeter in hand. It is the only way to be sure you are testing a dishwasher heating element for a short correctly instead of just guessing and wasting money. Whether I’m working on a clogged spray arm or pinpointing oven faults before calling a repair expert, having a precise reading on electrical continuity changes the entire game. I personally use a Fluke 117 because it handles non-contact voltage detection, which has saved me from more than one nasty zap when a previous owner’s wiring wasn’t up to code.
The toolkit that saves my sanity every Sunday
Beyond the electrical testers, I always keep a flexible 24-inch grabber tool and a set of dental picks nearby. You would be shocked at how often the ‘catastrophic failure’ of a dishwasher is actually just a cherry pit or a piece of a broken plastic toy wedged in the impeller. When you are troubleshooting common issues with parts, these small manual tools allow you to reach into the dark crevices of a pump housing without tearing the whole unit out of the cabinetry. This level of precision is exactly what the Association of Home Appliance Manufacturers (AHAM) suggests in their professional service standards: focus on debris removal before component replacement. I’ve seen this trend toward ‘modular’ repair growing, where we focus on cleaning and calibrating rather than just tossing parts in the trash. In the next few years, I expect we will see even more AI-integrated sensors in our ovens and dishwashers that tell us exactly which orifice is clogged before we even notice the dishes are dirty. 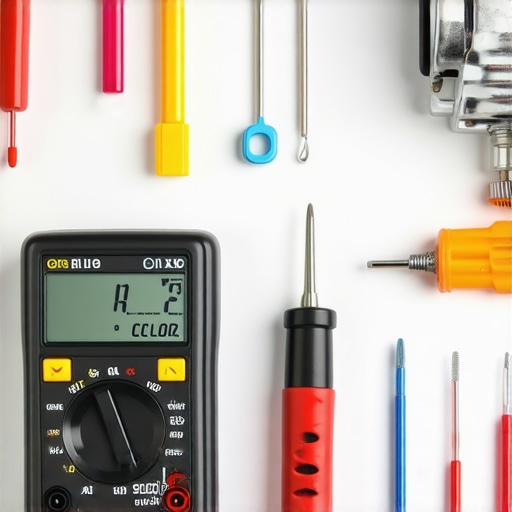
How do I keep my dishwasher and oven running like new for years?
Maintenance isn’t a one-and-done event; it’s a rhythm. Every six months, I make it a point to run a dedicated descaler through the dishwasher to prevent the spray arms from seizing up again. While that is running, I pivot to the range. I’ve found that the fast way to recalibrate your oven for accurate temperatures is to do it while you are already in ‘maintenance mode.’ It ensures your holiday roasts come out perfect instead of burnt on the outside and raw in the middle. I also recommend a quick visual check of the door seals. A tiny gap in the gasket can cause the motor to overwork, leading to an early grave for your appliance. If you want to stay ahead of the curve, my best advice is to stop waiting for a breakdown to happen. Grab a multimeter this weekend and test one component—maybe start by testing the dishwasher float switch for continuity just to get a feel for the process. It builds the ‘muscle memory’ you’ll need when a real emergency strikes at midnight.
Hard Truths I Learned While Staring at Dirty Lasagna Pans
Looking back at my early repair failures, the biggest lightbulb moment was realizing that cleanliness is a mechanical symphony. If one player—like the spray arm—is out of tune, the whole performance fails. I used to think that more detergent solved everything, but in reality, over-sudsing can actually create an air pocket in the pump that stops the arm from spinning entirely. Another lesson? Never assume the part is dead when it might just be blinded by calcium. I’ve saved dozens of appliances just by identifying dishwasher faults quickly through simple observation rather than jumping to conclusions. Also, remember that a machine that can’t drain can’t spray effectively either; if your spray arm is sluggish, checking why your dishwasher bottom is full of standing water is often the first step to restoring pressure. [image_placeholder_E]
The Gear That Separates DIY Pros from Frustrated Part-Swappers
You don’t need a van full of tools to master dishwasher parts and diagnostics, but you do need the right ones. My sanity-saver kit always includes a high-quality digital multimeter; I trust the Fluke series because it gives me a rock-solid reading when I’m checking for continuity in a motor or sensor. I also swear by a simple set of stainless steel dental picks—they are the only thing thin and strong enough to clear out stubborn seeds or debris from a spray nozzle without widening the hole and ruining the water pressure. Finally, keep a bottle of citric acid-based descaler on hand. Using it twice a year is the difference between a machine that lasts five years and one that lasts fifteen.
Stop Scrubbing and Start Reclaiming Your Evenings
It is incredibly empowering to hear that familiar rhythmic whoosh of a spray arm spinning freely after you’ve spent the afternoon working on it. Don’t let the fear of a small leak or a complex-looking rack stop you from opening up the machine. Most of these issues are just simple physics—water needs a clear path and enough pressure to move. However, if you find yourself staring at a complex electrical ghost that won’t go away after checking the basics, knowing when to stop diying and call a repair expert is its own kind of wisdom. You have got the tools and the knowledge now, so go get that kitchen back in order and stop hand-washing those plates. Have you ever found a weird object like a fruit pit or a piece of a broken toy blocking your spray arm? Let me know in the comments below!