I was sitting on my couch last Tuesday, finally enjoying a moment of silence after a long day, when the ‘clack-clack-clink’ started. It sounded like someone had tossed a handful of marbles into my dishwasher. I sat there, heart sinking, thinking about the hundreds of dollars a repairman would charge just to show up. I remember my first big DIY fail years ago—I actually replaced an entire motor because of a similar rattle, only to realize later it was a loose spoon hitting the spray arm. I felt like an idiot, but that mistake taught me a valuable lesson: most dishwasher noises are actually simple fixes that don’t require a degree in engineering. Today, I’m going to help you pinpoint exactly what that racket is so you can get back to your peaceful evening without breaking the bank.
That Rhythmic Clanking Is Not Your New Soundtrack
When you hear that specific metal-on-metal sound, your brain usually jumps to the worst-case scenario. But before you panic, we need to look at the most common culprits. Most of the time, you are just looking at a loose component or an improperly loaded rack. If the sound is coming from the bottom of the tub, you might need to start identifying dishwasher faults quickly before you start buying parts you don’t need. I’ve found that a staggering amount of noise comes from things we can tighten or move in under five minutes. For instance, stopping the rattle is often as simple as checking if the spray arm has become wobbly or detached. Have you ever been convinced your appliance was dying, only to find out it was just a stray fork? Tell me your most ‘face-palm’ repair moment in the comments below!
Is Your Machine Truly Breaking Down for Good?
It’s natural to feel skeptical. You might think, ‘My dishwasher is ten years old; surely this rattle is the death rattle.’ While it’s true that parts wear out, many sounds are actually early warning signs rather than total failures. According to data from Consumer Reports, nearly 30% of reported dishwasher noise issues are caused by improper loading or simple obstructions rather than mechanical failure. Before you give up, you should consult a comprehensive guide to DIY diagnostics to rule out the easy stuff. If the noise is more of a consistent hum or grind, you could be identifying a bad dishwasher circulation motor by the sound, but even then, that’s a part you can often swap out yourself with a little patience and the right tools. We are going to walk through the ‘wiggle test’ next to see if your spray arms are the real traitors in your kitchen.I started with the ‘Wiggle Test.’ It sounds professional, but it’s really just you reaching into the tub and seeing if things move that shouldn’t. Last summer, I was helping my neighbor fix his old Whirlpool. He was sure the motor was shot because of a grinding noise. I reached in, gave the spray arm a tug, and it practically fell off. It wasn’t the motor; it was just a plastic nut that had backed off over five years of heat cycles. If your arm is wobbly, you’re likely looking at the quick fix for a dishwasher spray arm that keeps falling off. You want that arm to spin freely like a top, but without any side-to-side play. If it feels like a loose tooth, tighten it down before you do anything else.
Clear the Path for Water and Quiet
Sometimes the noise isn’t a loose part but a trapped one. Think of your dishwasher’s sump area like a drain in a shower—if enough hair and soap scum, or in this case, popcorn kernels and broken glass, get in there, things get loud. I once spent an hour trying to diagnose a ‘mechanical failure’ only to find a single cherry pit dancing around in the pump housing. It sounded like a jackhammer. You should learn how to clean the hidden filter in your dishwasher sump to prevent these phantom noises. Most people just rinse the top filter, but the real trouble makers hide deeper down.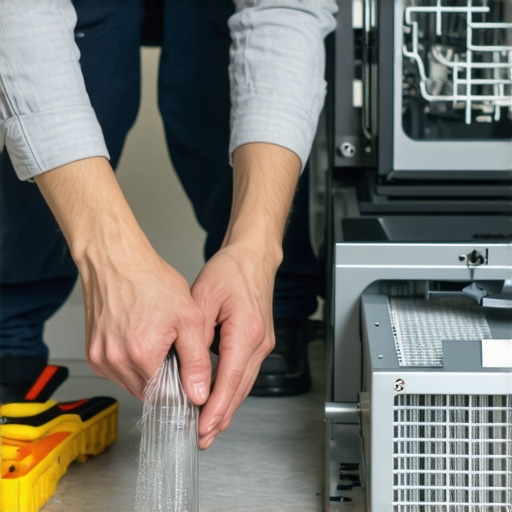
Don’t Ignore the Wheels and Racks
If the noise only happens when the machine is full, your rack might be the culprit. Those plastic wheels take a beating. Over time, the axles wear down, and the rack starts to sag, making it hit the spray arm or the side walls. If you notice your rack doesn’t glide smoothly, you should look into replacing the roller wheels on a sticking dishwasher rack. It’s a ten-minute job that makes the whole machine feel brand new. While you’re at it, check the tines. If one is snapped and dragging, replacing a rusted dishwasher tine is much cheaper than a whole new rack.
The Difference Between a Hum and a Grind
You need to listen closely to the pitch of the noise. A low-pitched hum usually points toward the drain pump being blocked. If it’s more of a high-pitched squeal, your circulation motor might be thirsty for a replacement. Before you panic-buy a new machine, try diagnosing a humming noise from your dishwashers drain pump. Sometimes it’s just a bit of string or a rubber band wrapped around the impeller. It’s like a pebble in your shoe—it doesn’t mean you need new feet, you just need to get the pebble out. If you find that the noise is definitely coming from the pump area, you might need to check for electrical flow. I’ve seen many DIYers find success by testing the dishwasher float switch for continuity to ensure the electrical path is clear before assuming the motor has burned out.I’ve seen too many people bin a perfectly good appliance because the display went dark. They assume the ‘brain’ is dead, but more often than not, it’s just a tripped safety feature. If you are staring at a blank screen, you need to be how to tell if your oven control board is actually fried before you spend $200 on a replacement part. In my experience, a ‘dead’ board is frequently just a loose wire or a blown fuse. Most people jump to the most expensive conclusion first, which is the biggest mistake you can make in DIY repair. If the power seems completely cut off, you should be testing your ovens thermal fuse when nothing turns on instead of blaming the electronics.
Stop Throwing Money at Your Control Board
Everyone tells you that electronic repairs require an engineering degree, but that’s a myth. Most of what we call ‘board failure’ is actually a failure of the components talking to the board. I once spent an entire Saturday morning diagnosing a dishwasher that wouldn’t start, only to find the door latch wasn’t signaling it was closed. If you want to get serious about this, you need to learn 5 multimeter tricks for diagnosing a dead control board. According to industry data from RepairClinic, nearly 50% of control boards returned by DIYers are actually fully functional; the real culprit is usually a peripheral sensor or a thermal break. Have you ever fallen into this trap of buying a part you didn’t need? Let me know in the comments! 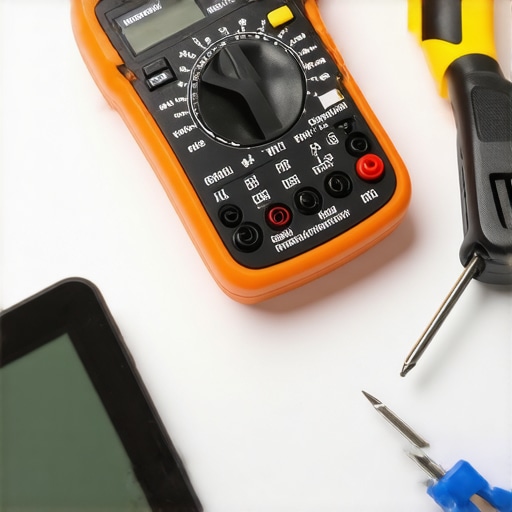
The Glowing Igniter That Is Actually Lying to You
In the world of ovens, there is a nuance that catches even seasoned DIYers: the ‘false’ glow. You open the door, see that orange light at the bottom, and assume the igniter is fine because it’s hot. This is a trap. An igniter can glow brightly but fail to reach the specific amperage required to open the gas safety valve. If you’re wondering why your oven igniter clicks but never fires up, it’s likely because it’s weakened by age. Learning how to replace a glowing but faulty oven igniter will save you days of frustration trying to find a gas leak that doesn’t exist.
Why Your Oven Takes Forever to Preheat and Then Drops Temp?
This is a classic ‘expert-level’ frustration. If your preheat cycle feels like an eternity, don’t just assume the heating element is broken. It might be ‘half-broken.’ On many modern units, the bake and broil elements work together during preheat. If one is out, the other struggles to maintain the load. You should be testing your oven temperature sensor without calling a pro to see if the calibration has drifted. This is a common nuance that leads people to think they need a new oven when they really just need a $15 sensor. When you do find a bad element, I always suggest comparing aftermarket vs oem oven heating elements to ensure you aren’t sacrificing safety for a few bucks. Diagnostics isn’t about having the most tools; it’s about having the most patience to look past the obvious.I used to think a screwdriver and a prayer were enough to handle any appliance meltdown, but I learned the hard way that the right tools turn a four-hour struggle into a twenty-minute win. If you’re serious about moving past the ‘rattle-hunting’ phase and into real mastery, you need a dedicated kit. My go-to is a set of magnetic Torx drivers—specifically the T15 and T20. Manufacturers like Whirlpool and Bosch love these because they don’t strip as easily as Phillips heads, but they’ll stop you cold if you don’t have them in your drawer. I also never start a job without a basic digital multimeter. You don’t need a professional-grade unit; even testing oven continuity on a budget with basic tools will tell you more about a failing component than your eyes ever could. Mastering these oven repair essentials troubleshooting common issues with parts is about gathering data, not just swapping components blindly. 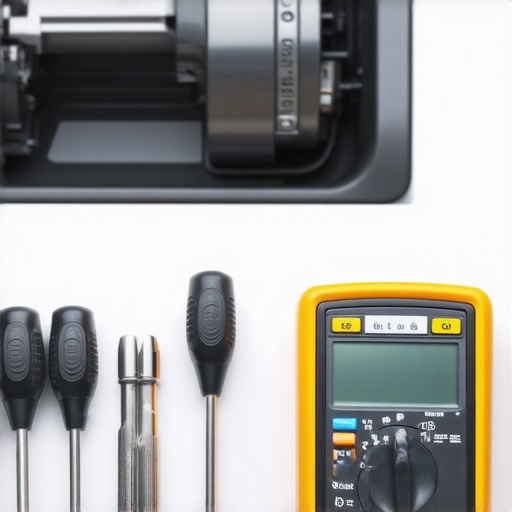
How can I keep my appliances running for twenty years?
It comes down to the things you can’t see. For your dishwasher, that means chemical maintenance. We often focus on the big parts, but tiny clogs in the spray arms kill the pump’s efficiency over time. I make it a habit to check for clogs monthly, and learning how to clean mineral buildup from dishwasher spray nozzles has saved my circulation motor from burning out prematurely. For the oven, it’s about the seals. A leaky gasket makes the heating element work twice as hard, leading to those ‘hot spots’ we talked about earlier. According to technical documentation from the Association of Home Appliance Manufacturers (AHAM), consistent maintenance of seals and filters can extend the functional lifespan of kitchen appliances by up to 30%. You should also be proactive with gas components; don’t wait for a total failure before testing the gas oven solenoid when the clicking stops.
The Future of Your Kitchen is Getting Smarter and Harder to Fix
We are entering an era of ‘Smart Diagnostics’ where your fridge might email you before it breaks, but don’t let the tech intimidate you. While the boards are getting more complex, the mechanical principles remain the same. Sensors fail long before the heavy-duty steel parts do. The trend is moving toward modularity, which is actually a win for us DIYers. In the next five years, expect to see more ‘plug-and-play’ sensor arrays that make oven diagnostics pinpointing faults before calling a repair expert even more accessible. My advice? Get comfortable with your multimeter now. If you can read a resistance value today, you’ll be ahead of the curve when everything has a WiFi chip tomorrow. Try this tonight: find your oven’s temperature sensor—usually a small metal probe in the back—and just check its resistance at room temperature. It’s the easiest way to start trusting your tools over your gut.
Hard Lessons from a Decade of Dropped Screws
I used to think that a loud noise meant an expensive bill, but my biggest lightbulb moment was realizing that dirt is often the real enemy. I’ve seen more machines fixed with a toothbrush and a bottle of vinegar than with a new motor. Another lesson? Never trust your eyes over your multimeter. A wire can look perfectly fine but be broken inside the insulation. If you want to avoid my early mistakes, start by understanding the core components of your machine before you pull it out from the wall. I’ve also learned that patience is a tool just like a wrench; if you’re frustrated, walk away for ten minutes so you don’t snap a plastic clip that costs $40 to replace.
The Gear That Actually Makes a Difference
You don’t need a professional workshop to handle these issues. My must-have list starts with a digital multimeter for diagnosing electrical breaks on a budget. It’s the only way to be 100% sure a part is bad. Next, grab a flexible magnetic pickup tool; it’s a lifesaver when you drop a screw into the dark recesses of an oven’s insulation. Finally, keep a set of essential troubleshooting guides bookmarked on your phone so you aren’t flying blind. Having the right info is 90% of the battle.
#IMAGE_PLACE_HOLDER_E#
Reclaim Your Kitchen Peace
Repairing your own appliances isn’t just about saving money—though that’s a huge plus. It’s about the confidence of knowing how your home actually works. The next time you hear a rattle or a hum, don’t let it ruin your night. Use the diagnostic skills you’ve gained to face the problem head-on. If a job ever feels too dangerous or complex, there is no shame in knowing when to call in a professional to finish the task. You’ve got this! Your journey into DIY dishwasher and oven repair has only just begun. What’s the most bizarre object you’ve ever found inside your dishwasher’s pump? Let me know in the comments below!