I remember standing in my kitchen at 6:00 PM on a Tuesday, a half-baked lasagna mocking me from behind the glass, while I poked at a control board with a screwdriver I definitely shouldn’t have been using. I thought I was a hero. I thought I was saving a few hundred bucks by following a random forum post. Instead, I ended up staring at a charred connector because I didn’t know how to inspect your oven control board for burn marks properly before poking around. It was a humbling, expensive lesson. We’ve all been there—that moment where DIY pride clashes with the reality of high-voltage components and gas lines. Today, I want to help you draw that line in the sand so you can keep your kitchen running without turning a simple fix into a total replacement.
Stop the Tinkering Before the Smoke Starts
Listen, I am the first person to encourage a neighbor to grab a multimeter and start pinpointing faults before calling a repair expert. There is a massive sense of accomplishment in testing your oven temperature sensor without calling a pro and realizing it’s just a twenty-dollar part swap. But there is a dangerous tipping point. My big mistake? I ignored the smell of ozone. I figured it was just ‘old appliance’ smell. It wasn’t. It was the sound of a relay dying a slow, painful death. If you find yourself staring at complex wiring diagrams for more than an hour, or if you’re tempted to bypass a safety fuse ‘just to see if it works,’ put the tools down. You aren’t just repairing an appliance; you’re managing a potential fire hazard. According to data from the National Fire Protection Association (NFPA), cooking equipment is the leading cause of home fires and fire injuries, accounting for 49% of all reported home fires. Sometimes, the ‘neighborly’ thing to do is admit that a task requires a certified technician’s diagnostic gear and insurance. Have you ever started a repair only to realize halfway through that you were way over your head?
Is a professional technician actually worth the cost?
The skepticism is real—I get it. You’re worried about a $100 service fee just for someone to tell you the oven is old. But here’s the truth: a pro doesn’t just swap parts; they guarantee the repair. When I tried to fix my own heating element, I missed the fact that the terminal block was also melting. A pro would have caught that in five minutes. By the time I realized my error, I had fried the new element too. This guide is about finding that sweet spot where you handle the oven repair essentials safely, but know exactly when to pick up the phone and call in the cavalry.
Stop Guessing and Start Isolating the Problem
Think of your appliance like a relay race. Every component—the timer, the thermostat, the heating element—must pass the baton perfectly to the next. If your oven isn’t heating, don’t just assume the control board is fried. You need to verify where the baton was dropped. Start with the most accessible components first. I once spent three hours tearing apart the entire base of my dishwasher because it wouldn’t drain, convinced the pump was dead. After sweating through my shirt and skinning three knuckles, I found a single cherry pit wedged in the drain hose. If I had followed a logical flow of identifying dishwasher faults quickly, I would have checked the hose in five minutes and saved my afternoon.
Look for the Physical Evidence of Failure
Before you even touch a multimeter, use your eyes. Many appliance failures leave a ‘crime scene’ behind. If your oven is cooking unevenly, you should be how to check your oven’s bake element for tiny blisters. These small bumps or discolored spots are internal shorts that have literally blown through the metal casing. It’s the same with your dishwasher; if you see a chalky residue, don’t blame the soap immediately. You might need to be cleaning mineral buildup from dishwasher spray nozzles to restore proper water pressure. Visual inspections are the low-hanging fruit of DIY repair—they cost nothing and often provide the smoking gun.
Put Your Multimeter to Work the Right Way
If the eyes fail, the multimeter is your best friend. This tool is the only way to know if a part is actually ‘dead’ or just not receiving orders. When I was first learning, I didn’t realize that a component could look perfect but have zero continuity. Now, I never order a part without testing the resistance on your dishwasher heating element or using how to test an oven broil element using a simple ohmmeter. Set your meter to the Ohms setting (the Greek Omega symbol). If the screen stays at ‘1’ or ‘OL’ when you touch the terminals, the internal circuit is broken. It’s like a bridge that’s collapsed—no matter how much traffic (electricity) wants to cross, it simply can’t. 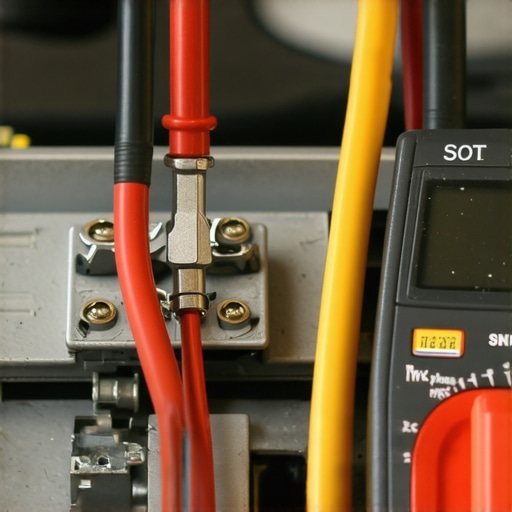
What a Loud Grinding Sound is Trying to Tell You
Noise is the appliance’s way of screaming for help. A high-pitched squeal in an oven often points to a cooling fan bearing that’s surrendered. In a dishwasher, the sounds are even more descriptive. If you hear a low-frequency hum, you’re likely diagnosing a humming noise from your dishwasher’s drain pump, which usually means the motor is energized but physically stuck. Conversely, if it sounds like a bag of marbles in a blender, you should be identifying a bad dishwasher circulation motor by the sound. Understanding these ‘languages’ allows you to skip the generic dishwasher parts diagnostics and go straight to the source of the chaos. If you’re dealing with a gas unit and hear clicking but no fire, you’re likely testing why your gas oven igniter clicks but the burner doesn’t light, which is often a sign of a weak igniter that lacks the amperage to open the safety valve.
The Expensive Myth of the Dead Control Board
Most homeowners see a blinking code and immediately assume the ‘brain’ of the machine is fried. I’ve seen DIYers drop $300 on a new board only to find the problem persists. The nuance here is that modern appliances are designed with complex ‘handshakes.’ If the dishwasher door latch isn’t fully engaging, the control board stays dormant to prevent flooding. Before you assume the worst, try what to do when your dishwasher control panel goes blank to see if it’s a simple communication error. A study by the Repair Association indicates that nearly 30% of DIY appliance parts are returned because the initial diagnosis was incorrect. Often, it’s a peripheral sensor or a loose wire, not the board itself. You should also be how to identify a bad oven relay on the control board specifically, as a single $10 relay can often be replaced by someone with basic soldering skills, saving you from buying the entire assembly. 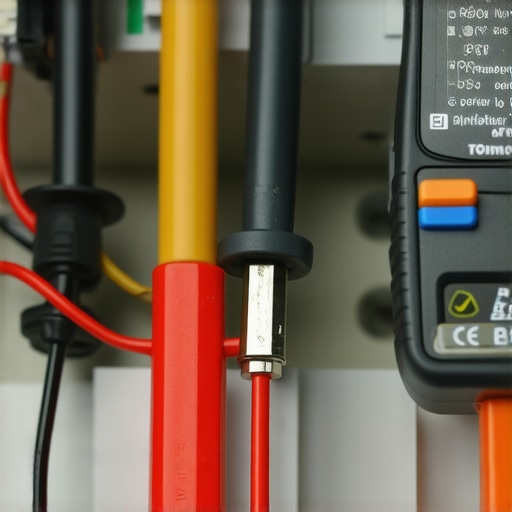
Is your multimeter giving you a false sense of security?
Testing for continuity is a great start, but resistance—measured in Ohms—is where the real truth lives. A heating element can show continuity (meaning the circuit isn’t fully broken) but still have such high internal resistance that it never reaches cooking temperatures. This is a common nuance when testing an oven bake element for invisible cracks. If your meter isn’t showing the specific Ohm range recommended in your service manual, that part is effectively a paperweight. Don’t just look for a ‘beep’ from your meter; look for the numbers. I once spent a week wondering why my oven took forty minutes to preheat, only to realize the element was ‘leaking’ voltage to the ground through a microscopic fissure.
Don’t Overlook the Humble Thermal Fuse
One of the biggest ‘traps’ in the repair world is the thermal fuse. It is a tiny, inexpensive part designed to fail so your house doesn’t burn down. If your dishwasher has zero signs of life—no lights, no sounds, nothing—you must be checking the thermal fuse on your dishwasher before buying a new one. This fuse can blow due to a simple power surge or a single instance of the machine getting too hot. Replacing it costs less than a pizza, yet I’ve seen perfectly good machines hauled to the curb because the owner didn’t know this fail-safe existed. Similarly, if your oven is acting possessed, you might be diagnosing an f3 error code on your digital oven display, which is frequently a sensor issue rather than a catastrophic failure. Have you ever fallen into this trap of over-diagnosing a simple fix? Let me know in the comments. If you’re ever unsure, it’s always safer to know when to skip the diy and call a professional oven technician before the repair costs spiral out of control.
I have spent a decade in crawl spaces and behind ovens, and if there is one thing I have learned, it is that a twenty-dollar tool can prevent a two-thousand-dollar mistake. You do not need a full workshop, but you do need precision. For instance, I never touch a control board without my trusty Fluke multimeter; it is the gold standard because it filters out ghost voltages that cheaper meters might pick up, leading you down a false diagnostic path. If you want to truly level up your repair game, you need to master these 5 multimeter tricks for diagnosing a dead control board. Beyond the meter, a pair of long-reach needle-nose pliers and a telescoping inspection mirror are non-negotiable when you are learning how to inspect your oven’s power cord for heat damage in tight spaces without pulling the whole heavy unit out onto your floor.
How do I keep my appliances from dying early?
Maintenance is not just about wiping the front of the machine with a microfiber cloth; it is about the fluids and the filters. In my own dishwasher, I have made it a quarterly ritual to spend ten minutes how to clean the hidden filter in your dishwasher sump. If that filter stays clogged, the pump has to work twice as hard to move water, leading to a premature death of the motor. You should also know how to unclog your dishwasher’s air gap in five minutes to prevent nasty sink backflow from contaminating your clean dishes. According to technical documentation from the Samurai Tech Academy, the primary reason for modern appliance failure is not a factory defect, but consumer neglect of simple cleaning cycles that eventually causes internal components to overheat and fail. 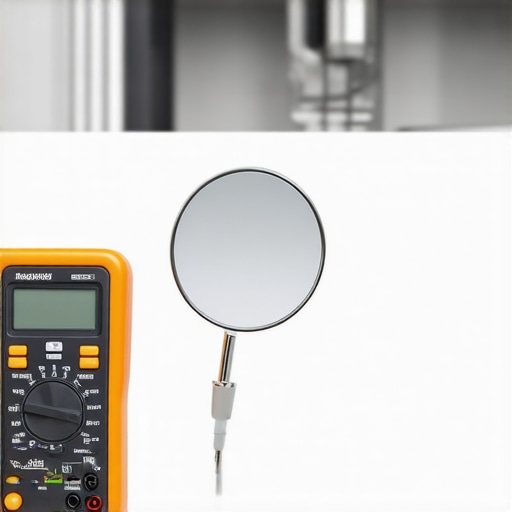
The Future of Home Repair is Getting Smarter
Looking ahead, we are moving into an era of predictive maintenance. Modern high-end appliances are beginning to integrate vibration sensors and AI diagnostics to alert you before a bearing actually fails. Imagine your dishwasher sending a notification to your phone suggesting it is time for replacing the circulation pump impeller in your dishwasher before the water even stops spraying properly. This shift will make DIY less about guessing based on a weird sound and more about following data-driven prompts. My challenge to you today: go grab a flashlight and check the base of your dishwasher for that hidden filter. If it is slimy or full of debris, clean it right now. It is the single easiest way to extend your machine’s life by years without spending a dime on parts.
Hard Truths from a Decade of Stripped Screws and Blown Fuses
Over the years, I’ve realized that the biggest barrier to a successful repair isn’t a lack of skill—it’s impatience. Here are the lightbulb moments I wish someone had shared with me before I started my first job:
- The Parts Cannon is Expensive: Never buy a part just because a forum post said it ‘might’ be the problem. If you haven’t performed oven diagnostics pinpointing faults before calling a repair expert, you are just gambling with your bank account.
- Your Phone is Your Best Tool: Before you pull a single wire, take five photos from different angles. You will think you will remember where that blue wire goes, but three days later when the part arrives, you won’t. This is especially true when dealing with complex dishwasher parts diagnostics where wiring harnesses look like colorful spaghetti.
- Cleanliness is a Repair Strategy: Sometimes a ‘broken’ machine is just a dirty one. Before you assume a motor is dead, try how to deep clean the moldy gasket in your dishwasher door or clearing out the sump. Restoring proper airflow and water flow fixes more ‘electrical’ problems than you’d believe.
Gear That Actually Makes the Difference
You do not need a professional van full of equipment, but a few specific items will save your sanity. First, a high-quality multimeter is non-negotiable for testing the dishwasher float switch for continuity. I also swear by a magnetic parts tray; losing a tiny dishwasher rack screw inside the machine’s frame is a nightmare you want to avoid. Finally, bookmark your specific model’s exploded-view diagram. Knowing the exact layout before you start identifying dishwasher faults quickly turns a guessing game into a surgical strike.
Take the First Step Toward Mastery
Repairing your own appliances isn’t just about saving money—it’s about the confidence that comes from knowing how your home actually works. Whether you’re simply troubleshooting common issues with parts or diving deep into a motor replacement, remember that every expert was once a beginner with a screwdriver and a sense of curiosity. You have the tools, you have the knowledge, and now you have a plan. Go fix it!
Have you ever struggled with a repair that seemed simple but turned into a weekend-long project? Let me know in the comments below—I’d love to hear your DIY war stories!