It happened on a Tuesday evening, right as I was pulling a heavy cast-iron skillet full of roasting potatoes out of the oven. The left side of my handle gave a sickening ‘click’ and sagged an inch. I didn’t think much of it until I grabbed my screwdriver. One slip. Two slips. By the third attempt, I wasn’t looking at a Phillips-head screw anymore; I was looking at a smooth, hollowed-out crater of despair. I felt that heat rise in my chest—the kind of frustration only a five-hundred-dollar appliance and a ten-cent screw can provide. I’d made the classic amateur move: using a bit that was just a hair too small and pushing too hard. If you’ve ever stood in your kitchen, staring at a piece of hardware that refuses to budge while your dinner gets cold, you’re in the right place. We are going to fix this today, without the expensive service call. [IMAGE_PLACEHOLDER]
Get Your Grip Back on That Oven Door
A loose handle isn’t just a nuisance; it’s a safety hazard that usually leads to much bigger headaches. Imagine that handle coming off entirely while you’re carrying a boiling pot of pasta water. No thanks. I’ve learned the hard way that ignoring the small stuff leads to structural failure, like eventually needing to look into replacing a cracked oven door handle without buying a new stove because the uneven pressure finally snapped the plastic housing. This isn’t just about a screw; it’s about maintaining the integrity of your most-used kitchen tool. I remember early in my DIY journey, I thought I could just ‘force’ a stripped screw out with standard pliers. I ended up scratching the stainless steel finish so badly I had to buy a cover-up kit. That’s a mistake you don’t have to make. Proper oven diagnostics aren’t always about the electronics; they start with the physical shell. We’re going to use the right friction tricks—rubber bands, valve grinding compound, or even a dedicated extractor—to get that ruined fastener out of there and restore your peace of mind.
Is a tiny piece of hardware actually worth the stress?
It might seem trivial, but a stripped screw is often what stands between a simple fix and a massive repair bill. Skeptics often ask if it’s better to just leave it alone and hope for the best. The answer is a firm ‘no.’ According to the experts at Family Handyman, mechanical fasteners in high-heat environments like ovens are prone to seizing due to thermal expansion, meaning if you don’t fix it now, it will only get harder—and potentially more expensive—as the metal continues to degrade. Have you ever had a simple five-minute repair turn into a three-hour ordeal because of one stubborn bolt? It’s a rite of passage for every homeowner, but today we’re taking the shortcut. We will make sure that once you get this out, you’re installing a new oven door handle without stripping the screws ever again. Let’s look at what actually causes this metal-on-metal betrayal and how to reverse the damage.
Boost Your Grip with a Simple Rubber Band
When the metal has already begun to flake away and your screwdriver feels like it’s spinning in a bowl of butter, you need to increase the coefficient of friction immediately. The most effective low-tech solution in my kit is a wide, flat rubber band. Lay the rubber band directly over the head of the stripped screw and press your screwdriver tip firmly into the rubber, forcing it into the remaining divots of the screw head. The rubber acts as a sacrificial interface, filling the gaps where the metal has been bored out. I used this exact method while swapping out a worn dishwasher door latch assembly last summer; the screw was so corroded from steam that it had no shoulders left. The rubber band provided just enough ‘grab’ to break the initial seal, saving me from having to drill out the entire assembly.
The Gritty Power of Valve Grinding Compound
If the rubber band trick isn’t enough, it’s time to look into more specialized oven repair essentials like valve grinding compound. This is an abrasive paste found in most automotive shops, and it works like magic for DIY appliance repair. You apply a tiny dab to the tip of your screwdriver. The grit in the paste bites into both the tool and the fastener, creating a temporary mechanical lock. It’s the difference between trying to climb a glass wall and a rock wall. I once tried to skip this and ended up nearly rounding off a fastener so badly I almost had to replace the whole door panel. Using a friction-enhancing paste ensures that your torque is actually turning the screw rather than grinding it down further.
Stop the Rattling Before the Glass Breaks
While you are wrestling with that stubborn screw, take a moment to inspect the surrounding hardware. A loose handle often creates vibration that travels through the door. If you don’t address it, you’ll eventually find yourself asking why your oven door glass is rattling and how to secure it. That vibration can actually loosen the internal brackets that hold the tempered glass in place. I remember a client who ignored a loose handle for months; by the time I arrived, the vibration had backed out the internal clips so far that the outer glass pane was literally swinging. You want to ensure every fastener is snug—not just the one that’s visible—to prevent the glass from becoming a secondary casualty. 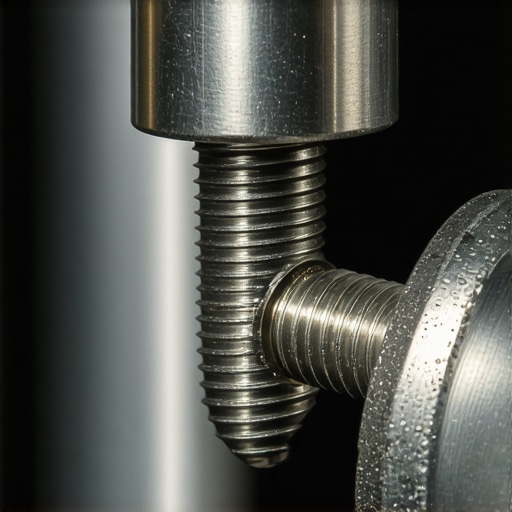
When It’s Time to Drill and Extract
The final resort is a dedicated screw extractor. This tool is a reverse-threaded bit that is designed to fail-upwards; as you turn it counter-clockwise, it digs deeper into the screw. You’ll need to drill a small pilot hole into the center of the stripped screw first. This is where things got messy for me once—I didn’t use a center punch to mark my spot, and the drill bit skated across the stainless steel, leaving a permanent ‘S’ shaped scar. Don’t make that mistake. Use a nail or a punch to create a divot so the bit stays centered. This precision is vital because if you go off-center, you risk damaging the threads in the door frame itself. This level of care is similar to how you would how to spot a failing oven hinge before the door drops, where early intervention with the right tool prevents a total structural failure. Once the extractor bites, the screw will usually back out with ease, allowing you to finally how to fix an oven door that wont stay latched by installing fresh, non-stripped hardware that holds the handle tight against the frame.Most DIY guides tell you that a stripped screw is just a bad day in the shop, but if you look closer, it is usually a symptom of a larger environmental issue. In my years of tinkering, I have found that homeowners often mistake ‘tight’ for ‘secure.’ We have this instinctual urge to crank down on hardware until it will not move another millimeter. That is the quickest way to end up needing to replace a snapped oven door hinge spring. The heat in your kitchen is not static; the metal in your oven expands and contracts every time you roast a chicken. If you do not leave room for that thermal dance, the fastener becomes the weak point. Have you ever fallen into this trap where you over-tightened a ‘fix’ only to have it break a month later? Let me know in the comments.
Stop Cranking Your Oven Screws Before They Snap
Here is the contrarian truth: loosely snug is often better than ‘gorilla-tight.’ This is especially true when dealing with the delicate interface of glass and metal. Many people think they need a power drill for these repairs, but I have banned them from my kitchen. Hand tools give you the tactile ‘feel’ of the metal. If you are diagnosing an oven that keeps tripping the circuit breaker, you will often find that heat damage spreads from physical loose points to electrical connections. According to the Association of Home Appliance Manufacturers (AHAM), constant temperature fluctuations in ovens create microscopic welds and stress fractures in fasteners that are over-torqued.
Why does the new screw feel like it is already failing?
It is likely because the threads in the door frame itself are stretched. This is the nuance most beginners miss. You can buy the most expensive OEM screw, but if the ‘receiver’ is wallowed out, you are just spinning your wheels. This level of precision is why oven diagnostics should always include a physical inspection of the frame integrity. 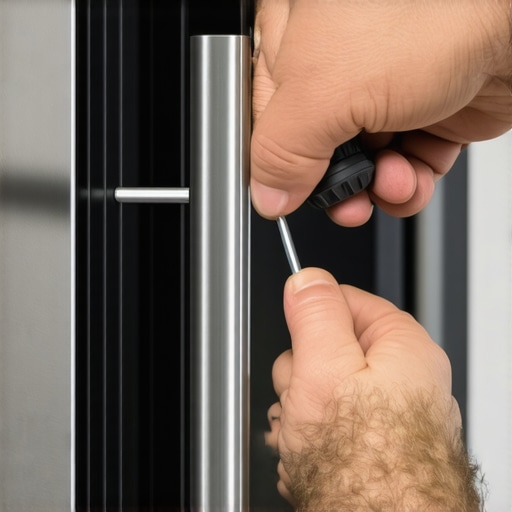
Avoid the Chemical Fix Trap
The ‘Oops’ factor comes into play when you treat your oven like a car. In automotive work, you use thread locker. Do NOT do this on an oven handle. The chemicals in standard thread lockers can off-gas when heated, creating a toxic smell that ruins your food and can be dangerous in an unvented kitchen. Instead, rely on high-temp hardware or mechanical lock washers. I saw a neighbor once try to superglue a handle back on; the glue crystallized and shattered, causing him to drop the door and eventually need to run parts and diagnostics to identify dishwasher faults quickly because the impact shook the shared water line.
The Hidden Link Between Your Oven and Dishwasher
Many people think of their appliances as islands, but they are often part of a shared ecosystem. If your oven handle is loose and you are yanking on it, you are putting stress on the entire counter assembly. I once helped a client who thought they had a major leak, only to find they had actually warped the frame of the adjacent unit. Before you start testing your dishwashers high limit thermostat for continuity, check if the physical vibration of a slamming oven door has knocked a wire loose. Is your oven control board failing or is the physical rattling of a loose handle just confusing the sensors? Often, a physical repair is the best way to ensure your appliance lasts another decade.
The Tools That Actually Make a Difference
Over the years, I’ve realized that 90% of the battle isn’t skill—it’s having the one tool that reaches where your fingers can’t. I never step into a kitchen without a telescoping inspection mirror. It lets me see the back of the oven door frame without disassembling the whole unit. When you are digging into dishwasher parts a comprehensive guide to diy diagnostics, that little mirror reveals the tiny leaks or hidden screws that save you hours of guesswork. I also swear by a pair of long-reach needle-nose pliers. They are essential for grabbing those tiny internal clips that always seem to drop into the dark abyss of the insulation. These aren’t just ‘nice-to-haves’; they are the oven repair essentials troubleshooting common issues with parts that turn a frustrating Saturday into a quick win. 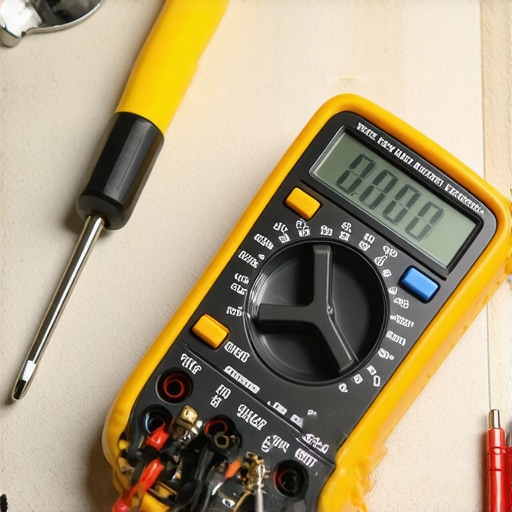
Stop Guessing and Start Measuring Everything
If you really want to move from ‘tinkerer’ to ‘expert,’ you need to embrace the multimeter. For the longest time, I was scared of electrical testing. I thought I’d blow something up. But once I realized that most parts either work or they don’t, everything changed. I spent twenty minutes testing an oven temperature sensor with just a multimeter last week and found it was only 10 ohms off—enough to ruin a cake, but not enough to throw an error code. According to the Whirlpool Digital Technical Library, electrical resistance in high-heat components is the first thing to degrade, often long before the part actually ‘breaks.’ Learning the most reliable way to test an oven thermal fuse or testing your dishwashers high limit thermostat for continuity will save you hundreds on ‘parts-cannon’ repairs where you just swap components and hope for the best. Using a tool like the Fluke 115 ensures you are getting accurate RMS readings, which is vital for these high-draw appliances.
How do I keep my oven and dishwasher running for decades?
The secret is a quarterly physical audit. I’m not talking about a deep clean—though that helps—I’m talking about a ‘touch-and-tighten’ session. Every three months, I open my oven door and check the hinges, the handle screws, and the gasket. I do the same for my dishwasher’s spray arms. These small mechanical parts take the most physical abuse. If you catch a loose bracket today, you won’t be performing oven diagnostics on a dead heating element next month because of a vibration-induced short. I also recommend checking your water inlet valve for mineral buildup, as that is the number one silent killer of dishwashers.
What the Future of Kitchen Repair Looks Like
I predict that in the next five years, we are going to see a massive shift toward DIY-friendly augmented reality. Imagine pointing your phone at your oven and seeing a transparent overlay of the wiring. Manufacturers are starting to realize that right-to-repair is a selling point, not a threat. We are moving away from cryptic error codes and toward ‘smart’ components that tell you exactly which screw is loose or which motor is drawing too much current. But until that day comes, the best tool you have is your own curiosity and a reliable set of hand tools. **Try this tonight:** Go to your oven, grab your screwdriver, and just feel the tension on your handle screws. If they move even a fraction of a millimeter, snug them up. That ten-second action might just save you from the stripped-screw nightmare I lived through.
The Hard Lessons I Learned While Wrestling with Oven Hardware
After years of fixing appliances, I’ve realized that heat is the ultimate disruptor. You might think a screw is just a screw, but in an oven, it’s a moving target that expands and contracts. One major lightbulb moment for me was realizing that if the handle is loose, it’s often not just the screw—it’s the bracket being warped by heat. Always check the frame integrity before you blame the fastener. Also, never underestimate the power of a clean thread; a tiny bit of carbon buildup can make a screw feel stripped when it’s actually just jammed. Finally, remember that your oven’s health is often linked to its neighbors. If you find your parts and diagnostics how to identify dishwasher faults quickly skills are improving, apply that same logic here: look for the root cause, not just the symptom.
The Toolbox That Actually Solves Kitchen Crises
You don’t need a professional workshop, but a few specific items are non-negotiable. First, get a Fluke 115 Multimeter; it’s the gold standard for dishwasher parts a comprehensive guide to diy diagnostics and oven troubleshooting alike. I also recommend a telescoping inspection mirror—it’s the only way to see if your oven control board failing is due to a burnt wire in the back without pulling the whole unit out. Lastly, keep a set of screw extractors and a small tube of valve grinding compound in your junk drawer. These are the oven repair essentials troubleshooting common issues with parts that turn a potential disaster into a minor Saturday project.
Reclaim Your Kitchen One Screw at a Time
Fixing a stripped screw isn’t just about the hardware; it’s about the confidence that comes from knowing you don’t have to call for help every time something rattles. Your oven is the heart of your home, and keeping it in top shape ensures you can focus on the cooking rather than the clanking. Don’t let a tiny piece of metal intimidate you. With the right friction tricks and a bit of patience, you can master any oven repair task that comes your way. Have you ever had a simple screw repair turn into a full-blown weekend project? Let me know your biggest DIY nightmare in the comments below!