I still remember the smell of slightly-charred-on-the-outside, raw-on-the-inside chicken that greeted me three Thanksgivings ago. It was a complete disaster. My oven was humming, the lights were on, but the air inside was as stagnant as a swamp. I realized then that my convection fan had finally given up the ghost right when I needed it most. I spent the next three hours frantically searching for answers, only to realize I had made a classic rookie mistake: I assumed the most expensive part—the main control board—was the brain that had died. I actually went out and bought one, installed it, and… absolutely nothing changed. The fan still sat there like a paperweight. I felt like an absolute idiot for spending $150 on a non-returnable electronic part instead of doing a five-minute test on the $40 motor. It is a lesson I learned the hard way so you do not have to. If your oven is acting up, pinpointing the fault early can save you a fortune in unnecessary parts. Today, I am going to show you how to stop the guesswork and start testing.
The Silence That Costs You Money
When that fan stops spinning, your oven essentially becomes a standard radiant oven, but without the airflow it was specifically designed for. This leads to massive hot spots, burnt cookies, and a lot of dinner-time frustration. I have seen so many people panic and think their heating element is shot, but often it is just the fan motor coil that has opened up or shorted out. According to data from the Association of Home Appliance Manufacturers (AHAM), mechanical failures like motor burnouts are among the most common reasons for appliance service calls, yet these components can often be tested in minutes by a homeowner. I have spent enough time elbow-deep in oven repair essentials to know that a simple resistance test is the absolute best way to diagnose the problem. It is literally the difference between a $30 fix and a $400 repair bill from a pro. Have you ever stood in your kitchen, staring at a silent oven, wondering if you are about to be scammed by a repairman for a simple fix?
Does Everyone Really Need a Multimeter?
I get it. Most people do not keep a digital multimeter in their junk drawer next to the scotch tape and old batteries. You might be wondering if you can just eyeball a bad motor and see the damage. Truthfully? You can’t. You can not see a broken internal copper winding or a micro-short in the wiring. I once tried to guess the health of a motor by spinning the blades with my hand; they spun perfectly smooth, so I thought the motor was fine. I was dead wrong. The mechanical bearings were lubricated, but the electrical path was completely severed. If you want to stop guessing and start fixing, you need to learn how to test for continuity and resistance properly. Today, I am going to walk you through stripping away the mystery of those colored wires. We are going to dive into the process of accessing that internal cooling fan and putting it to the test so you can get back to baking.
Access the Motor Without Losing Your Mind
Most people start by tearing apart the inside of their oven, but that is often the long way around. In most modern ranges, the cooling fan or convection motor is accessed through the back panel. You will need to slide the unit out—be careful not to scratch your floors—and remove the series of hex-head screws holding the rear cover in place. I remember one specific Saturday when I was so confident I knew which screw to pull that I ended up dropping my only T20 bit into the thick fiberglass insulation. I spent nearly an hour fishing it out with a telescoping magnet while my kids asked when lunch would be ready. It was a mess, but it taught me to use a magnetic tray for every single fastener. Once that panel is off, you will see the motor sitting there with two or three wires attached to it. Before you start pulling wires, take a photo of the connections. You think you will remember where the red wire goes, but three hours later, your brain will be a blank slate.
Safety First Means Power Off
It sounds like common sense, but you would be surprised how many DIYers forget to unplug the unit or flip the breaker. Working on an oven is not like changing a lightbulb; there is enough current there to ruin your week. If you are also dealing with other issues, like oven repair essentials that involve the heating elements, ensure everything has cooled down completely. A hot oven is a dangerous workplace.
Set Your Multimeter to the Right Mode
Think of your multimeter as a stethoscope for your appliance. To see if the motor is ‘alive,’ you need to check its internal resistance. Turn your multimeter dial to the lowest setting for Ohms (Ω). If your meter is not auto-ranging, 200 ohms is usually the sweet spot. You are looking for a path of travel. If the copper windings inside the motor are intact, electricity can flow through. If they are snapped or burnt, the path is blocked. This is the same logic you would use when testing your ovens thermal fuse for continuity. 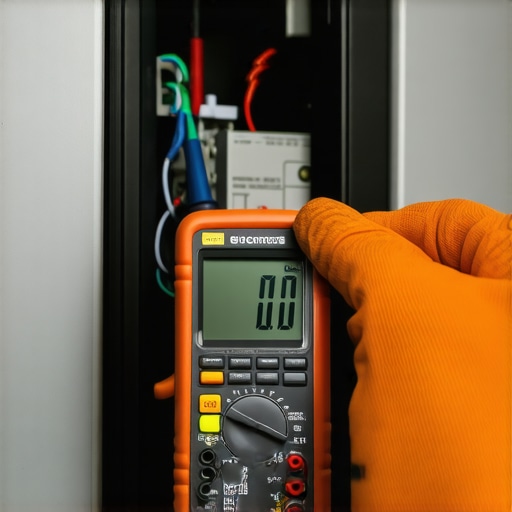
Read the Resistance Before Buying Parts
With the power disconnected, pull the wire connectors off the motor terminals. Do not test with the wires attached, as you might get a back-feed reading from the control board, which will lie to you. Touch one probe to each of the two main terminals on the motor.
Analyze the Numbers on Your Screen
A healthy cooling fan motor typically shows a reading between 10 and 100 ohms, depending on the model. If your meter displays ‘O.L’ (Open Loop) or a symbol for infinity, the motor is dead. The circuit is broken, and no amount of cleaning will bring it back. On the flip side, a reading of 0 or 0.1 ohms means the motor has a direct short. If you find the motor is fine but the fan still won’t spin, you might be selecting the right heating element or checking the control board next, but usually, the motor is the culprit. While you are back there, give the fan blades a flick with your finger. If they feel crunchy or resist movement, the bearings have seized. This mechanical failure won’t always show up on a multimeter, but it is just as fatal. If the electrical test fails, you are officially ready for how to replace your ovens internal cooling fan motor without the nagging doubt that you are wasting money. Much like testing an oven temperature sensor with just a multimeter, this simple diagnostic is the most reliable way to prove a part is bad before you hit the ‘checkout’ button on a parts website.I’ve seen a lot of homeowners get the multimeter out, see a reading that looks roughly correct, and then scratch their heads when the fan still refuses to move. Here is a hard truth: a simple continuity test only tells you if the circuit is connected, not if it can actually handle a load. This is the ‘Continuity Lie’ that keeps parts stores in business. If you have a frayed wire or a corroded terminal, your multimeter might send its tiny 9-volt signal through just fine, but the moment your oven tries to shove 120 volts down that same path, the connection chokes. It’s exactly why fixing an oven that bakes unevenly can feel like chasing a ghost.
Why did my brand-new motor burn out so quickly?
This is the advanced level of troubleshooting. If you replaced the motor and it died within a month, you likely ignored the ‘phantom load’ from a failing relay. According to research data cited by the Association of Home Appliance Manufacturers (AHAM), roughly 25% of appliance failures involve secondary components that were damaged by the primary fault. If your fan motor shorted out, it might have partially melted the relay on the control board. If you don’t check for is your oven control board failing signs, your new motor is walking into a trap. I once replaced a motor three times before I realized the vibration was caused by a bent housing, not the part itself. 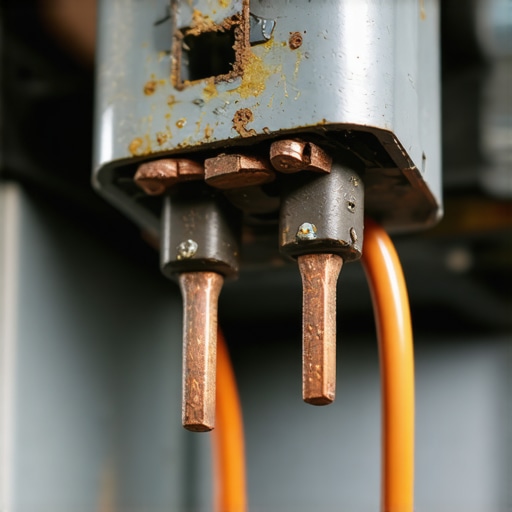
The Deadly Trap of Over-Tightened Fasteners
When you are identifying the right control board for your wall oven or swapping a motor, your instinct is to crank those screws down as tight as possible. Do not do it. Ovens live in a world of extreme thermal expansion. If you over-torque a mounting screw, the metal has nowhere to go when it heats up. This warps the motor shaft and creates that annoying ‘buzzing’ sound that eventually leads to a seized bearing. It’s a similar nuance you’ll find when identifying dishwasher faults quickly—sometimes the hardware just needs room to breathe. The ‘Nuance of the Nuance’ is looking at the wire connector itself. If the female spade connector on the wire harness is even slightly loose, it creates high resistance. High resistance creates heat, and heat destroys motors. I always recommend using a pair of needle-nose pliers to slightly crimp the connector for a tighter fit before sliding it back onto the new motor. It’s a 10-second fix that prevents a $100 comeback. Whether you are dealing with ovens or studying dishwasher parts and diagnostics, the connection is often the real culprit, not the component. Have you ever fallen into this trap where you over-repaired a simple problem? Let me know in the comments. If you’re still stuck, check our contact us page for more specific guidance.
Stop Guessing with Professional Grade Tools
I’ve spent years tinkering with these machines, and if there is one thing I’ve learned, it’s that a cheap multimeter from a bargain bin will eventually lie to you. When I am deep into oven repair essentials, I reach for a true RMS meter. Why? Because household power isn’t a perfect sine wave, and lower-end tools can’t accurately measure the ‘noise’ that a failing control board generates. If you are serious about DIY, invest in a meter with a ‘Min/Max’ function. This allows you to catch those momentary voltage drops that happen when a motor kicks on. I once spent three days trying to figure out why an oven fan runs for hours after cooking, only to realize the thermal switch was sticking intermittently. A standard tool missed it; the Min/Max function caught the circuit closing when it shouldn’t have.
How do I maintain my oven’s electrical health over time?
The secret isn’t just cleaning; it’s about managing heat and vibration. Every six months, I make it a point to pull the range out and do a visual inspection. I am looking for ‘rainbowing’ on the wire insulation—that slight discolouration that screams a connection is getting too hot. This is especially true if you’ve had to check for a burnt terminal block on your electric oven recently. According to the Whirlpool Corporation’s Service Technical Education manuals, the precision of resistance readings is critical because a variance of just a few ohms can signal an impending failure in high-draw components. If you notice your bake element’s resistance has drifted more than 10% from its factory spec, replace it before it shorts and takes the control board with it. 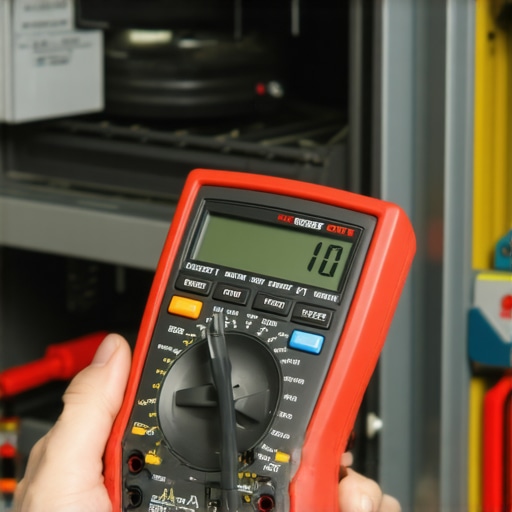
Why Your Future Kitchen Will Talk Back to You
We are rapidly moving toward an era where ‘guessing’ becomes obsolete. The next generation of appliances is shifting toward the ‘Matter’ protocol, where your oven will log its own component resistance and send an alert to your phone before the part actually fails. Imagine getting a notification that your convection motor is drawing 20% more amperage than normal—a clear sign of bearing wear. Until that tech is in every home, you have to be the sensor. This proactive mindset is just as important when diving into dishwasher parts and diagnostics. Keeping a small logbook of your appliance’s ‘normal’ behavior—how long it takes to preheat or the specific hum of the pump—is the best tool you own.
Don’t Wait for the Next Breakdown
If you have ever dealt with a machine that heats way past the set temperature, you know the panic of a ruined meal and a potential fire hazard. My best advice? Stop being a reactive repairman. Go grab your multimeter right now and check the resistance of your bake element. Knowing its baseline today could save you a massive headache next month. If you are not sure what those numbers mean or if you have hit a wall with a stubborn dishwasher issue, I’ve got more specific guides on identifying dishwasher faults quickly to keep your whole kitchen running like a well-oiled machine.
Hard Truths from the Back of the Appliance Cabinet
After years of repairing my own units, I have realized that the ‘parts cannon’ is a homeowner’s worst enemy. We often buy components because they are the easiest to reach, not because the data says they are broken. I spent a long time learning that diagnostics are about elimination, not guessing. If you are struggling, remember that oven repair essentials always start with the simplest check first. I’ve seen people replace entire control boards when the real issue was a $2 spade connector that had vibrated loose. Don’t overlook the mechanical; if a fan motor hums but won’t turn, your multimeter might show continuity, but your ears are telling you the bearings are shot. Learning to trust your senses alongside your tools is the ‘lightbulb moment’ every DIYer needs. #IMAGE_PLACE_HOLDER_E#
Gear That Keeps Me from Buying a New Range Every Year
You don’t need a professional workshop to handle most kitchen issues, but you do need a few non-negotiables. First, a True RMS multimeter is the only way to accurately read the ‘dirty’ power found in modern appliances. I also swear by a magnetic parts tray; it sounds small until you’re fishing a screw out of a floor vent. If you’re looking to expand your knowledge into the wet side of the kitchen, I highly recommend keeping a copy of a comprehensive guide to dishwasher parts nearby. For those truly stuck, I often find that identifying dishwasher faults quickly requires the same mindset as oven work: follow the path of power and don’t skip the small stuff. If you hit a wall, don’t forget you can always reach out for guidance.
Take the Screws Out and Start Learning
There is a specific kind of pride that comes with hearing that convection fan kick on for the first time after you’ve fixed it yourself. It’s about more than just saving money; it’s about reclaiming control over the machines that run your home. Whether you are testing an oven temperature sensor with just a multimeter or just cleaning out a greasy filter, you are becoming more self-reliant. Don’t let the fear of a ‘complex’ machine stop you from opening the back panel. Most of these components are held in by the same four screws and common sense. If you’ve been ignoring signs your oven control board is failing, today is the day to grab your tools and find the proof. Have you ever replaced a part only to find out it wasn’t the actual problem? Let’s swap horror stories in the comments below.