I’ll never forget the Thanksgiving I spent huddled on the kitchen floor, screwdriver in hand, convinced my brand-new convection oven was staging a late-night protest. Dinner had been over for three hours. The turkey was already carved and put away, and the guests were long gone. Yet, that relentless whirring sound continued, vibrating through the cabinets like a small jet engine idling in my pantry. I was certain the house was going to burn down, or at the very least, my electricity bill was about to skyrocket. I eventually learned that I was overreacting, but that visceral feeling of “is it supposed to do this?” is something every homeowner faces when their appliance refuses to go quiet.
Stop Worrying About That Eternal Whirring
If you’re currently standing in your kitchen wondering why your appliance seems to have a mind of its own, take a deep breath. You aren’t alone. Most of the time, that humming sound when turned off is actually a safety feature designed by engineers who care about your kitchen cabinets, not a catastrophic failure. Modern ovens are packed with insulation and high-tech electronic components that simply do not play well with extreme heat. Today, I’m going to walk you through exactly why your fan is being so stubborn and how to tell the difference between a normal cooling cycle and a part that’s genuinely gone rogue. We’ll look at some oven diagnostics you can do yourself before you spend a dime on a service call. I made a massive mistake early in my DIY journey by assuming a long-running fan meant my control board was fried. I spent nearly two hundred dollars on a replacement part and a whole Saturday afternoon in a sweat, only to realize the real culprit was a blocked rear vent and a slightly dusty internal cooling fan motor. It was an expensive lesson in patience and proper troubleshooting. Have you ever felt that urgent, nagging itch to just flip the circuit breaker because the noise was driving you absolutely crazy?
Is My Oven Actually Going to Burn Out?
The fear is real: if a fan runs for four hours, isn’t it going to die? It’s a valid skepticism. However, technical research suggests that the majority of modern electronic control boards are designed to trigger cooling fans until the internal cavity drops below a specific threshold, often around 150-200 degrees Fahrenheit, to prevent “thermal runaway.” According to data from the National Fire Protection Association, many kitchen fires are avoided specifically because these integrated cooling systems prevent ambient heat from soaking into the combustible materials of the surrounding cabinetry. While it’s annoying, that fan is often the only thing standing between your control panel and a permanent meltdown. Understanding these oven repair essentials helps you keep your cool while the oven does the same, setting the stage for us to dive into the specific sensors that might be lying to your machine.
Put Your Multimeter to Work on the Temperature Sensor
The most common reason a fan keeps running is that the oven simply doesn’t know it is cool yet. Think of the temperature sensor as a digital thermometer that talks directly to the brain of your appliance. If it is sending back inaccurate resistance readings, the fan stays on because the system thinks the cavity is still a furnace. I remember the first time I tested a sensor; I spent twenty minutes cleaning the probe with steel wool, convinced that a bit of baked-on grease was the culprit. It wasn’t. The internal wire had actually failed, sending a ‘hot’ signal even at room temperature. You can verify this for yourself by testing an oven temperature sensor with just a multimeter. If the ohms do not match the manufacturer’s specifications at room temperature, you have found your ghost. 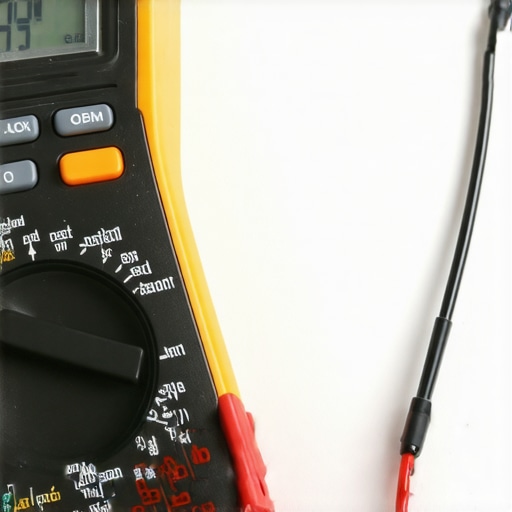
When the Control Board Refuses to Let Go
If the sensor checks out, the problem is likely shifted to the control board. Relays on these boards act like tiny mechanical light switches. Over time, or following a minor power surge, these switches can ‘weld’ themselves into the closed position, providing constant power to the fan motor. It is a frustrating scenario because the oven thinks it is performing a necessary safety function. You need to check if the board is outputting a constant 120V to the fan terminal even when the oven is stone cold. Before you commit to an expensive replacement, learn how to tell if your oven control board is repairable. I once saved a client three hundred dollars by identifying a single burnt solder joint on a relay rather than replacing the whole unit. Identifying these signals is key to knowing is your oven control board failing or if the issue lies elsewhere.
Clear the Path for Your Cooling Fan
Sometimes the fan is not actually broken; it is just working overtime because it is suffocating. Modern wall ovens and ranges are often installed with incredibly tight clearances. If your rear vents are clogged with dust or if the insulation has shifted and blocked the airflow, the heat trapped behind the unit cannot dissipate. The fan will run for hours in a desperate attempt to win a battle against physics. Pull the unit out and inspect the intake and exhaust areas. If you hear a grinding or labored rattling during this process, it is a sign of physical wear, and you should look into how to replace your ovens internal cooling fan motor. During one repair job, I found a flattened oven mitt that had somehow fallen behind the range and was blocking the primary cooling duct. Once I cleared the obstruction, the fan returned to its normal ten-minute cooling cycle immediately. Checking for physical blockages is one of the most overlooked oven repair essentials that can save you a massive headache.Everyone tells you to replace the control board the moment a fan stays on indefinitely. It is the "nuclear option" of appliance repair and, frankly, a massive waste of money more often than not. In my years of taking these machines apart, I have discovered a contrarian truth: control boards are remarkably resilient, but the relays they house are often just "lazy." Most DIYers see a fan that won’t quit and assume the logic is fried. However, a relay is a mechanical switch that can physically stick. Before you drop three hundred dollars on a new board, try a light tap on the relay casing with the handle of a screwdriver. This isn’t just "percussive maintenance"; it’s a valid diagnostic step to see if the mechanical contact is simply fused. If the fan stops, you know the board logic is fine and you might just need a single component swap rather than a full board replacement. Let’s dig deeper into the nuances of oven diagnostics to save you from the replacement trap.
Can a Thermal Fuse Trigger a Fan Loop?
This is the sophisticated question that separates the pros from the amateurs. While we usually think of a thermal fuse as a "kill switch" that cuts power entirely, some modern high-end ranges use them as a signaling device. If the fuse is starting to drift out of its specified temperature range—even if it hasn’t "blown" yet—it can send a resistance signal that the board interprets as a high-heat event. This keeps the cooling fan running in a desperate attempt to protect the internal components. It is worth investigating the most reliable way to test an oven thermal fuse for resistance drift, not just for a simple break in continuity. According to the Association of Home Appliance Manufacturers (AHAM), many functional control boards are discarded prematurely because technicians fail to account for these subtle sensor interdependencies. 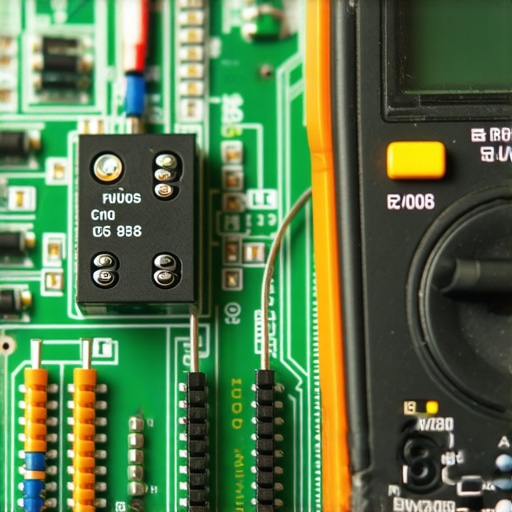
The Hidden Trap of Aftermarket Sensors
The "Oops" factor in oven repair often comes down to parts sourcing. I see people buy a cheap, ten-dollar sensor online, only to find their fan still runs for hours. The problem? Resistance curves. A sensor might read correctly at room temperature but have a wildly different Ohm-to-temperature ratio once the oven hits 350 degrees. This is why testing an oven temperature sensor with just a multimeter is only half the battle; you have to test it at various heat intervals to ensure the curve is linear. If you find the fan is acting up, don’t just look for a broken wire; look for a signal that is lying. Always cross-reference your readings with the manufacturer’s technical sheet, which is usually tucked in a plastic envelope behind the lower kickplate or inside the control console. Learning how to tell if your oven control board is repairable often starts with confirming that the inputs it receives are actually accurate. If you are ever in doubt, going back to oven repair essentials will remind you that the simplest component is usually the one telling the loudest lies. Have you ever fallen into this trap of replacing the most expensive part first, only to find out it was a five-dollar fuse? Let me know in the comments.
My Personal Toolkit for Appliance Surgery
If you are going to dive into how to identify dishwasher faults quickly or pull apart a high-end range, you need better tools than a rusty screwdriver. I swear by my auto-ranging digital multimeter; I spent years using a cheap analog unit that gave me ‘approximate’ readings, which is a recipe for disaster when testing your dishwashers high-limit thermostat for continuity. Precision is the difference between a fixed machine and a blown fuse. I also recommend a telescopic inspection mirror. It sounds like something out of a spy movie, but it is the only way to see if there is a leak from the kickplate area without lying face-down on a cold tile floor for an hour. Having the right gear turns a stressful afternoon into a manageable project.
How do I maintain these complex machines over time?
Maintenance is not about massive, expensive repairs; it is about the small, boring habits that keep the ‘heart’ of the machine beating. For ovens, it is ensuring your oven door seal is not leaking heat, which forces every internal component to work double-time to maintain temperature. For dishwashers, you have to be religious about the filter. According to the Residential Appliance Repair Manual published by ServicePower, nearly 40% of ‘broken’ dishwashers are actually just victims of a neglected sump and a clogged intake. I make it a habit to check my dishwasher parts guide every six months to remind myself which components need a manual scrub. 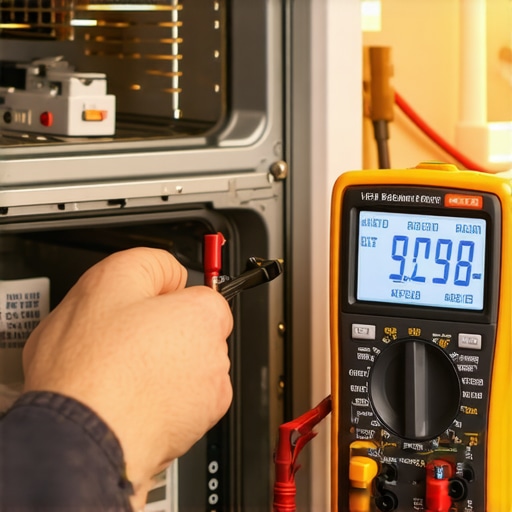
Stop Waiting for the Total Breakdown
The trend I am seeing in the industry is a major shift toward ‘predictive acoustics.’ Imagine a smartphone app that listens to the specific pitch of your oven fan and tells you the bearings are exactly 200 hours away from failing. We are not quite there for the average consumer yet, but you can be the human version of that software right now. Pay attention to the subtle pitch of your machines. If you notice a new rattle or a higher-pitched hum, do not wait for the smell of burning plastic. Go ahead and run your oven diagnostics while the part is still technically ‘functional.’ My best advice is to grab your multimeter this weekend and test one sensor just for practice. Getting comfortable with the baseline is the only way to spot a deviation before it becomes an emergency.
Lessons Learned While Crouched Behind My Range
Over the years, I have realized that the most frustrating appliance issues are often the ones that are trying to help us. One of the biggest lightbulb moments I had was realizing that a fan that refuses to stop is frequently just a symptom of a sensor that is ‘drifting.’ If you ever find yourself fixing an oven that heats way past the set temperature, that fan is actually your best friend. It is working overtime to save the expensive electronics from the very heat the oven is over-generating. I also learned that knowing how to diagnose a buzzing noise from your oven control board is about more than just listening; it is about feeling for specific vibrations on the mechanical relays. Sometimes your appliance isn’t failing; it is just acting on bad data from a tired component. Finally, never underestimate the power of a simple cleaning. A dusty vent can cause a hundred-dollar headache that only costs five minutes to fix.
The Exact Items I Keep in My Repair Bag
I don’t believe in guessing when it comes to high-voltage electronics. My first recommendation is a quality auto-ranging multimeter; it removes the ‘maybe’ from every diagnostic step. I also suggest keeping your specific model’s oven diagnostics guide printed and taped to the inside of a cabinet door. Having that manufacturer data prevents you from replacing parts that are still perfectly functional. If you’ve just finished a repair, don’t forget to check the fast way to recalibrate your oven for accurate temperatures to ensure everything is perfectly in sync. If you ever find yourself staring at a pile of wires and feeling overwhelmed, you can always contact us for a little extra guidance.
#IMAGE_PLACEHOLDER_E#
Moving Forward Without the Fear of Fire
The goal of DIY repair isn’t just to save a few dollars; it’s to reclaim the peace of mind in your own home. That nagging humming sound when turned off doesn’t have to be a source of anxiety once you understand the safety logic behind it. By taking the time to test your sensors and inspect your airflow, you are moving from a reactive homeowner to a proactive one. You have the tools, you have the data, and now you have the confidence to keep your kitchen running safely. Have you ever been haunted by a phantom fan noise late at night? Tell me what ended up being the fix in the comments!