It was a Tuesday night, and I had a tray of lasagna ready to go when my oven decided to stage a silent protest. No error codes, no smoke—just a cold, dark cavity and a very hungry family. I spent three hours scouring forums, only to realize I was looking at the wrong part entirely. That’s when I had my lightbulb moment about the high-limit thermostat. It is the unsung hero of your kitchen, the tiny gatekeeper that shuts everything down if things get dangerously hot. If you’ve ever felt that pit in your stomach when your appliance just quits, you’re in the right place. We are going to make sure you never buy the wrong part again.
Stop Guessing and Get the Right Part for Your Model
The biggest mistake I made early on—and trust me, it was embarrassing—was assuming all these little round sensors were interchangeable. I bought a ‘universal’ limit switch that looked identical to mine, but the terminal pins were oriented at a 90-degree angle. It wouldn’t fit the wiring harness no matter how much I wiggled it. That $20 mistake cost me another four days of expensive takeout. You need to be precise because these components are calibrated to specific temperatures. Before you start unscrewing panels, I highly recommend checking out my guide on oven diagnostics to confirm the thermostat is actually the villain in your story.
Is messing with electrical safety components actually worth the risk?
It is a valid fear. Dealing with high-voltage parts feels like it requires an engineering degree, but if you can use a screwdriver and take a clear photo with your phone, you can handle this. The high-limit thermostat is essentially a kill switch. According to the National Fire Protection Association, cooking equipment is the leading cause of home fires, which means this little component is literally your last line of defense. Getting the exact match isn’t just about making the oven work; it’s about keeping your house safe. If your oven is struggling, you might also want to test your oven’s thermal fuse for continuity while you have the back panel off, as they often fail together. Have you ever opened your oven door only to find it stone-cold right when you needed it most? Let me know in the comments. We’re going to look at the numbers on your old part and match them to the manufacturer’s specs so you can get back to baking without the guesswork. If your appliance has been acting up lately, perhaps you are dealing with an oven that won’t reach high temperatures, which is a classic symptom of a failing sensor or limit switch.
Don’t Move a Muscle Until You Find the Model Sticker
Think of your oven’s model number as its Social Security number. Without it, you are just a person with a screwdriver and a dream. You can usually find this on a small metal plate or sticker located just inside the oven door frame, behind the bottom broiler drawer, or occasionally on the side of the unit. This number tells the manufacturer exactly which revision of the high-limit thermostat was installed. If you ignore this and buy based on “looks,” you’re playing a dangerous game. Most modern units have a dozen variations of the same part, each with a different “trip” temperature. While you’re looking for that sticker, it’s a great time to brush up on oven repair essentials troubleshooting common issues with parts so you can spot other potential failures while the unit is pulled out.
Why Your Smartphone Is Your Best Repair Partner
Before you disconnect a single wire, pull out your phone. I learned this the hard way when I worked on an old GE range. I thought I’d remember exactly which red wire went to which terminal, but after getting the new part, I realized there were three identical wires and zero labels. I spent two hours chasing a wiring diagram online because I didn’t take a five-second photo. Take a picture of the high-limit thermostat while it is still mounted. You need to see the orientation of the spade connectors and the path of the wires. These wires are often tucked into specific clips to keep them away from the heat; if they touch the oven cavity directly, they will melt and short out. 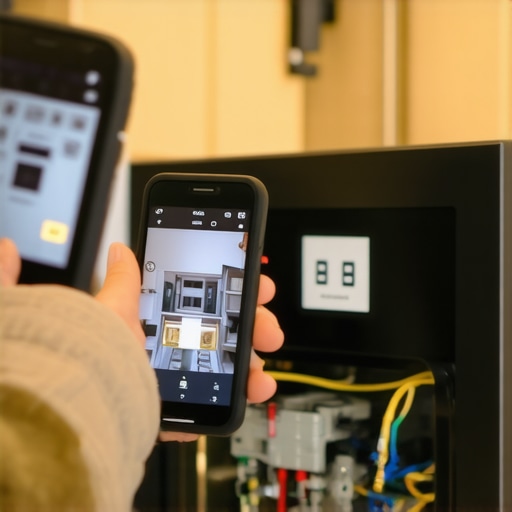
The Multimeter Test That Saves You Money
You shouldn’t replace the thermostat just because the oven isn’t heating. It could be the igniter or even the control board. If you want to stop guessing, you need a multimeter. Set it to the lowest Ohms setting for continuity. With the oven unplugged and the wires removed from the thermostat, touch the probes to the two terminals. You should get a reading near zero. If the screen doesn’t change or shows “OL” (open loop), the thermostat has “tripped” or failed internally and is physically blocking the electricity from reaching the heating elements. This is a much more reliable method than just guessing, similar to testing the resistance of an oven igniter with your multimeter to rule out other culprits. If your oven is heating but doing a poor job, you might be dealing with an oven that bakes unevenly, which sometimes points back to an inaccurate sensor rather than a total limit-switch failure.
Decode the Markings on the Metal Disc
Once the part is in your hand, look at the face of it. You’ll see a string of numbers, usually starting with an “L” or an “F” followed by a three-digit number like “L250-40.” This means the switch is designed to limit the heat at 250 degrees Fahrenheit and reset once it drops by 40 degrees. If you install a part rated for L200 in an oven that needs an L300, your oven will shut off before you even finish preheating. It’s a common frustration, almost as annoying as identifying the difference between a faulty oven sensor and a bad board when you’re already elbow-deep in grease. Always verify that the replacement part matches these specs exactly, as these are safety-critical components designed to prevent a kitchen fire.
Let’s dig deeper into a nuance that almost every DIYer misses. Most people assume that if a high-limit thermostat has no continuity, the part itself is ‘broken.’ In my experience, that is only half the truth. In many cases, the thermostat is working perfectly—it did exactly what it was designed to do by cutting power to prevent a fire. The real culprit is often a failing cooling fan or a blocked vent that caused the overheat in the first place. If you replace the switch without addressing why it tripped, you’ll be buying another one by next Sunday. Before you blame the part, spend some time diving deep into oven diagnostics to see if your ventilation is the hidden enemy.
A Tripped Thermostat Isn’t Always the Real Problem
Here is the ‘oops’ factor I see constantly: homeowners find the manual-reset button on their limit switch, pop it back in, and think they’re geniuses because the oven starts heating again. But according to UL 873, the safety standard for temperature-regulating equipment, these components are calibrated to handle extreme conditions that should never be reached during normal operation. If that switch tripped, something went wrong. It could be a relay on the control board stuck in the ‘on’ position, or perhaps you need to learn how to replace your oven’s internal cooling fan motor because it isn’t pulling enough heat away from the sensitive electronics. Ignoring the ‘why’ is a dangerous game that leads to repeat failures.
Why do some limit switches have a tiny red button?
If you see a small red button in the center of your thermostat, you’ve found a manual-reset limit. These are usually found in high-end convection units. If it doesn’t have a button, it’s an ‘auto-reset’ or a ‘one-shot’ thermal fuse. The one-shot versions are the most frustrating because once they blow, they are physically destroyed inside and must be replaced. I always recommend testing an oven temperature sensor with just a multimeter alongside the limit switch. Often, a drifting sensor tells the board the oven is cooler than it actually is, causing the elements to stay on until the safety limit finally gives up. 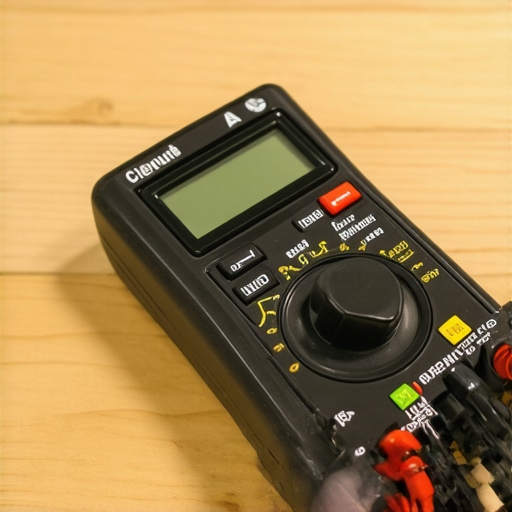
Stop Chasing Ghosts in Your Dishwasher Electronics
The same logic applies when you are trying to identify dishwasher faults quickly. People often replace the heating element when the water stays cold, but the high-limit thermostat underneath the tub is a much more common (and cheaper) failure point. Have you ever fallen into the trap of replacing an expensive control board only to find out it was a $15 thermal switch all along? It’s a gut-wrenching feeling that I’ve experienced more than once. Let me know in the comments if you’ve ever replaced a part only to have the same problem return a week later. We can troubleshoot the root cause together so you can stop throwing money at symptoms and start fixing the actual disease.
If you want to move beyond just swapping parts and start actually fixing things, you need to upgrade your toolkit. I used to rely on a cheap $10 multimeter I found at a hardware store bin, but it nearly cost me a control board because it couldn’t accurately read low resistance. Now, I don’t touch a circuit without a meter that has a ‘LoZ’ (low impedance) function. This prevents ‘ghost voltages’ from tricking you into thinking a wire is live when it’s just picking up electromagnetic interference from a neighboring cable. When you are deep into dishwasher parts a comprehensive guide to diy diagnostics, that distinction is the difference between a successful Saturday and a frustrated trip to the appliance store. Beyond the meter, stop using pliers on hex nuts. I swear by a dedicated nut driver set; if you’ve ever struggled with the correct tool for removing a rusted dishwasher heating element nut, you know that the wrong grip will strip the head and turn a twenty-minute job into a four-hour nightmare.
Smart Ovens and the Future of DIY Repair
The landscape of home repair is shifting faster than most realize. We are rapidly approaching a ‘right to repair’ evolution where manufacturers are starting to integrate more robust onboard diagnostics. I predict that within the next five years, most mid-range ovens won’t just throw a cryptic ‘F10’ error; they will provide a real-time Ohm reading of the temperature sensor directly on the digital display. Until that becomes standard, you have to be the intelligent interface. According to technical bulletins from the Professional Service Association (PSA), over 30% of control board replacements are unnecessary because the root cause was actually a loose neutral wire or a failing cooling fan that the DIYer overlooked. 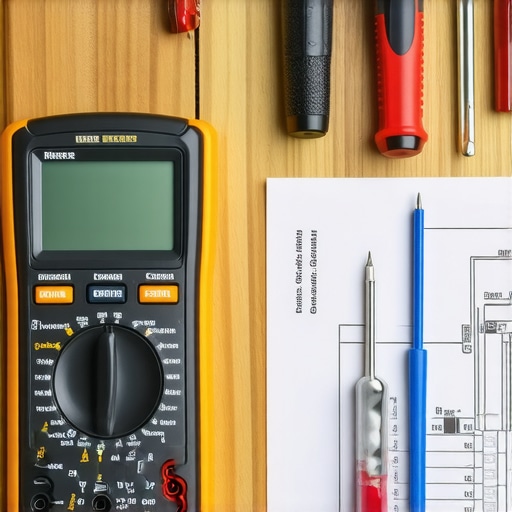
How can I make my kitchen appliances last for fifteen years?
Maintenance isn’t just about cleaning the glass; it’s about thermal management. Heat is the number one killer of electronics. If your oven’s internal fan is coated in grease, it spins slower, the temperature around the control board rises, and the solder joints eventually crack. This is why I always tell people that learning how to replace a faulty oven cooling fan is one of the highest-ROI skills you can have. Similarly, stop letting moisture sit. If you see rust forming, you need to address it immediately before it compromises the cabinet, so take a look at my tips on why your oven bottom is rusting and how to stop it. A proactive 15-minute inspection every six months—checking the door gasket, listening for bearing noise, and using the ‘toast test’ to see if you need to calibrate your oven with a simple thermometer—will save you thousands of dollars in premature replacements.
My biggest piece of advice? Don’t wait for a total failure to look under the hood. I want you to go to your oven right now, turn on the convection setting, and listen closely. If you hear even a faint growl or a rhythmic clicking, that is your machine’s way of telling you a bearing or a relay is on its way out. Catching it now means a $20 part and a peaceful evening; waiting means a ‘silent protest’ right when you’re hosting Thanksgiving dinner.
Hard Truths from the Back of My Appliance
After years of tinkering, I realized that most people fail because they start with a screwdriver instead of a multimeter. The most reliable way to test an oven thermal fuse isn’t by looking at it; it’s by measuring it. I also learned that ‘new’ doesn’t always mean ‘functional.’ I once spent a weekend troubleshooting a dishwasher only to find out the replacement part I just bought was a dud from the factory. Always test your new components before you bolt the machine back together. Finally, remember that heat is your appliance’s biggest enemy. If you find yourself repeatedly fixing an oven that won’t turn off, you aren’t just looking for a bad relay; you’re looking for why that relay got stuck in the first place.
My Essential Toolkit for Defeating Broken Appliances
I don’t leave home without my 11-in-1 screwdriver; it saves me from carrying a heavy bag and fits almost every weird hex-head screw a manufacturer can throw at you. I also trust a digital multimeter with an audible continuity beep—it makes it much easier when you’re leaning into a dark cavity and can’t see the screen. For identification, I rely on official manufacturer parts databases rather than third-party marketplaces. Getting the right part involves identifying the right control board for your wall oven by its specific revision number, not just the brand name. Lastly, a simple headlamp is a game-changer; you can’t fix what you can’t see.
Take Back Control of Your Kitchen
Repairing your own equipment is about more than just saving a few hundred bucks. It’s about the confidence that comes from knowing how your home actually works. Whether you’re hunting down the fast fix for a dishwasher that won’t start or replacing a safety thermostat, you are taking charge of your environment. Don’t let a tiny sensor keep your family from a hot meal. You have the tools, the knowledge, and the persistence to get it done. Which part of the high-limit thermostat diagnostic gave you the most trouble? Let me know in the comments below.