It was a Tuesday night, and I had finally sat down with a glass of wine to enjoy some peace when the grinding started. My dishwasher, which usually hummed along at a polite 48 decibels, suddenly sounded like it was attempting to chew through a bag of gravel. I spent the next hour hovering over the kitchen floor with a flashlight, convinced my appliance was about to launch itself through the cabinetry. We have all been there—that moment of panic where you realize your kitchen sanity depends on a machine that seems to be screaming for help.
Why Your Dishwasher Sounds Like a Freight Train (and How to Stop It)
I will be honest with you: when I first started DIY-ing my own kitchen repairs, I made a classic amateur mistake. I thought that if the machine was loud, it just needed more ‘lubrication,’ so I dumped extra rinse aid and detergent into the cycle, thinking it would somehow grease the gears. Spoilers: it didn’t work. In fact, it just made more bubbles while the grinding continued. Identifying the noise is the first step in identifying dishwasher faults quickly before they turn into expensive replacements. Today, I am going to show you exactly how to pin down whether that racket is coming from a stray cherry pit in the pump or a failing motor, so you can reclaim your quiet evenings. According to research from the Association of Home Appliance Manufacturers, a dishwasher that exceeds its rated decibel level by more than 10% is often suffering from mechanical obstruction or bearing wear, rather than a total system failure.
Can a Normal Person Actually Fix This Without a Degree?
I know what you are thinking. You are worried that if you open up that bottom panel, you will be met with a labyrinth of wires and a bill from a professional that costs more than a new machine. But here is the secret: most dishwasher noises come from just three or four accessible parts. Whether it is a worn-out dishwasher part like a spray arm or something slightly more technical, you can handle this. In fact, I have found that simply testing your dishwashers circulation pump for continuity can tell you everything you need to know in under ten minutes. Have you ever felt that sinking feeling when your appliance starts making a noise you just can’t ignore? Tell me about your loudest kitchen disaster in the comments—I promise I have heard worse than yours! Let’s get into the nitty-gritty of what that buzzing, thumping, or grinding actually means.First, grab your work gloves and pull out the bottom rack. The most common culprit for a scraping sound is actually the simplest: a spray arm that is hitting something. Think of your spray arm like a lawn sprinkler; if it is unbalanced or hitting a stray spatula, it will rhythmically thud against the tub. I once spent twenty minutes terrified my motor was dying, only to find a misplaced silicone straw was acting like a playing card in bicycle spokes. If you notice the arm is wobbly or clogged, you should check why your dishwasher bottom spray arm isnt spinning properly before moving on to the heavy lifting. 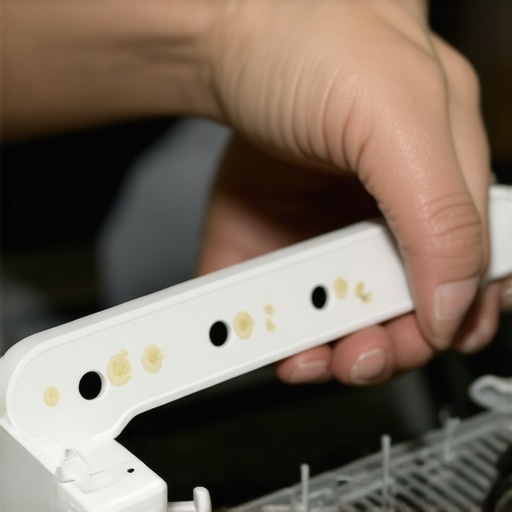
Get into the Sump to Clear Out the Grime
If the noise is more of a grind than a thud, the problem is likely deeper. The sump is the basin at the bottom where water collects, and it is a magnet for everything from cherry pits to broken glass. I remember one specific Saturday where my machine sounded like a woodchipper. I pulled out the filter and found a single, jagged piece of a Pyrex measuring cup that had wedged itself right against the impeller. To fix this, you need to learn how to clean your dishwashers hidden sump filter. It is a bit messy—keep some paper towels handy—but clearing those obstructions usually stops the noise instantly.
Is the Pump Screaming for Help?
When the noise is a high-pitched whine or a constant drone that starts right after the water fills, you are looking at the circulation pump. This part is the heart of the machine, pushing water through the arms. If the bearings inside the pump are wearing out, it is going to complain loudly. This is where you need to get a little technical. You cannot always see a failing motor, so testing your dishwashers circulation pump for continuity with a multimeter is the only way to know if the electrical components are actually shot. It is the same logic I use when I am dealing with oven repair essentials; you have to verify the part is getting power before you blame the mechanics.
Check for Electrical Buzzing
Sometimes the noise is not mechanical at all, but electrical. If you hear a hum or a buzz coming from the door or the top of the unit, it might be the control board. This is not just a dishwasher issue; I have seen it happen in ovens too. If you have ever had to diagnose a buzzing noise from your oven control board, you know that sound—it is the sound of a relay or transformer struggling. In a dishwasher, a buzzing solenoid or a stuck relay can sound remarkably like a mechanical failure. Always cross-reference your symptoms with a dishwasher parts guide to ensure you are not replacing a perfectly good motor when the real issue is just a faulty wire or a sticking door latch.
Now that we have covered the basics of that grinding dishwasher noise, let’s talk about the stuff that even experienced DIYers get wrong. Most folks think that if they see a bright orange glow at the bottom of their gas oven, the igniter is doing its job. But here is the advanced truth: a glowing igniter is often a lying igniter. It takes a specific amount of electrical current—usually between 3.2 and 3.6 amps—to trigger the gas safety valve to open. An old igniter can glow like a harvest moon but still lack the ‘muscle’ to pull that valve. This is exactly why your gas oven isnt heating even though the igniter glows, and it leads thousands of people to replace the wrong part. Research from the Association of Home Appliance Manufacturers suggests that a significant percentage of gas valves replaced by homeowners were actually functional, misdiagnosed simply because the igniter hadn’t completely burned out yet.
Can You Trust Your Multimeter Readings for Every Part?
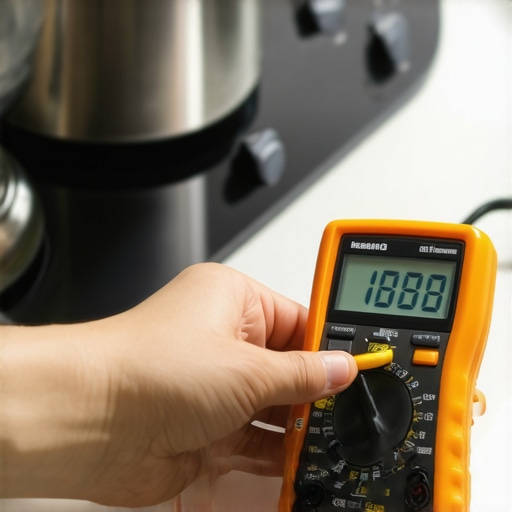
I see this mistake all the time in the forums. Someone gets a ‘zero’ reading on a sensor and immediately throws it in the trash. But before you buy a replacement, you have to ensure your probes are making solid contact and that you are testing at the right temperature. For instance, testing an oven temperature sensor with just a multimeter requires knowing that resistance changes based on the room’s heat. If you are testing a sensor in a kitchen that is 90 degrees in the summer, your ‘normal’ reading will look ‘broken’ if you are using a standard 70-degree chart. Always check the harness for corrosion before condemning the part itself. Often, the sensor is fine, but the connection has oxidized over years of steam and grease.
Save Your Sanity by Not Over-Torquing These Screws
Here is a warning I wish someone had given me years ago: appliance metal is softer than you think. Whether you are installing a new oven door handle without stripping the screws or swapping a heating element, the temptation to ‘crank it down’ is real. Over-tightening does not just strip the threads; it creates stress fractures that cause parts to fail prematurely under high heat. When you work on a control board, this is even more critical. If you have ever wondered is your oven control board failing, sometimes the issue is actually just a hairline crack in a solder joint caused by mechanical stress from over-tightened mounting brackets. I have seen perfectly good boards die because someone used a power drill where a hand screwdriver was needed.
The Truth About Noisy Circulation Pumps
Everyone says a humming noise is a dead motor, but in my experience, it is often a capacitor or a simple blockage in the drain line acting as a muffler. Before you drop $200 on a new pump assembly, check the small things. For example, how to tell if your ovens relay board is clicking for the wrong reasons applies to dishwashers too—sometimes a clicking or humming is just a relay that cannot quite engage due to low voltage. Have you ever fallen into this trap of over-tightening or misdiagnosing a glowing part? Let me know in the comments! Before you assume the worst, always check if your oven simply needs a recalibration if you find yourself fixing an oven that bakes unevenly. The nuance is in the electrical reality, not just what you can see with the naked eye.
It is one thing to fix a broken part, but it is another thing entirely to prevent that part from failing again. I have realized over the years that the difference between a ‘weekend warrior’ and someone who truly masters their kitchen is the gear they keep in their junk drawer. I never step toward a dishwasher without my digital multimeter—not because I like looking like a pro, but because it is the only way to perform oven diagnostics pinpointing faults before calling a repair expert. If you are still relying on visual cues alone, you are essentially gambling with your time. For instance, when you are how to test a gas oven igniter with a multimeter, the numbers tell a story that your eyes simply cannot see.
How do I maintain my kitchen appliances over the long haul?
The secret is not some expensive chemical cleaner; it is a routine of mechanical inspection. Every six months, I make it a point to go through a ‘pre-emptive strike’ checklist. This involves the right way to inspect your dishwasher float switch to ensure no debris is causing a future flood. I also take a minute to look at the door hardware. Many people wait until they cannot close the machine, but learning how to replace a dishwasher door latch assembly is much easier when you notice the wear early on. According to the Whirlpool Technician Service Guide (L-55), most electronic failures in control boards are preceded by minor voltage fluctuations that could have been caught if the user noticed small delays in cycle start times. 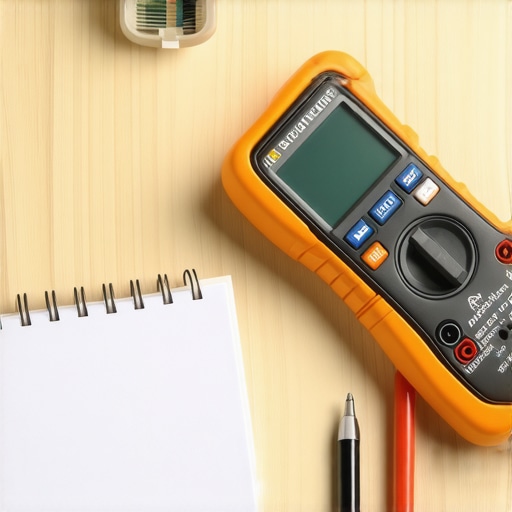
Why Smart Appliances are the Next Frontier for DIY
Looking ahead, the industry is shifting toward ‘self-reporting’ hardware. We are already seeing Wi-Fi-enabled ovens that send error codes directly to your phone. While some think this makes DIY harder, I believe it is a goldmine for us. Instead of guessing why the heat is low, your oven will literally tell you the resistance of the bake element is out of range. This trend toward transparency means that oven repair essentials troubleshooting common issues with parts will become more about software interpretation and less about tearing the whole unit apart just to find a loose wire. If you want to really level up, my top tip is this: start a ‘Repair Log’ in a simple notebook inside your pantry. Record every part number you replace and the date. This helps you track the lifespan of generic versus OEM parts and saves you hours of searching for manuals later. Go grab a multimeter today and test just one outlet or heating element; once you see those digits jump, the fear of the ‘electrical unknown’ disappears instantly!
The Moment I Stopped Fearing My Control Board
If there is one thing I have learned after years of scraping knuckles on dishwasher tubs, it is that your appliance is not trying to trick you; it is just talking a language you haven’t learned yet. For the longest time, I thought a flashing light meant ‘buy a new machine.’ Now, I know it is often just a signal to check my oven repair essentials troubleshooting common issues with parts list. Most of my ‘lightbulb moments’ happened when I realized that 90% of failures are mechanical, not magical. For example, a dishwasher that won’t start is rarely a fried brain—it is often just a door latch that needs a simple adjustment or replacement. Once you realize that most dishwasher parts are modular and designed to be swapped, the fear of breaking things completely disappears. You are not just fixing a machine; you are reclaiming your home’s efficiency and your own confidence.
Tools That Keep My Kitchen Running
I do not believe in buying every gadget on the hardware store shelf, but three specific resources have saved me thousands of dollars over the years. First, a reliable digital multimeter is non-negotiable. Without it, you are just guessing if you need to be testing your dishwasher water level switch in 5 minutes or replacing the whole pump. Second, always keep a set of magnetic Torx drivers; appliance manufacturers love those star-shaped screws, and a magnetic tip prevents them from falling into the dark abyss of the machine’s base. Finally, I always keep a link to a reliable parts diagram handy. It is much easier to fix a dishwasher door that wont close tight when you can see the exploded view of the hinges before you take them apart. These tools take the guesswork out of oven diagnostics pinpointing faults before calling a repair expert.
#IMAGE_PLACEHOLDER_E#
The Peace of a Truly Quiet Kitchen
There is a specific kind of satisfaction that comes when you press ‘Start’ and hear nothing but the gentle, rhythmic swish of water instead of a grinding roar or a frantic buzz. You have the power to maintain your home without waiting weeks for a technician or spending half a paycheck on a five-minute service call. Taking the first step into dishwasher and oven repair diagnostics and parts might feel intimidating at first, but every screw you turn makes you more capable for the next challenge. Don’t let a little noise or a cold heating element steal your weekend peace. You have got the knowledge, the tools, and the plan—now go show that appliance who is really in charge!
Have you ever successfully fixed a noise that was driving you crazy, or are you still trying to track down a mysterious hum in your kitchen? Let me know in the comments below!