I’ll never forget the Tuesday night I spent on my hands and knees with every beach towel I owned. I had just finished a big family dinner, started the dishwasher, and sat down to relax. Ten minutes later, I heard a rhythmic “drip-drip-splat” hitting my brand-new hardwood floors. I looked over, and sure enough, water was trickling out of the air vent on the front of the door. I panicked. My first thought? “Well, there goes another thousand dollars for a new machine.” But here’s the secret I learned after a lot of trial and error: a vent leak is rarely a death sentence for your appliance. It’s usually just a cry for help from a specific part that’s had enough. Today, I’m going to help you pinpoint exactly what’s going wrong so you don’t have to keep a bucket under your door every time you want clean plates.
Your Kitchen Floor Doesn’t Have to Be a Lake
Most folks assume a leak means a bad door seal, but the vent is a different beast entirely. It’s supposed to let steam out, not a river. In my early DIY days, I once spent half a day trying to diagnose a problem only to realize I was working on the wrong logic entirely—I was over-complicating things! When it comes to these machines, a vent leak is often about basic parts and diagnostics. Usually, the water is coming from the vent because the internal water level has climbed too high or the fan assembly that manages steam has failed. It could even be as simple as the way you’re loading your plates. I’ve seen spray arms get blocked and shoot water directly into the vent opening like a fire hose. If you’ve ever felt that sinking feeling of seeing a puddle form, have you tried checking the water level first? It’s a classic starting point that many people skip.
Is a Leaky Vent Actually Worth the Repair Effort?
You bet it is. While it might look like just a few drops, that moisture can rot your cabinetry or warp your floors faster than you can say “service call.” According to the home maintenance experts at Family Handyman, even a small, undetected leak can cause significant secondary damage to kitchen subfloors over time. I made the mistake of ignoring a tiny drip for a month, and by the time I opened up the panel, the insulation was a moldy mess. To avoid this, you should start by testing your dishwasher water level switch in 5 minutes to see if the tub is overfilling. If that’s not the culprit, you might want to see if your dishwasher float switch is stuck, which is a common reason for a dishwasher that overflows onto the floor. We’re going to walk through these checks one by one so you can get back to your life without the constant fear of a flood.If you see water weeping from the vent, the very first thing you need to do is open the door mid-cycle and look at the floor of the machine. I remember a specific Saturday when I was certain the whole door was shot. I opened it up, and the water was nearly spilling over the edge of the tub. It turned out a tiny piece of a broken glass had jammed the float switch, keeping the inlet valve open way too long. The vent isn’t a drain; it’s an exhaust port. When the water level gets too high, the exhaust becomes a spillway. You should start by testing your dishwasher water level switch in 5 minutes. If that switch isn’t clicking or moving freely, the machine thinks it’s thirsty and keeps the water coming. Think of it like a toilet tank; if the ball-cock assembly is stuck, the water just keeps running. If your dishwasher float switch is stuck, a simple wiggle or cleaning might be the only repair you actually need.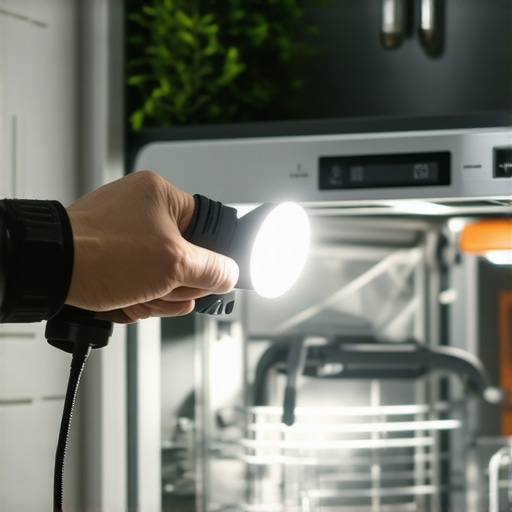
Look for Blocked Spray Arms Shoving Water Upwards
Next, take a close look at your spray arms. This is one of those hidden in plain sight issues. In my own kitchen, I once found that a toothpick had wedged itself into one of the tiny holes on the spray arm. Instead of a gentle fan of water, it created a high-pressure jet that was shooting directly at the vent opening. The vent is designed to handle steam, not a localized pressure washer. You can use a simple trick for clearing your dishwasher spray arm holes using a piece of wire or a toothpick to ensure the water goes where it’s supposed to—the dishes. Also, check to see if your dishwasher spray arm is melting or warped. A warped arm can change the trajectory of the water, sending it straight into the vent seals.
Inspect the Vent Fan Assembly and Gaskets
If the water level and spray arms are fine, the problem likely lives inside the door itself. Most modern dishwashers use a small fan to pull steam out of the tub during the drying cycle. There’s a seal between the vent assembly and the door panel that can dry out and crack over time. When this happens, steam condenses inside the door and drips out the vent. When I first tackled this, I was intimidated by taking the door apart, but it’s mostly just a series of screws. You can use dishwasher parts: a comprehensive guide to diy diagnostics to identify which specific gasket or fan motor is failing. If the fan isn’t spinning, the steam stays trapped, condenses into heavy droplets, and finds the easiest way out—which is usually your floor.
Watch Your Detergent Choice and Loading Habits
Finally, don’t ignore the bubbles. If you’re using too much detergent or the wrong type, you’ll get oversudsing. These bubbles are light enough to get pushed through the vent by the fan. I once tried a bargain detergent that turned my dishwasher into a bubble machine; water was leaking from the vent simply because the foam was carrying it out. If you notice a dry residue, it might be why your dishwasher soap pod falls to the floor undissolved, which often leads to people adding even more soap, compounding the problem. Keep an eye on the suds level at the end of a wash; if it looks like a bubble bath in there, you’ve found your culprit.
It’s easy to get tunnel vision when you’re staring at a puddle or a burnt tray of cookies. Most DIYers think that if the machine stops working, the ‘brain’ or control board is dead. But here is the contrarian truth: control boards are incredibly hardy. In my years of tinkering, I’ve found that the board is the culprit less than 10% of the time. Usually, it’s a humble sensor or a fuse that has tripped to protect that expensive board. If you jump straight to ordering a $200 motherboard without doing oven diagnostics: pinpointing faults before calling a repair expert, you’re falling into the biggest trap in the repair world.
Why Does My Oven Lie About the Real Temperature?
I get this question all the time from people who have perfectly good heating elements but still end up with raw cakes. The common belief is that the element is ‘weak.’ In reality, heating elements are like light bulbs—they usually either work or they don’t; there is rarely a ‘weak’ middle ground. The real nuance often lies in the temperature sensor’s resistance. According to the Association of Home Appliance Manufacturers (AHAM), even a slight deviation in sensor accuracy can lead to temperature swings of 40 degrees or more. Before you buy a new element, try testing an oven temperature sensor with just a multimeter. This five-minute check can save you from replacing a perfectly good part while the real villain—a $20 sensor—stays in the machine.
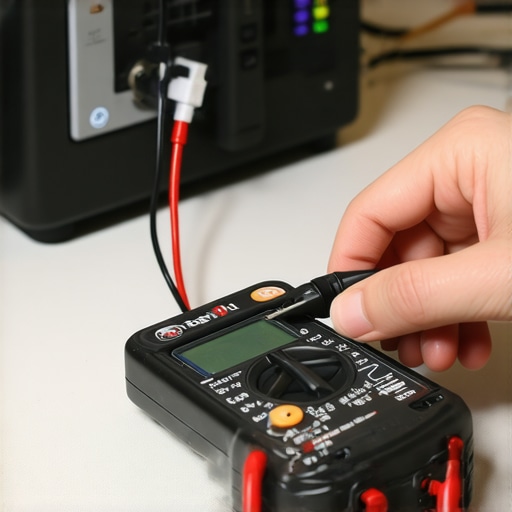
Another classic ‘Oops’ factor is the thermal fuse. People see a dead display and assume the power surge fried the whole unit. I once helped a neighbor who was about to kick his dishwasher to the curb because it wouldn’t even light up. We spent ten minutes testing your dishwasher’s high limit thermostat for continuity and found it had simply tripped. It’s a safety feature, not a terminal illness. The same logic applies to your stove; knowing the most reliable way to test an oven thermal fuse can be the difference between a free fix and a $500 mistake. These components are designed to fail so your house doesn’t catch fire, yet they are often the most overlooked parts during a panic.
When it comes to the complex stuff, like how to tell if your oven control board is repairable, look for physical signs like charred solder joints or swollen capacitors. Most people don’t realize that a steady hand and a soldering iron can often fix a ‘dead’ board for pennies. But here is the warning: never attempt this unless you’ve confirmed the peripheral sensors are working. If a shorted sensor killed the board, a new or repaired board will just pop the moment you plug it back in. It’s all about the sequence. Have you ever fallen into this trap and bought a part you didn’t actually need? Let me know in the comments.
I used to think that a toolbox was just a heavy metal box full of things I’d never use, but after my third flooded kitchen, I realized that the right tools are actually a form of insurance. If you want to stop the guessing game, you need a high-quality digital multimeter. I personally use a Fluke 115 because it has a low-impedance mode that prevents ghost voltages from lying to me. When you are looking into oven repair essentials: troubleshooting common issues with parts, a cheap $5 tester just won’t give you the precision needed to see if a sensor is 10 ohms out of spec. That tiny deviation is the difference between a perfectly baked loaf of sourdough and a burnt mess.
How can I keep these appliances running for twenty years?
The secret to longevity isn’t just fixing things when they break; it’s a commitment to a quarterly ‘deep dive.’ Every three months, I pull my dishwasher’s bottom rack out and check for debris in the sump. I also make it a point to be testing your dishwasher’s circulation pump for continuity even if the machine sounds fine. Why? Because pumps often start to fail by drawing higher amperage before they actually die. By catching it early, you prevent the wiring harness from overheating. If you notice any plastic fatigue, you should consider replacing a cracked dishwasher spray arm mount before it snaps and causes a spray pattern that leaks through the door vent.

For the oven, the biggest killer of modern electronics is heat creep. Most people don’t realize that the cooling fan is just as important as the heating element. According to the technical service manuals from major manufacturers like Whirlpool, the majority of control board failures are caused by restricted airflow. I recommend how to replace your oven’s internal cooling fan motor as a preemptive strike if your oven feels excessively hot to the touch on the exterior panels. Keeping the air moving keeps the ‘brain’ of your oven from cooking itself. It’s much cheaper to swap a $40 fan than a $300 control board.
Looking ahead, I see a trend where appliances will become even more digitized, almost like cars with OBD-II ports. We are moving toward a world of ‘predictive maintenance’ where your machine will ping your phone when a gasket starts to thin. But until every kitchen has an AI technician, you still need to know your way around dishwasher parts: a comprehensive guide to diy diagnostics. The tactile experience of checking a seal or listening for a rhythmic hum in a pump is a skill that tech can’t fully replace yet. My advice? This weekend, don’t wait for a puddle to appear. Grab your multimeter, pull that bottom panel off, and check the resistance on your oven’s temperature sensor. It’s the best five-minute investment you can make in your home’s efficiency.
The Hardest Lessons I Learned on My Kitchen Floor
One of the biggest eye-openers in my repair journey was realizing that dirt and debris are often the silent killers of expensive electronics. We tend to look for catastrophic electrical failures, but a clogged drain or a greasy sensor is frequently the root cause of the most frustrating symptoms. Before you dive into the complexities of how to tell if your oven control board is repairable, always check the simple physical obstructions first. Another hard-earned truth: the scariest sounds usually come from the smallest parts. A terrifying rattle or a metallic bang in the oven is often just a loose screw or a shifted rack, not necessarily a sign that your appliance is headed for the scrapyard. Patience and a clean workspace are your two best friends when the machine stops working.
The Gear That Stops the Guesswork
If you are serious about skipping the service call, you need to invest in a few basic items that provide real data. I never start a job without my digital multimeter; it is the only way to accurately handle oven repair essentials: troubleshooting common issues with parts. Relying on your eyes alone will lead to buying parts you don’t need. I also swear by keeping a simple roll of masking tape and a sharpie nearby to label every wire I disconnect. There is nothing more demoralizing than having a fixed part in your hand but no idea where the blue wire goes. And for those mysterious temperature drops, I always recommend testing your oven door seal with the dollar bill trick before you even think about recalibrating the thermostat. These low-tech checks are often the most effective.
Stop Fearing Your Appliances and Start Fixing Them
Taking the back panel off a machine for the first time is intimidating, but remember that these appliances were designed by people and intended to be maintained. Repairing your own home isn’t just about the financial savings; it’s about the massive confidence boost that comes from knowing exactly how your kitchen functions. Whether you are finally investigating why your gas oven makes a popping sound when starting or learning how to unclog a dishwasher air gap without a plumber, every successful fix makes you more self-reliant. You have the tools, the guides, and the ability to keep your home running smoothly. Have you ever felt that incredible surge of pride after fixing a ‘broken’ machine yourself, or are you still feeling a bit nervous about making that first repair? Let me know your biggest DIY hurdle in the comments below!”,”image”:null,”categoryId”:0,”postTime”:””}