There I was, standing in my kitchen at 10 PM, reaching into the dishwasher for what I thought would be a clean, steaming mug, only to pull out a dripping, lukewarm mess. The plates were covered in a thin, greasy film that made my skin crawl. It wasn’t just a minor inconvenience; it felt like my kitchen’s hardest worker had suddenly decided to go on a quiet strike. I’d done the chores, I’d loaded the detergent, and yet, the water stayed as cold as a mountain stream. When this happens, your machine isn’t just failing to dry; it’s failing to clean. [IMAGE_PLACEHOLDER]
The Cold Truth About Your Dishwasher
When your machine stops heating, it’s not just about the wet dishes. It’s about hygiene. Most modern detergents need high temperatures to activate the enzymes that actually eat away food particles. Without heat, you’re basically just giving your plates a lukewarm bath. I remember the first time this happened to me—I panicked and almost called a pro immediately, which would have cost me $200 just for the ‘hello.’ Instead, I started digging into DIY dishwasher diagnostics and realized that a cold cycle is usually a cry for help from one of three specific parts. If you have ever opened your unit mid-cycle only to find the water is barely room temperature, you know exactly the frustration I’m talking about.
Does Lukewarm Water Actually Clean Anything?
The short answer is: not really. According to the experts at Consumer Reports, dishwashers need to reach at least 140°F to 145°F to truly sanitize and break down tough animal fats. If you’re noticing that your soap pod is still dry after a cycle or your glasses look cloudy, the lack of heat is your smoking gun. One of the biggest mistakes I made early on was assuming the heating element was dead. I spent forty bucks and an hour of sweating under the counter, only to find out the real culprit was a tiny, cheap high-limit thermostat that had tripped.
Why Your Kitchen’s Best Friend is Giving You the Cold Shoulder
We often take the heat for granted until it’s gone. If you’ve been dealing with a dishwasher that won’t heat the water, you know the frustration of re-washing everything by hand. It’s a waste of time and water. Usually, the problem boils down to a burned-out heating element, a faulty thermistor, or a control board that’s forgotten how to do its job. Before you go out and buy a new machine, you need to know how to identify these dishwasher faults quickly. Tell me, have you faced this cold-water nightmare recently? Understanding the ‘why’ is the first step before we grab our screwdrivers and get to work.
Put Your Multimeter to Work on the Heating Coil
If your dishwasher is essentially just a cold-water rinse station, the first place you have to look is the heating element. Think of this part as a giant toaster coil that sits at the bottom of the tub. It’s a simple loop of metal that converts electricity into heat. To check if it’s dead, you’ll need to access the terminals, usually located underneath the unit. I once spent an entire Saturday afternoon wrestling with one of these only to realize I didn’t have the correct tool for removing a rusted dishwasher heating element nut, so make sure your socket set is ready before you start. Set your multimeter to the lowest Ohms setting. You’re looking for continuity—a clear path for electricity to travel. If the meter shows ‘OL’ or infinite resistance, that loop is broken, and no amount of wishing will make it warm up again. 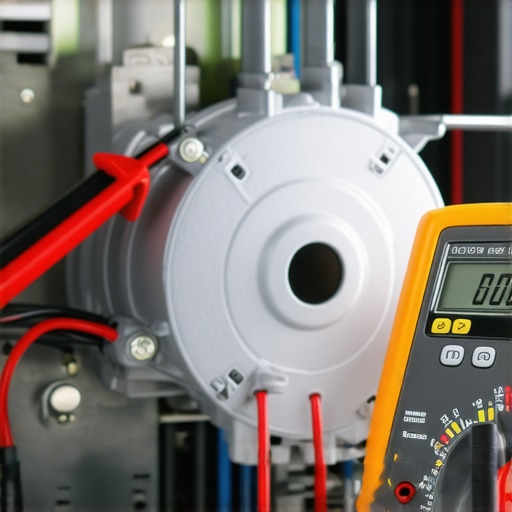
Identify if Your Heating Loop is Physically Damaged
Before you even touch the multimeter, give the element a visual inspection. If you see pits, blisters, or dark charred spots, the element has likely burned through its outer casing. This is remarkably similar to why your oven heating element is blistering; once that protective layer is gone, the internal wire is toast. I remember working on an old Kenmore where the element had actually snapped in half, resting on the plastic tub. It was a miracle it hadn’t melted a hole straight through to the floor. If it looks rough, it probably is.
Find the Hidden Safety Switch That Kills the Heat
Sometimes the element is perfectly fine, but the power just isn’t reaching it. This is where the high-limit thermostat (or thermal fuse) comes in. It acts like a bouncer at a club; if things get too hot, it cuts the power to prevent a fire. If this part trips prematurely, your water stays cold. You can apply the same logic here as you would when testing an oven’s thermal fuse for continuity. If there is no continuity through the thermostat, the circuit is open, and your heater is effectively unplugged. In my experience, these little guys are the most overlooked part in any comprehensive guide to DIY diagnostics because they are so small and tucked away.
The Secret Fix Behind the Control Panel
If the element and the thermostat check out, the ‘brain’ might be the problem. I once spent $50 on a new heating element, installed it with high hopes, and… nothing. It turned out that a tiny solder joint on the main control board had cracked. The board thought it was sending power to the heater, but the electricity was hitting a dead end. In many cases, you might be replacing the thermal fuse on your dishwasher main control board rather than the whole expensive computer.
When Your Sensors Start Giving Bad Advice
Finally, we have the thermistor. This is the dishwasher’s thermometer. If it’s telling the control board that the water is already 150°F when it’s actually 60°F, the machine will never turn the heater on. Testing it is a bit more technical than a simple continuity check because its resistance changes based on temperature. It’s very similar to the process of testing an oven temperature sensor with just a multimeter. You’ll want to check the resistance at room temperature and then perhaps in a bowl of warm water to see if the numbers move. If the resistance stays flat regardless of the temperature, the sensor is blind, and your dishwasher is flying without a navigator.You might think that scrubbing every speck of lasagna off your plates before loading them is helping your machine. It’s actually the opposite. Modern dishwashers use turbidity sensors—advanced ‘eyes’ that measure how dirty the water is. If you pre-rinse everything, the sensor tells the control board the job is done, which may shorten the cycle or skip the high-heat phase entirely. This is why you sometimes see that your soap pod is still dry after a cycle. The machine simply didn’t think it needed the thermal energy.
Stop Washing Your Dishes Before the Machine Does
This ‘clean plate’ habit is one of the biggest myths in modern appliance care. According to a study by the Association of Home Appliance Manufacturers (AHAM), modern detergents actually need food proteins to cling to so the enzymes can activate. Without that soil, the detergent just foams up, causing issues with pump pressure and sensor accuracy. It’s a nuance that even some seasoned technicians overlook when they start DIY dishwasher diagnostics. If there’s nothing for the soap to eat, your internal sensors will essentially tell the heater to take the night off.
Why Your Multimeter Might Be Lying to You
Here is the ‘Oops’ factor that bites most DIYers: the ghost voltage. You might test a heating element for continuity and get a perfect reading, but that doesn’t mean it works under load. I’ve seen wiring harnesses that look fine but have a tiny fracture that only fails when the machine vibrates during the wash cycle. It’s a similar headache to oven diagnostics where you’re pinpointing faults; a part can look ‘electrically alive’ on a meter but be ‘functionally dead’ when the high amperage starts flowing through the circuit. 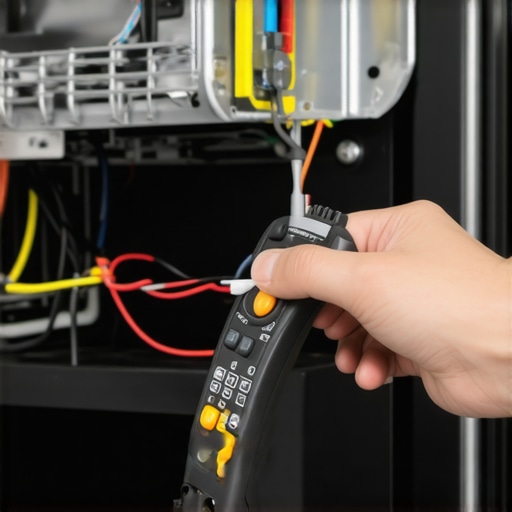
Why Does the Water Stay Cold on Only One Specific Cycle?
This is the ultimate advanced diagnostic question that stumps beginners. If your ‘Sanitize’ cycle gets hot but the ‘Normal’ cycle stays ice cold, you aren’t looking at a broken heating element. You’re likely looking at a software glitch or a specific relay on the control board that has failed for that specific programmed sequence. This is when you have to start identifying the difference between a faulty sensor and a bad board. It requires a level of patience and logic that goes beyond simple part-swapping. Have you ever spent hours replacing a part only to find out the problem was a settings issue or a loose wire in the door? Let me know in the comments if you’ve ever fallen into this trap—it’s the most humbling part of home repair.
The Truth About Your Detergent Choice
We also need to talk about the ‘pods vs powder’ debate. Many people swear by the convenience of pods, but they can be a nightmare for your drain system if the water doesn’t get hot enough to dissolve the outer plastic casing. You can learn more about the truth about dishwasher pods and your drain hose if you’ve been noticing a weird gummy buildup. These tiny nuances—water temperature, soil level, and the specific chemistry of your soap—separate a successful long-term repair from a wasted afternoon. Take the time to look at the ‘why’ before you throw parts at the ‘how.’Building a reliable toolkit is the difference between a ten-minute fix and a three-day headache. I personally swear by my Fluke 117 multimeter because it has a low-impedance mode that prevents those ‘ghost voltages’ I mentioned earlier. If you’re serious about oven repair essentials or keeping your dishwasher alive, stop using the cheap $10 probes from the bargain bin. They lack the precision needed for modern thermistors, which change resistance in very small increments. Having a quality set of nut drivers and a telescopic mirror is also vital for seeing around the back of the tub without pulling the whole unit out. 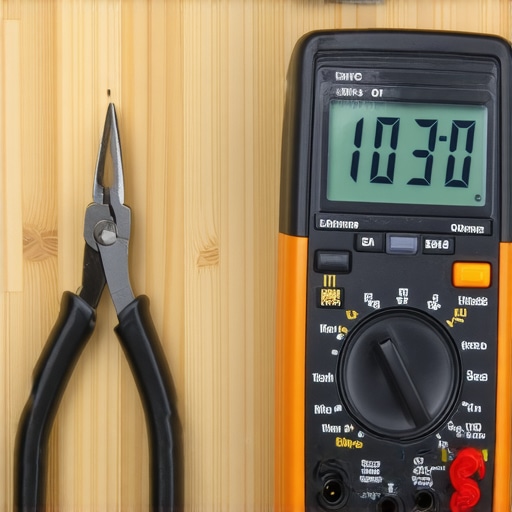
How do I keep my dishwasher running like new for years?
The secret isn’t just fixing things when they break; it’s stopping the ‘silent killers’ like calcium and grease before they settle in. Every three months, I run a heavy-duty cleaning cycle with citric acid or a specialized commercial cleaner. This is the quickest way to remove hard water build-up that would otherwise coat your heating element like concrete. When the element is coated, it has to work twice as hard to reach the same temperature, which eventually leads to those blisters and failures we discussed earlier.
Stop Hard Water Before it Kills Your Element
Hard water is the primary enemy of any appliance that heats water. If you see a white, chalky residue on your racks, it’s already attacking your pump seals and the heating loop. Beyond chemical cleaners, I recommend a simple trick for clearing your dishwasher spray arm holes: use a toothpick or a small wire to ensure the jets aren’t blocked by tiny seeds or calcium bits. If the water isn’t flowing correctly, the heat won’t distribute, and your sensors will give the control board bad data. This is why cleaning a greasy dishwasher filter is a non-negotiable monthly task. According to the Whirlpool W10714159A Job Aid, restricted water flow is the leading cause of premature thermostat trips in high-end units.
The Smart Kitchen Trend is Changing Everything
Looking ahead, we are moving away from manual multimeters and toward integrated Wi-Fi diagnostics. Companies like Bosch and Miele are already implementing systems that can send an error code directly to your phone before you even notice the dishes are still wet. However, even with all that tech, you still need the physical skills to swap a part. The trend is shifting toward modular repairs where the machine tells you exactly which board is failing, but you still have to be the one to get your hands dirty.
Don’t Forget the Secret Manual
Every dishwasher has a ‘hidden’ tech sheet, usually tucked into a plastic pouch behind the bottom kickplate or inside the door panel. This sheet contains the specific diagnostic codes and ‘service mode’ button combinations for your exact model. It is the holy grail of oven diagnostics and pinpointing faults in the kitchen. If you haven’t found yours yet, grab a flashlight and look under the unit—it’s likely still there waiting to save your weekend. I want you to go to your dishwasher right now, pull out the bottom rack, and check if your filter feels ‘slimy’—if it does, get it cleaned before your next load.
The Most Expensive Mistake I Made While Testing Circuits
After years of tinkering, I’ve realized that the biggest trap isn’t a complex circuit board; it’s our own impatience. I once replaced a costly control board simply because I didn’t spend three minutes verifying a loose wire in the door latch. Always start with the simplest mechanical check before moving to electrical testing. Remember that dishwasher parts and DIY diagnostics require a methodical approach—if you skip a step, you’re just guessing with your wallet.
- Don’t assume a new part is a good part; always test for continuity before installation.
- The hidden tech sheet is your best friend—never start a teardown without it.
- Cleaning the filter is a diagnostic step, not just a maintenance task.
Tools That Keep My Kitchen Running Without a Plumber
If you’re going to dive into identifying dishwasher faults quickly, you need the right gear. I don’t go anywhere without my non-contact voltage tester and a set of long-reach Torx drivers. For those who also manage stove issues, having oven repair essentials like a high-temp thermometer can help you cross-reference sensor accuracy across different appliances. I also highly recommend keeping a digital copy of your appliance’s service manual on your phone for quick reference under the sink.
Take Back Your Kitchen from the Cold Water Blues
There is a unique sense of pride that comes from hearing your dishwasher hum with that familiar, warm steam after you’ve fixed it yourself. You don’t need to be a master electrician to master pinpointing faults in the kitchen. By following these steps and respecting the logic of the machine, you save money and keep another appliance out of the landfill. Have you ever managed to find the hidden service manual under your unit, or did it go missing years ago? Let me know in the comments!