I still remember the Great Thanksgiving Disaster of 2018. I had spent hours prepping a heritage-breed turkey, only to pull it out and find the left side looking like a piece of sun-dried leather while the right side was still practically cold to the touch. It was a gut-wrenching feeling. You start questioning your recipes, your seasoning, and eventually, your own sanity. But I’ve learned over the years that when your kitchen’s workhorse betrays you like that, it’s usually not your fault. It is almost always a mechanical hiccup that is surprisingly easy to track down once you stop panicking and start looking at the hardware.
Stop Wasting Good Ingredients on a Bad Oven
If your cookies are coming out half-burnt and half-raw, I am here to tell you that you don’t need to go shopping for a new range just yet. We are going to dive deep into the world of oven diagnostics to figure out exactly why your heat is playing favorites. I’ve spent more weekends than I care to admit tinkering with these machines, and I have discovered that whether you are testing your oven bake element for hidden cold spots or just adjusting a rack, most issues are solvable with a little patience. The sheer frustration of a ruined dinner is a powerful motivator, but we need to be systematic. We need to look at the heating elements, the airflow, and the sensors that tell your oven what to do.
Is my oven actually broken or am I just overreacting?
It is a fair question to ask yourself before you start tearing things apart. Every oven has its little quirks, but when those quirks start costing you money in wasted groceries, it’s time to act. Early in my DIY journey, I made the classic mistake of assuming the digital display was the absolute truth. I’d set it to 350°F and walk away, never realizing the internal temperature was swinging wildly because I hadn’t bothered testing an oven temperature sensor with just a multimeter. According to data from the Association of Home Appliance Manufacturers, even minor calibration issues can lead to temperature variances of over 25 degrees—more than enough to ruin a delicate soufflé or a batch of macaroons. Have you ever pulled a tray out and felt like throwing the whole appliance into the driveway? I want to hear about it. Tell me your most frustrating ‘uneven bake’ story, because I’ve likely been there too. [image_placeholder_1] Before you call a professional and drop a few hundred dollars on a service fee, we need to rule out the basics. Sometimes the fix is as simple as testing your oven door seal with the dollar bill trick or finding the fast way to recalibrate your oven for accurate temperatures. We are going to get your kitchen back in order, one component at a time.
Find the Cold Spot Before You Start Swapping Parts
First things first, you need to look at the glow. I remember the first time I tried to fix my mother-in-law’s oven; I was absolutely convinced the control board was fried. I spent $150 on a part, swapped it out, and… nothing changed. The real culprit? A tiny hairline crack in the bake element that only opened up when the metal expanded under heat. Talk about an expensive lesson in humility. Now, I always start by testing your oven bake element for hidden cold spots. If that element isn’t glowing a uniform, angry cherry red, it’s basically just a heavy paperweight. If you see spots that look like they’ve been ‘chewed’ or are significantly darker than the rest, you’re looking at a physical break in the circuit. Replacing the oven bake element in 15 minutes or less is one of the most satisfying DIY wins because the results are immediate and delicious.
Test the Sensor Before You Blame the Board
Next, let’s talk about the ‘brain’ of the operation: the temperature sensor. Think of it like the thermostat in your house, but one that has to survive a 500-degree inferno every single night. If this little probe is nudging the back wall or covered in ten years of baked-on grease, its readings are going to be garbage. I’ve seen sensors that were off by 50 degrees just because they were loose in their housing. You should be testing an oven temperature sensor with just a multimeter to see if the resistance matches the manufacturer’s specs at room temperature. If the numbers are jumping around like a caffeinated squirrel, the sensor is toast. 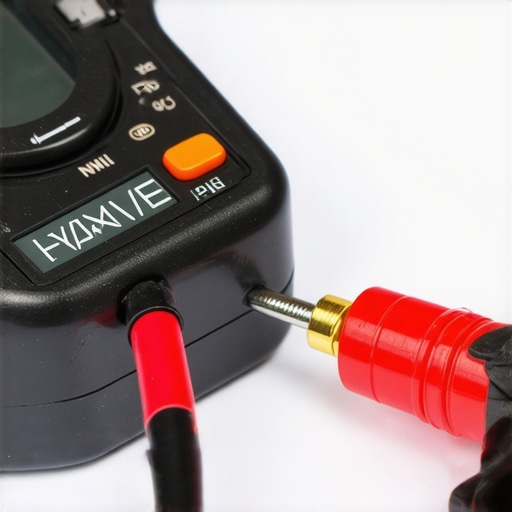 If you find that the sensor is fine but the heat still fluctuates wildly, you might need to learn how to tell if your ovens relay board is clicking for the wrong reasons. It’s like a heartbeat; if it’s irregular or sounds like a frantic Morse code, the power distribution is failing.
Don’t Choke the Airflow if You Want a Gold Crust
Airflow is the silent killer of good baking. Your oven isn’t a static vault; it’s more like a wind tunnel where heat needs to dance around your food. If you are fixing an oven that bakes too slow for your recipes, check how you’re using your racks. I once tried to bake four trays of holiday cookies at once by crowding them onto two racks. The bottom ones were charcoal, and the top ones were basically raw dough because the heat couldn’t circulate. If your fan sounds like a dying bird or a grinding gearbox, you likely need to look into how to replace your ovens internal cooling fan motor. Without that active circulation, heat just pools in the corners, leaving you with that ‘one-side-burnt’ syndrome. Even if the parts are fine, look at the physical space. Is a pan blocking the vent? Is the foil you put on the bottom rack stopping the rise of heat? Sometimes the ‘repair’ is just clearing the path for the air to do its job.
The Glow That Tricks Even the Pros
One of the biggest lies in the kitchen is the idea that a glowing igniter is a healthy igniter. This is a classic ‘pro level’ nuance that catches almost every DIYer off guard. You peek through the broiler drawer, see that comforting orange radiance, and immediately assume the electrical side of the house is fine. You start suspecting the gas valve or a supply issue. But in my years of teardowns, I’ve found that why your gas oven igniter glows but doesn’t light is often down to amperage, not just heat. A gas igniter is essentially a high-resistance resistor; as it wears out, its resistance increases. It might still get hot enough to look bright, but it fails to draw the necessary 3.2 to 3.6 amps required to signal the safety valve to open. It is a ‘ghost’ failure—it looks alive, but it’s functionally dead. 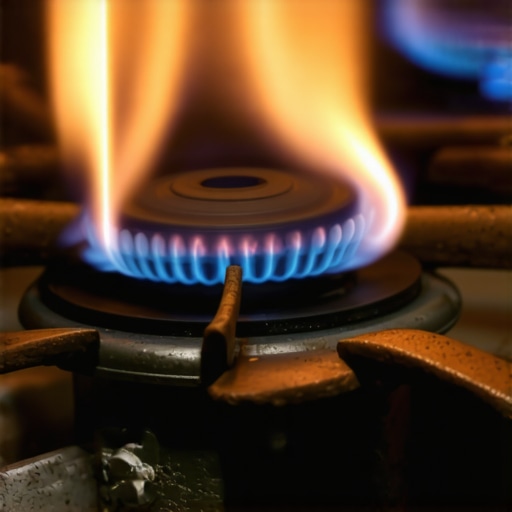
Is your control board actually the problem?
We live in an age where we blame the ‘computer’ for everything. If the oven acts up, we want to swap the brain. However, before you look into how to tell if your oven control board is repairable, you need to account for the ‘Oops’ factor of terminal block failure. According to technical research by the National Institute of Standards and Technology (NIST) on residential thermal cycles, the constant expansion and contraction of metal components in high-heat environments can cause screw terminals to back out over time. This creates an intermittent connection that mimics a failing processor. This is exactly why your oven temperature drops randomly during baking; it’s not that the board ‘forgot’ how to heat, but that the circuit physically opened for a split second due to thermal stress. I’ve seen people drop $300 on a new board when a 50-cent wire nut or a simple screwdriver turn was all they needed. Worse yet, in the rush to get the job done, many end up installing a new oven door handle without stripping the screws or damaging the faceplate, adding physical damage to an electrical mystery.
The Hidden Link Between Your Oven and Dishwasher
If you really want to level up your repair game, you have to stop looking at these machines in isolation. The logic used for parts and diagnostics to identify dishwasher faults quickly is remarkably similar to oven troubleshooting. Both systems rely on ‘proof of operation’—the dishwasher often won’t move to the next cycle if the water isn’t hot, and the oven won’t open the gas valve if the igniter isn’t pulling enough current. When you hear a repetitive clicking, you need to know how to tell if your ovens relay board is clicking for the wrong reasons. It’s often a sign of ‘chatter,’ where a relay is trying to close but the voltage is too low. This analytical approach—looking for the reason behind the symptom rather than just swapping the part—is what separates a hobbyist from an expert. Have you ever fallen into this trap where you replaced the most expensive part first, only to realize it was a simple loose connection? Let me know in the comments.
If you are tired of guessing which wire is live or why your bake element isn’t glowing, you need to stop using cheap tools. I spent years fighting with a multimeter that couldn’t give me a steady reading on resistance, and it led to more wasted parts than I care to admit. For serious oven repair essentials and troubleshooting common issues, I now insist on a meter with ‘Auto-V/LoZ’ functionality. This prevents ‘ghost voltage’ from tricking you into thinking a control board is dead when it is actually just inductive coupling from a nearby wire.
Stop Using a Dull Multimeter and Get Real Precision
When you are deep into dishwasher parts and diy diagnostics, precision is the difference between a ten-minute fix and a weekend-long headache. For instance, when I am checking the continuity of a heating circuit, a difference of just 5 ohms can be the signal that a component is on its way out. According to technical bulletins from Intertek, the global leader in appliance safety testing, even a slight increase in terminal resistance due to oxidation can lead to a 15% drop in heating efficiency. This is why I always keep a small wire brush and some contact cleaner in my kit. If you aren’t cleaning your terminals while you are in there, you are only doing half the job. 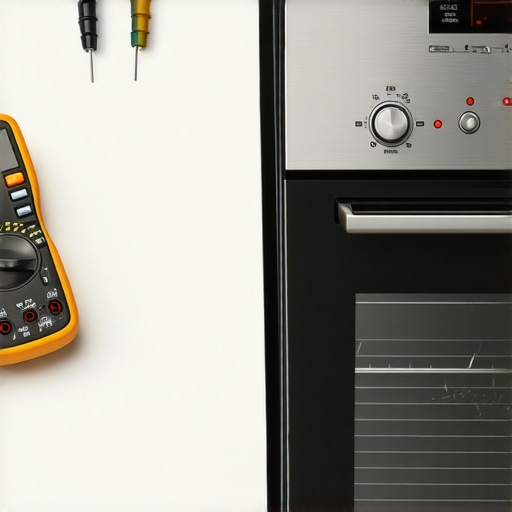
Hard Water is the Silent Enemy of Your Dishwasher
I’ve seen perfectly good pumps die early because of mineral scale. If you notice your dishes coming out cloudy, don’t just add more detergent. You are likely dealing with calcium buildup that is choking your spray arms. I recommend the quickest way to remove hard water build up in your dishwasher by using a citric acid-based cleaner once a month. It is a preventative measure that saves your seals from becoming brittle. While you are at it, take five minutes to learn the best way to clean a greasy dishwasher filter. If that mesh is clogged, the pump has to work twice as hard, leading to premature motor failure and a very expensive repair bill.
How do I keep my kitchen workhorses running for the next decade?
The secret isn’t just fixing things when they break; it is about listening to the machine. Modern appliances are moving toward ‘predictive maintenance’ where sensors will alert your phone before a part fails, but we aren’t quite there yet. For now, your ears are your best tool. A new hum, a longer-than-usual drain cycle, or a slight smell of singed dust are all invitations to open up the cabinet. I predict that in the next few years, we will see more DIY-friendly diagnostic ports on the front of ranges, making our jobs even easier. But until then, you have to be the sensor. I want you to go into your kitchen right now and check the gasket on your oven door. Use the trick I mentioned earlier, and if you find a gap, prioritize identifying the correct replacement gasket for a double oven. That one small fix could save you fifty dollars a year in energy costs alone.
The Repair Truths I Learned the Hard Way
Over the years, I’ve realized that the biggest barrier to a successful fix isn’t the machine—it’s the assumptions we bring to the table. First, always take a photo of the wiring before you disconnect a single terminal. There is nothing more humbling than staring at a pile of wires and realizing you can’t remember where the yellow one goes. Second, cleanliness is part of the repair. If you are already looking at dishwasher parts and a comprehensive guide to diy diagnostics, take a second to scrub the buildup off the sensors. Sometimes the ‘broken’ part just needed a bath. Finally, trust your tools more than your instincts. If your multimeter says there is no continuity, don’t keep trying to convince yourself the element looks ‘fine’ just because it isn’t snapped in half.
The Essential Kit That Keeps My Kitchen Running
You don’t need a professional-grade van to handle most issues, but you do need a few non-negotiables. I never start a project without my auto-ranging multimeter and a high-intensity magnetic flashlight. For those deeper dives into oven repair essentials and troubleshooting common issues with parts, I also keep a set of long-reach nut drivers on hand. If you’re dealing with gas, a simple spray bottle of soapy water is your best friend for detecting leaks. And for the dishwasher? A box of citric acid is a lifesaver for the quickest way to remove hard water build up in your dishwasher before it eats your seals away. These small investments prevent the massive headaches of recurring faults.
Take Back Control of Your Kitchen
Repairing your own appliances is about more than just saving a few hundred dollars on a service call. It is about the confidence that comes with knowing how your home actually functions. Whether you are figuring out why your gas oven isn’t heating even though the igniter glows or just tightening a loose handle, you are becoming a more capable steward of your space. Don’t be afraid of the ‘ghost in the machine.’ Once you understand the basic flow of electricity and water, these appliances lose their mystery and become the reliable tools they were meant to be. Have you ever spent hours on a complex diagnostic only to find out the plug was just loose or a breaker was tripped? Tell me your most embarrassing (or triumphant) repair story in the comments below!