I remember standing over my sink, watching in horror as a gray, smelly puddle erupted from that little chrome cylinder on my countertop like a miniature, disgusting volcano. It was a Tuesday night, I had guests coming over in an hour, and my dishwasher decided that instead of cleaning the plates, it wanted to flood my granite. My first instinct was to panic and call a professional, but then I realized I’d probably be charged a hundred bucks just for someone to show up and look at it. I wasted so much time identifying dishwasher faults that weren’t even there, thinking my pump had finally kicked the bucket. It turns out, the culprit was just a stray toothpick and some accumulated gunk. Today, I’m going to show you exactly how to handle this yourself so you don’t have to wait for a repairman or empty your wallet for a five-minute fix.
Stop the Sink Volcano Before Your Kitchen Floods
The air gap is one of those tiny components that nobody thinks about until it starts spitting water all over the place. Its job is actually pretty noble; it prevents dirty sink water from siphoning back into your clean dishwasher. However, because it’s the gateway for all that waste, it is incredibly prone to clogs. Early in my DIY journey, I made the classic mistake of thinking the part that stops your dishwasher from draining was always deep inside the machine. I actually tore apart the entire kickplate before realizing the problem was sitting right on top of the sink. According to the American Society of Plumbing Engineers, while air gaps are the gold standard for backflow prevention, they require regular maintenance because even small food particles can create a significant blockage. If you see water leaking during the drain cycle, you need to clean your dishwasher air gap immediately before that moisture ruins your cabinetry. Have you ever walked into the kitchen and found a mysterious puddle near the sink, wondering if your appliance was finally toast?
Is a quick DIY cleaning really enough to fix the problem?
Many folks are skeptical that a simple cleaning can solve a major drainage issue, but in nine out of ten cases, it’s just debris caught in the narrow plastic housing. You don’t need fancy tools or a degree in engineering. If you’ve been diagnosing dishwasher parts and coming up empty, the air gap is the most likely suspect. We aren’t just talking about a little bit of slime; we are talking about seeds, bone fragments, and hardened grease that act like a dam. By the time we’re done, you’ll know how to pop that cap, clear the obstruction, and get your kitchen back to being a dry, functional space without the stress of an emergency service call.
Tear Into the Guts of Your Air Gap
To get started, you don’t need a toolbox full of heavy gear. In fact, if you’ve been identifying dishwasher faults and ended up at the air gap, you’re already halfway there. This little cylinder acts like the lungs of your drainage system. When it’s clogged, the machine effectively suffocates, unable to push water out against the air pressure. This isn’t just about a slow drain; it’s about avoiding a catastrophic mess in your cabinet.
Remove the Decorative Cover Without Breaking It
Most air gaps have a chrome or brushed nickel hat that just sits there. I remember one time I grabbed a pair of pliers and tried to wrench the thing off, leaving a nasty gouge in the metal, only to realize it just lifted straight up with a gentle tug. Save yourself the heartache; pull it up with your hands. If it’s stuck due to hard water deposits, wrap a rubber band around it for extra grip. Underneath, you’ll find a plastic inner cap. This is the real gatekeeper. Usually, two small tabs hold it in place. Pinch them and lift. Be prepared: this is where the smell hits you. It’s a mix of old lasagna and stagnant pond water.
Fish Out the Physical Blockages
Once that inner cap is off, you’ll see two holes. One is the ‘in’ from the dishwasher, and the larger one is the ‘out’ to the garbage disposal. This is where the one part that stops your dishwasher from draining completely often hides its secrets. I once pulled out a perfectly intact sunflower seed that had wedged itself exactly across the opening, acting like a tiny, organic check valve. Use a pair of needle-nose pliers or even a bent paperclip to fish around. If you see standing water in the tube, you know you’ve found the dam.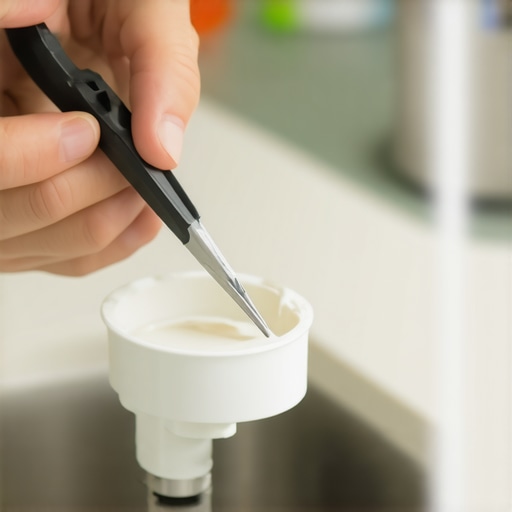
Blast the Hose with a DIY Pressure Wash
If you’ve cleared the visible gunk and it’s still backed up, the blockage might be further down the line toward the disposal. A pro trick I learned after a particularly messy flooded kitchen is the cardboard tube method. Take an empty paper towel roll, place it over the air gap, and blow hard. It sounds ridiculous, but that burst of air pressure can dislodge a stubborn clog faster than any chemical cleaner. If you’re squeamish about putting your mouth near a drain, a wet/dry vac works even better. Just place the vacuum hose over the air gap and let it suck out the debris. This is much more effective than wondering why the bottom of your dishwasher is always full of water if the issue was just a simple vacuum lock. While you’re at it, check the connection where the hose meets the garbage disposal; sometimes the knockout plug from a new disposal installation wasn’t fully removed, which is a classic dishwasher parts diagnostic error.
Verify the Drain Path is Clear
Before you snap everything back together, run a quick test. Pour a cup of water directly into the large hole of the air gap. It should disappear instantly into the disposal. If it sits there, your problem is further down the line, and you might be looking at the simple fix for a dishwasher that leaks only during the drain, which often involves the hose itself. Last winter, I ignored a slow drain for a week, thinking it would clear itself. Big mistake. The pressure eventually blew the hose right off the connector, and I spent my Saturday morning mopping up twenty gallons of gray water. Don’t be like me; verify the flow now while the cap is off.
Move Past the Obvious Clues to Find the Real Culprit
Even after you’ve cleared the air gap, you might still find yourself staring at a pool of murky water. This is the point where most homeowners throw in the towel, but that’s a mistake that costs hundreds in labor fees. Everyone says if a dishwasher won’t drain, the pump is dead, but in my experience, the pump is actually one of the most resilient parts of the machine. Usually, you’re dealing with a sensor that has simply lost its ‘vision’ due to a layer of film. If you’ve been identifying dishwasher faults and keep hitting a wall, it’s time to look at the turbidity sensor. This little eye measures how dirty the water is; if it’s covered in grease, it tells the machine to keep running or stop prematurely. I’ve seen people replace perfectly good motors when they really just needed to clean or replace the turbidity sensor. By focusing on the sensors first, you avoid the parts-cannon approach that usually ends in frustration.
Does your dishwasher really need a new motor or is it just ‘confused’?
One of the most complex nuances of modern appliances is their reliance on software logic. If your machine experienced a flicker during a thunderstorm, it might not be broken—it might just be in a ‘frozen’ state. I once spent two hours diagnosing dishwasher parts only to realize a simple power cycle fixed everything. This is especially true if your dishwasher won’t turn on after a storm. Always check the control board for ‘ghost’ errors before buying expensive hardware. According to technical data from the Association of Home Appliance Manufacturers (AHAM), electronic control failures and sensor inaccuracies are often misdiagnosed as mechanical pump failures, leading to a significant amount of unnecessary appliance waste. 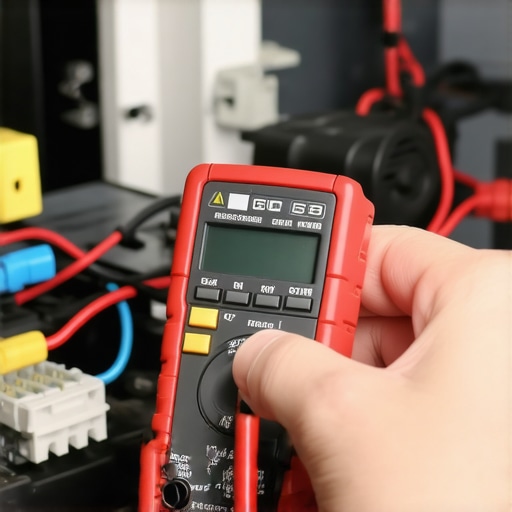
Avoid the Costly Trap of Over-Tightening Brittle Plastics
When you do decide to open the machine up, there is a massive ‘oops’ factor that ruins many DIY jobs: over-tightening. Appliance plastics are prone to heat-cycling, which makes them incredibly brittle over time. If you’re swapping out a worn door latch assembly and you crank those screws down too hard, you’ll crack the inner housing, turning a $20 fix into a $200 door panel replacement. This principle applies to your cooking appliances as well. For example, if you are replacing the oven bake element, ensure the electrical terminals are snug but the mounting screws aren’t stressed. A loose connection creates high resistance, which can lead to a burnt terminal block, but a screw that is too tight will snap the ceramic insulator. Always remember that these machines are a delicate balance of water, heat, and electricity. If you’ve ever followed a tutorial perfectly only to have the ‘fix’ fail a week later, you probably missed a tiny alignment detail or a stuck float switch. Have you ever fallen into this trap and replaced a part that wasn’t actually broken? Let me know in the comments!
After you’ve mastered the art of not cracking your plastic door panels, you’re ready to graduate to the real secret of appliance longevity: the proactive toolkit. I used to think a screwdriver and a prayer were enough to keep my kitchen running, but I quickly learned that guessing is the most expensive way to fix a machine. If you want to move beyond basic oven repair essentials and troubleshooting common issues with parts, you need to start measuring instead of assuming.
Equip Your Kitchen Toolkit for the Long Haul
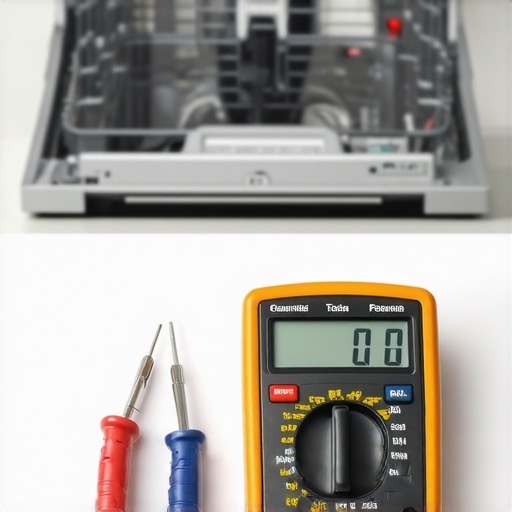
The single most important tool in my arsenal isn’t a wrench; it’s a digital multimeter. I use a model with an audible continuity setting because it allows me to keep my eyes on the probe while listening for that sweet ‘beep’ that signifies a completed circuit. When you are testing an oven bake element for invisible cracks, a multimeter is the only way to know for sure if the heating coil has internally failed before it physically snaps. I also swear by a non-contact voltage tester; it’s a ten-dollar life-saver that ensures I haven’t missed a live wire before I start poking around the control board. According to the Whirlpool Technical Service Guide for modern 6th Sense dishwashers, even a 5% deviation in heating element resistance can lead to a 20% increase in cycle time as the control board struggles to reach target temperatures. Having these numbers at your fingertips transforms you from a ‘parts-swapper’ into a true diagnostic expert.
How do I maintain my kitchen appliances over time?
Consistency beats intensity every single time. I’ve found that the best way to avoid a Saturday morning flood is to schedule a ‘deep dive’ every six months. Start by finding the quickest way to remove hard water build-up in your dishwasher using a citric acid flush; this prevents the mineral scale that eventually seizes up your pump seals. While that’s running, I always take the time to how to clean your dishwashers hidden sump filter. Most people forget this even exists, leading to a layer of organic slime that eats away at the rubber components. For the oven, I don’t rely on the ‘self-clean’ cycle which can fry your sensitive electronics. Instead, I perform a manual wipe-down and recalibrate the oven for accurate temperatures using a standalone thermometer. This simple routine has extended the life of my current range by four years beyond the manufacturer’s average expectancy.
Predicting the Future of Self-Diagnosing Kitchens
We are entering an era where our appliances are becoming smarter than the people using them. I predict that within the next five years, the ‘DIY repair’ landscape will shift from physical wrenches to digital interfaces. We are already seeing machines with built-in Wi-Fi that can email a technician a fault code before you even notice the water isn’t hot. However, this makes it even more vital for us to understand the basics. No matter how smart the computer is, it still relies on physical connections. I recently spent an afternoon checking for a burnt terminal block on an electric oven that was throwing a digital error code; the computer was fine, but the physical wire had melted. The future of repair is a hybrid of software diagnostics and traditional mechanical skill.
My best advice? Don’t wait for the ‘volcano’ to erupt. Go grab your multimeter and check the resistance on your oven element tonight—it takes ten minutes, but it could save your next holiday dinner from being a cold disaster. If you find a reading that’s off, you’ll be glad you caught it now rather than later!
The Hardest Lesson I Learned Chasing Phantom Appliance Faults
One thing nobody tells you when you start DIYing is that your brain will almost always jump to the most expensive conclusion first. I’ve wasted days thinking a control board was fried when a wire had just wiggled loose. The most valuable shift in my mindset happened when I stopped guessing and started pinpointing faults before calling a repair expert. I learned to look for the simplest mechanical failure before even considering a computer glitch. This approach isn’t just about saving money; it’s about the peace of mind that comes from actually understanding how your home works.
- Trust the data, not your gut: A multimeter doesn’t lie, but a ‘burnt’ smell can be misleading.
- Software often acts like a hardware failure: Always try a hard reset by unplugging the unit for 10 minutes before buying parts.
- Cleanliness is a form of repair: Half of my ‘broken’ machines just needed a thorough cleaning of the sensors.
The Gear That Separates Amateurs From Pros
You don’t need a professional workshop, but you do need a few specific items to stop the guesswork. My “go-to” list includes a high-quality multimeter for dishwasher parts diagnostics and a set of nut drivers that won’t strip your panels. I also highly recommend bookmarking a reliable source for oven repair essentials and troubleshooting common issues with parts. Having these resources ready means when the dishwasher starts acting up at 8 PM on a Sunday, you aren’t scrolling through endless generic forums; you’re executing a plan with precision.
#IMAGE_PLACE_HOLDER_E#
Take Back Control of Your Kitchen Maintenance
Fixing your own appliances is a superpower. It transforms a stressful, house-is-falling-apart moment into a manageable puzzle. Whether you are clearing an air gap or identifying dishwasher faults quickly, you are building a skill set that lasts a lifetime. Don’t be afraid of the grease or the complex wiring; once you break it down into small, logical steps, there isn’t anything in your kitchen you can’t handle. The future of your dishwasher, parts, oven repair, and diagnostics is in your hands now.
Have you ever spent hours on a complex repair only to find a five-cent part or a simple clog was the actual problem? Let me know your biggest “oops” moment in the comments below!