I was heading into the kitchen for a midnight snack when my right foot hit a cold, damp squelch. My favorite wool socks were ruined in an instant. I looked down, and there it was: a rhythmic drip-drip-drip creeping out from that dark gap right at the floor level. I’m talking about the kickplate—that metal panel at the very bottom of your machine that hides all the ‘guts.’ It is the ultimate out-of-sight, out-of-mind spot until it starts crying for help. Seeing water there is genuinely gut-wrenching because it usually means something is failing internally where you can’t see it. If you have ever stared at your kitchen floor in despair, wondering if your expensive hardwood is warping as we speak, I have been in those soggy shoes. Today, we are going to hunt down that leak and regain your sanity before the mold takes hold.
The Dreaded Pool at Your Toes
When water escapes from the kickplate area, it is rarely a simple fix like tightening a single screw, but it is also not always a reason to scrap the whole machine. Most people panic and immediately assume the tub is cracked. In reality, it is often just a misbehaving gasket or a loose connection. I have spent years tinkering with parts and diagnostics, and if there is one thing I have learned, it is that dishwashers are basically just big boxes of controlled chaos. When that control slips, the kickplate is the first place that tells the story. We are going to look at everything from the door seal to the water inlet valve. Have you ever noticed a tiny puddle there after a heavy cycle and just ignored it, hoping it would go away?
Is my dishwasher actually a total loss?
I get it. You see water on the floor and your bank account starts sweating. You think, ‘Is this repair going to cost more than a brand-new unit?’ Believe me, I have been there. Early in my DIY journey, I once replaced an entire pump assembly because I thought the leak was coming from the center, only to realize later it was just a $15 hinge leak that was dripping down the side and pooling at the bottom. Talk about an expensive lesson in humility! According to the appliance experts at Consumer Reports, nearly 30% of appliance failures are actually simple fixes that homeowners can handle if they know where to look. We are not going to make that same mistake today. We are going to find the real culprit, whether it is a dishwasher overflowing due to a stuck float or just a worn-out rubber seal. Let us get that panel off and see what is actually happening under the hood.
Strip away the metal mask
First things first: you need a clear view. Grab a screwdriver—usually a Phillips or a Nut Driver—and remove those two screws holding the kickplate in place. When I first did this, I expected to see a high-tech engine room. Instead, I found a layer of dust bunnies and a very obvious, slow drip from a crusty hose. It felt like uncovering a secret, and honestly, it was a bit gross. Once that plate is off, lay a dry paper towel under the center and corners. Run a short cycle. The paper towel is your best friend here; it shows you exactly where the ‘rain’ is starting before the water spreads and confuses the situation. This is the foundation of dishwasher parts and DIY diagnostics.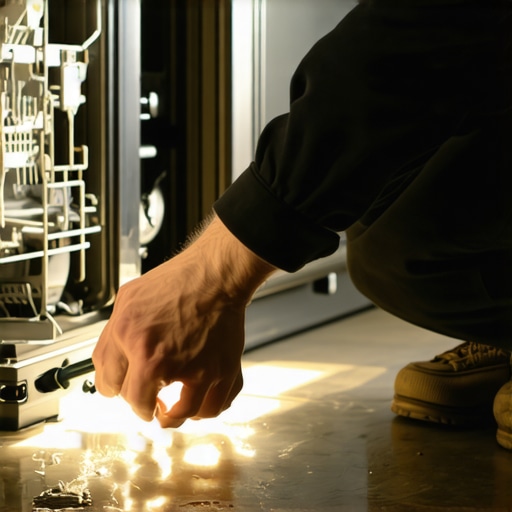
Look for the trail of black gunk
Check the bottom corners of your door. If you see a buildup of black, slimy residue, your door gasket is likely the culprit. This gunk prevents the door from making a watertight seal, allowing water to ‘wick’ around the edge and drip straight onto your floor behind the kickplate. I once helped a neighbor who was convinced their tub had a hole. We spent ten minutes on a deep clean of the moldy gasket, and the leak vanished. If the rubber feels brittle or has visible tears, cleaning won’t save it. You will need a fresh seal to keep the water where it belongs.
The valve that does not know when to quit
If you see water pooling even when the machine is not running, your water inlet valve is the prime suspect. Think of this valve like a security guard at a gate. If the guard falls asleep (the valve gets stuck open), the water just keeps coming. This often leads to a dishwasher overflowing even when you have not touched the start button. Inspect the valve—usually located on the left side behind the kickplate—for any calcium buildup or drips around the brass fittings. If it is wet, it is failing.
Is the float doing its job?
Sometimes the leak is not a hole at all, but a communication problem. The float is that little plastic mushroom in the bottom of the tub. As water rises, it lifts the float, which tells the machine to stop filling. If it gets stuck on a stray piece of silverware or a layer of grease, the machine does not know when to say enough. This is a classic reason why your dishwasher fills with water past the safety limit. You can easily check this by testing the dishwasher float switch to ensure it is actually sending the signal to shut the water off.
Check the often-ignored hinge area
Water has a funny way of traveling. It can leak from a worn-out seal near the hinge, run down the frame, and make it look like the pump is dying. This ghost leak drove me crazy on a unit I worked on last summer. I replaced the drain hose, but the drip stayed. It turned out to be a tiny gap in the lower corner. By fixing the leak under the door hinge, I finally dried up the floor for good. Always follow the water path upward; gravity does not lie.
Stop pre-rinsing your dishes to save your seals
This sounds like I am telling you to be lazy, but it is actually a scientific necessity for modern machines. Everyone says you need to scrub every crumb off before loading, but in my experience, that actually causes more leaks. When you use a high-efficiency detergent on ‘clean’ dishes, the soap has no proteins or fats to break down. Instead, it creates a massive amount of ‘oversuds.’ These suds are light and can easily push past the lower door seal or even through the air gap; you can see more about how to stop your dishwasher from leaking through the vent by managing this foam. If you have noticed why your dishwasher leaves a chalky film on all your dishes, you might be using too much soap for the soil level. The Association of Home Appliance Manufacturers (AHAM) has pointed out that modern turbidity sensors need food particles to accurately judge the water cleanliness. Without them, the machine might run too hot or too long, stressing the gaskets and causing premature failure.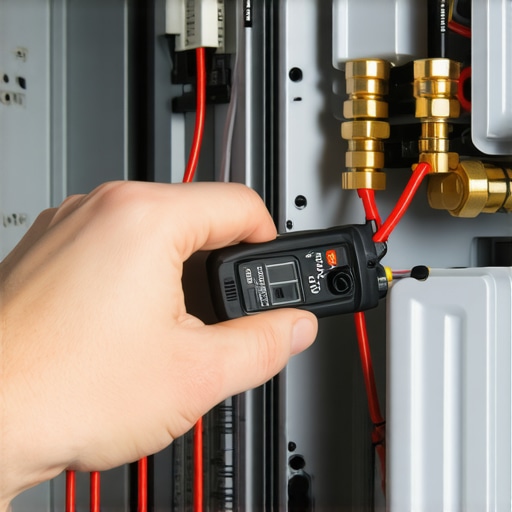
The trap of over-tightening your fittings
Here is a specific ‘oops’ factor that I see all the time: the ‘just one more turn’ syndrome. When you find a drip at the water inlet valve, the instinct is to crank that wrench until it cannot move. Stop right there. Most modern valves have plastic housings. If you over-tighten the brass fitting, you will create a hairline fracture that only leaks when the water pressure spikes or when the plastic warms up. I learned this the hard way after parts and diagnostics led me to replace a valve, only for me to crack the new one within minutes. Snug is enough.
Why does my dishwasher only leak during the heavy-duty cycle?
This is a question I get from advanced DIYers who have already checked the basics. If your machine is bone-dry during a ‘Quick Wash’ but puddles during ‘Heavy Duty,’ you are likely dealing with thermal expansion or a failing heating element seal. As the water temperature rises to 150°F or higher, the plastic components and rubber gaskets expand. A seal that is 95% good will hold cold water but fail under the intense heat. You should try testing the resistance on your dishwasher heating element to ensure it is not overheating the tub and causing temporary warping. Also, check the difference between a drain pump and a circulation pump because the higher pressure of a heavy cycle can expose a pinhole leak in the circulation housing that a standard cycle will not trigger.
Don’t let the noise fool you
I once spent two hours identifying a bad dishwasher circulation motor by the sound, convinced the bearings were shot and leaking. It turned out to be a tiny piece of glass rattling in the impeller, causing just enough vibration to loosen the hose clamp. Have you ever fallen into this trap of over-diagnosing a simple mechanical vibration? Let me know in the comments below. Whether it is a dishwasher or oven repair essentials and troubleshooting common issues with parts, the secret is always to look for the simplest explanation first. We are going to wrap this up by making sure your kitchen stays dry for the long haul.
Stop guessing and start measuring
If you are ready to move beyond just looking for drips and start actually mastering your kitchen, you need to upgrade your toolkit. I am not talking about a shiny $500 set of wrenches. I am talking about a $20 digital multimeter. This is the holy grail of oven diagnostics and pinpointing faults before calling a repair expert. I remember the first time I used one to check for continuity; it felt like I had suddenly gained X-ray vision. Instead of wondering if a part was dead, the screen told me the truth in seconds. Whether you are testing the resistance on your ovens broil element or checking a dishwasher solenoid, that little box of electronics is your best friend. According to the technical service manuals provided by Whirlpool’s ‘Service Matters’ portal, the precision of a resistance test is non-negotiable for identifying failing igniters or elements before they actually snap. Without it, you are just throwing parts at a problem and hoping something sticks.
The tiny mirror that saves my back
Another tool I swear by is a simple telescopic inspection mirror. Kitchen appliances are usually crammed into tight, dark spaces where the human neck just was not meant to bend. I use mine to look for tiny blisters on the bake element or to see if there is corrosion hidden behind the dishwasher’s motor housing. When you couple this with oven repair essentials and troubleshooting common issues with parts, you stop being a victim of your machines and start being the boss of them. I suspect we are moving toward a world where your oven will eventually text you when the bake element is about to fail thanks to built-in resistance monitoring, but until that smart-tech becomes standard in every home, we are the sensors.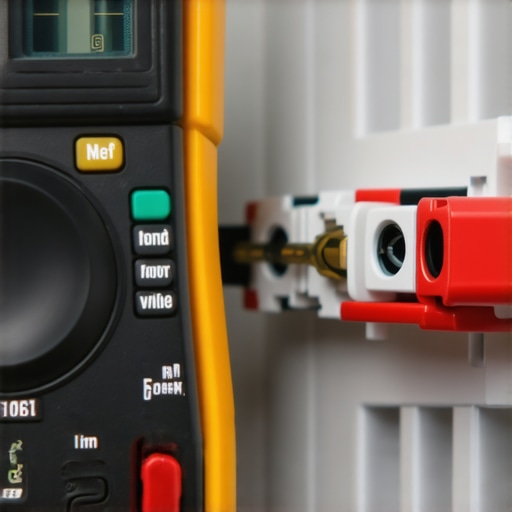
How can I keep these appliances running for a decade?
The secret to longevity is not found in a magic cleaning spray; it is in the small, monthly habits that prevent major failures. Once a month, I perform a ‘health check’ that involves more than just a surface wipe-down. I specifically look at dishwasher parts and DIY diagnostics to ensure no scale is building up in the spray arms. For the oven, I make it a point to be testing an oven bake element for invisible cracks that often precede a spectacular (and terrifying) electrical pop. If you catch these things early, the repair is a $30 part and twenty minutes of your time. If you wait for the failure, you might be looking at a damaged control board or a ruined floor. I want you to try one specific advanced tip this weekend: pull out your dishwasher filter and look for the hidden debris under your dishwasher filter. It takes five minutes and could save your pump from a $200 early retirement. Dealing with these machines can be frustrating, but the satisfaction of hearing that perfect, leak-free cycle start up is worth every bit of the effort.
The Hardest Lesson I Learned About Chasing Drips
After years of wrestling with appliances, I realized that ninety percent of the battle is fought before you even pick up a wrench. I used to rush into buying parts, thinking I knew the answer, but the real secret is patience. I once spent eighty dollars on a pump I didn’t need because I didn’t wait five minutes to see where the water was actually coming from. Now, I always use a dry paper towel to track the path of the moisture back to its source. It is also vital to remember that dirt is the enemy of every seal. Often, identifying dishwasher faults quickly comes down to just finding where the gunk has broken the vacuum. Trust the path the water leaves behind; it is the most honest evidence you have.
My Personal Arsenal for Home Diagnostics
If you are serious about keeping your home running smoothly without calling a technician every month, you need a few core items in your toolkit. First, get a digital multimeter. It is the only way to stop guessing and start knowing. I also recommend a high-quality telescopic inspection mirror; it has saved my back more times than I can count when looking for tiny blisters on the bake element or hidden dishwasher leaks in the dark corners of the kickplate. For deeper learning, I rely on the ‘Service Matters’ portal and this comprehensive guide to dishwasher parts as my go-to bibles for specific model diagrams and wiring. These resources take the mystery out of the machine.
Take Control of Your Kitchen Again
There is a unique sense of pride that comes from standing in a dry kitchen, knowing you fixed it yourself. You do not have to be a master plumber to handle these issues; you just need to be observant and methodical. Whether you are diving into oven repair essentials or hunting down a stubborn dishwasher drip, you have the knowledge to succeed. Don’t let a small puddle turn into a major disaster by ignoring the signs. If the repair ever feels beyond your current comfort level, knowing when to stop DIYing and call a professional is its own kind of wisdom. Have you ever struggled with a leak that seemed to disappear every time you tried to find it? Let me know your most frustrating repair stories in the comments below!