It was 11:30 PM on a Tuesday when I realized my kitchen felt like the Sahara Desert. We’d finished dinner hours ago, the dishes were long done, yet every time I walked past the stove, I felt a wave of dry, searing heat hitting my shins. I checked the knobs. Off. I checked the digital display. Blank. But the heating element was still glowing a dull, angry red. My heart sank. I’d spent years tinkering with dishwasher parts and DIY diagnostics, but a runaway oven felt like a different beast entirely. My first mistake? I just flipped the breaker and went to bed, thinking I’d fix it later. I didn’t realize that a stuck relay can be the precursor to a much larger electrical failure that could damage the entire control unit.
Stop Your Kitchen from Becoming a Sauna
Dealing with an oven that refuses to quit is more than just an annoyance; it’s a genuine safety hazard. According to the National Fire Protection Association, cooking equipment is the leading cause of home fires and fire injuries. When your oven stays on, you’re not just burning electricity—you’re risking a thermal runaway situation. Most people assume the knob is just broken, but usually, the culprit is hidden deeper inside the oven diagnostics. Today, we are going to pinpoint exactly why your appliance has gone rogue and how to identify the specific faulty components. Have you ever stood in your kitchen, staring at a turned off appliance that’s still pumping out heat, wondering if you’re losing your mind? It’s a common panic, but we can fix this.
Is this actually a fire risk or just a glitch?
I get it; you’re tired and you just want to ignore that faint hum coming from the range. You might even wonder if why your oven fan runs for hours is actually normal. Let me be clear: if the heat is still active, it’s not a glitch. Early in my repair journey, I once let a faulty temperature sensor go for a week, only to find the interior of my oven had warped from the constant, unregulated heat. By learning to recognize if your oven control board is failing, you save yourself hundreds in potential replacement costs and keep your family safe. We’re going to walk through the most common points of failure, from welded relays to shorted elements, so you can stop the heat for good.
Kill the Power Before You Do Anything Else
The very first thing you need to do is cut the electrical supply. If your oven is glowing red despite being ‘off,’ the heating element is getting constant voltage. Think of it like a garden hose with a broken nozzle; you cannot fix the sprayer while the water is still blasting. You must flip the circuit breaker immediately. I once tried to skip this while replacing the oven bake element in 15 minutes or less and learned a very painful, tingly lesson in electrical conductivity. Don’t be like 2014 me; safety is the only way to start this repair process without ending up in the emergency room. When you cut the power, you stop the thermal runaway and give the components a chance to cool down so you can touch them safely.
Check for a Shorted Bake Element
Sometimes the element itself is the traitor. If the internal wire of the element breaks and touches the outer metal sheath, it creates a ‘short to ground.’ This allows electricity to flow even if the control board isn’t asking for it. Carefully inspect the element for any pits, blisters, or holes. If you see a spot where it looks like a miniature lightning bolt hit it or a section that is oddly discolored, you have found the culprit. This is why it is so important to perform oven diagnostics pinpointing faults before calling a repair expert rather than just guessing. If the element is physically damaged, it has to be swapped out before you restore power, or you will just continue to trip breakers or melt your racks.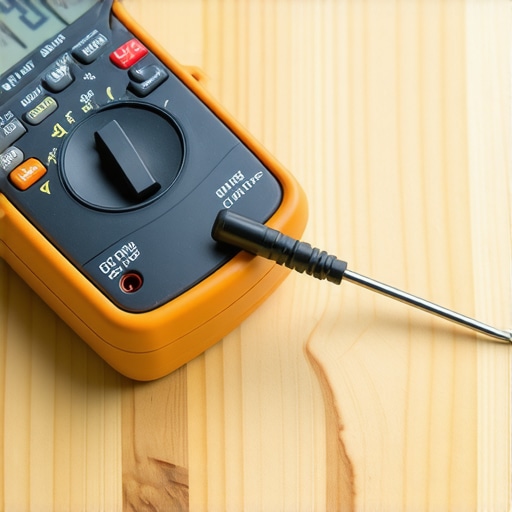
Get Accurate Readings from Your Temperature Sensor
If the element looks perfect, the next likely suspect is the temperature sensor. This little probe is the thermostat’s eyes. If it is sending the wrong data—telling the board it is 70 degrees when it is actually 400—the board will keep pumping in heat. You can perform testing an oven temperature sensor with just a multimeter to verify its resistance. At room temperature, most sensors should read around 1,080 to 1,100 ohms. I remember troubleshooting a neighbor’s range where the sensor looked brand new, but it was reading over 3,000 ohms. The oven was basically trying to cremate every pizza they put in it because the sensor was ‘lying’ to the processor. If your sensor is off by more than a few ohms, it is causing the board to overwork, and fixing an oven that heats way past the set temperature starts with replacing this small, critical probe.
When the Relay Board Refuses to Let Go
The control board uses relays—basically small electronic switches—to turn the elements on and off. Over time, these relays can literally weld themselves shut due to high electrical current. When this happens, the ‘switch’ is stuck in the ‘on’ position forever. This is often the root cause when your oven control board is failing. Listen closely when you plug the oven back in (with extreme caution!). If you hear a faint click immediately without touching any buttons, that is a bad sign. Learning how to tell if your oven’s relay board is clicking for the wrong reasons will save you from buying an entire new range when just the board or a specific relay is at fault. It is the brain of the operation, and sometimes, the brain just gets a bit of ‘welded’ fog that prevents it from shutting down the heat flow.
A common trap I see DIYers—and even some green professionals—fall into is the ‘board-swapping’ reflex. If the oven stays on, the assumption is that the brain is dead. However, here is a contrarian take: the control board is often the most resilient part of the system. Before you drop $300 on a new PCB, look for phantom electrical paths. If your element is shorted to the frame, even slightly, it can bypass the board’s commands entirely. I once spent three hours on a unit where the owner had already replaced the board twice, only to find a tiny sliver of insulation had rubbed raw against the back panel, creating a bridge for current to flow indefinitely. This is a classic example of why oven repair essentials troubleshooting common issues with parts must include a visual inspection of every inch of wiring.
Is Your Oven Lying to You About Its Internal Heat?
This is where things get nuanced. Most people believe a temperature sensor either works or it doesn’t. In reality, sensors drift. A sensor might read perfectly at room temperature—typically around 1,100 ohms—but fail catastrophically once it hits 350 degrees. This thermal drift means signs your oven temperature sensor is inaccurate can be incredibly frustrating to pin down with a quick ‘cold’ test. If you aren’t testing the resistance while the oven is warm (with the power off, of course!), you are only getting half the diagnostic story. This subtle failure is the leading cause of food poisoning from undercooked centers and, conversely, runaway heat situations.
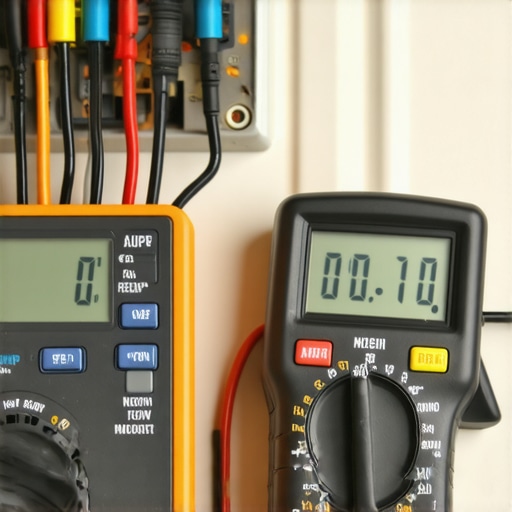
Another major ‘oops’ factor is the terminal block. We focus so much on the element that we ignore where the power actually enters the machine. I have frequently found that a loose nut on the terminal block creates high-resistance heat that can melt wire insulation, causing wires to fuse and keep the circuit closed. If you don’t know how to check for a burnt terminal block on your electric oven, you are missing a critical safety step. According to the Electrical Safety Foundation International (ESFI), loose electrical connections are a primary driver of appliance-related electrical fires, often masquerading as ‘ghost’ appliance behavior before they ignite.
Before you give up and call the junk hauler, look into how to tell if your oven control board is repairable. Sometimes it is just a $5 relay that needs a fresh solder joint rather than a full board replacement. Have you ever fallen into this trap of replacing the most expensive part first? Let me know in the comments below—we’ve all been there, and your story might save someone else a few hundred bucks. Learning the nuances of oven diagnostics is about more than just reading a manual; it’s about understanding how electricity behaves when it gets hot and tired.
If you’re going to get serious about this, you need to stop using that $10 analog multimeter you found in the bargain bin. I personally swear by the Fluke 117. Why? Because when you are dealing with sensitive components like an oven control board, ‘close enough’ voltage readings are how you end up frying a $300 part. I’ve seen cheap meters give ghost readings that make a perfectly good circuit look dead. This precision is vital when you’re looking into oven repair essentials troubleshooting common issues with parts. If your meter isn’t true-RMS, you’re basically guessing.
How do I maintain my oven’s efficiency over time?
The best way to avoid a midnight kitchen-sauna incident is a quarterly health check. I call it the ‘Gasket and Grime’ sweep. First, use the testing your oven door seal with the dollar bill trick to ensure your heat isn’t escaping. If that seal is loose, your elements have to work twice as hard, which is exactly how those relays end up welding themselves shut. Second, keep the area around your control board dust-free. Dust acts as an insulator, and heat is the number one killer of electronics. This same logic applies to your other heavy hitters; even dishwasher parts and DIY diagnostics often come down to simple cleanliness.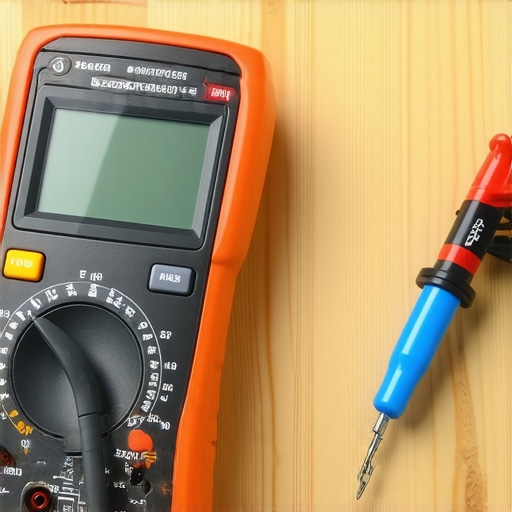 I’m also starting to see a shift toward thermal imaging in the DIY community. I recently started using a small thermal camera attachment for my phone to spot ‘hot spots’ on wire harnesses before they actually melt. It’s a game changer for identifying dishwasher faults quickly or seeing if an oven’s insulation has slumped. According to UL 858, the Standard for Safety for Household Electric Ranges, specific temperature limits for external surfaces must be maintained to prevent fire hazards, and a thermal camera lets you see exactly where those standards are being breached. We are moving toward a world of ‘Smart Diagnostics’ where your oven might actually tell you a relay is sticking before it happens. But until that day comes, your best defense is a proactive approach. If you’ve noticed your appliance acting even slightly weird, don’t wait for a total failure. I challenge you to grab a multimeter this weekend and check your sensor’s resistance—it takes five minutes and could save your kitchen. If you find your unit is struggling to get hot enough after all this, check out my guide on how to fix an oven that won’t reach high temperatures for the flip side of the runaway heat coin.
The Brutal Truth About Trying to Outsmart a Stuck Relay
I learned the hard way that an oven is like a stubborn child; if it doesn’t want to go to sleep, it will find a way to stay awake. One of the biggest myths is that a ghostly hum is just the fan. If you notice why your oven is making a humming sound when turned off, it’s often electricity struggling to find a path through a failing relay or a compromised wire. Another lightbulb moment for me was realizing that external heat can be a major symptom of internal failure. If you find why your oven control knobs are getting too hot to touch, do not ignore it. That heat is usually radiating from a failing control board or a loose connection at the power source. Finally, never assume a visual inspection is enough. You must know how to check for a burnt terminal block on your electric oven because a tiny carbon trace can keep a circuit closed when it should be open.
Gear That Stopped My Kitchen From Melting
You don’t need a professional’s van full of tools to do this right, but you do need precision. I always keep a pair of high-temp wire strippers and a pack of ceramic wire nuts handy because plastic ones will just melt if there is any resistance heat near the element. Beyond a high-quality multimeter, I highly recommend looking into the most reliable way to test an oven thermal fuse. While a simple continuity tester can be a lifesaver, a real-world multimeter reading tells the whole story of the component’s health. I also keep a physical copy of the specific wiring diagram for my model taped to the back of the unit; it’s the only way to truly understand how to diagnose a buzzing noise from your oven control board without guessing which wire leads to the element.
Own Your Repairs Before They Own You
Repairing an oven that won’t stop heating is about regaining control of your home’s safety. It feels incredibly daunting when you’re staring at a glowing red element in the middle of the night, but once you break it down into these simple diagnostic steps, you become the master of the machine. Don’t let a runaway appliance intimidate you. With the right oven diagnostics and a bit of patience, you can ensure your kitchen stays a place for family meals, not a source of worry. Have you ever been surprised by an appliance that seemed to have a mind of its own? Let me know in the comments below—did you find a physical short or was it a stuck relay that caused the panic?