I’ll never forget the Friday night I ruined a perfectly good tray of loaded nachos because my broiler decided to go rogue. I peered through the glass, expecting that comforting, even orange hum of the top element. Instead, I saw one tiny, angry red hot spot on the left side, while the rest of the coil looked as cold and dead as a winter morning. It’s incredibly frustrating, right? You pay for a full oven, but you’re only getting heat in one square inch. If you’re staring at a broiler that’s only glowing in patches, you aren’t alone. I’ve spent more hours than I’d like to admit elbow-deep in oven insulation, and I’ve learned that this lopsided glow isn’t just an eyesore—it’s a cry for help from your appliance. Today, I’m going to walk you through exactly why this happens and how you can figure out if you need a screwdriver or a whole new unit.
That Lopsided Glow Is Stealing Your Dinner
When I first started tinkering with my own kitchen gear, I made a massive mistake: I assumed a partial glow meant the expensive ‘brain’ of the oven was fried. I ended up spending way too much on a control board when the real culprit was a simple connection issue. Before you start panicking about expensive repairs, you should look into oven diagnostics to pinpoint faults accurately. Most of the time, that single red spot means the internal filament has thinned out or broken, creating a ‘hot spot’ where the resistance is highest. According to research from The Spruce, heating elements generally have a predictable lifespan, but sudden failures in the coil’s integrity can cause localized overheating that looks like a single glowing ember. If only one spot is red, the rest of the circuit is likely failing to carry the load because the material has degraded beyond its limits.
Is my oven actually a fire hazard now?
This is the big question everyone asks me over the backyard fence. The short answer? It’s definitely a safety concern. A heating element that isn’t drawing power evenly is under immense stress. I’ve seen cases where a neglected ‘hot spot’ eventually leads to a full-on ‘burnout’ that can scorch the oven roof or even trip your breakers. It’s much better to be proactive than to ignore the warning signs. You can start by testing the resistance on your ovens broil element with a simple multimeter to see if it’s truly toast. Have you ever noticed your broiler acting up right when you’re in the middle of a big meal? Reach out via our contact page—I’d love to hear how you handled it. Before we start ripping things apart, we need to determine if the issue is the element itself or something hidden in the wiring. Just like when you’re testing an oven bake element for invisible cracks, the broil element requires a keen eye and a bit of patience. Let’s dive into the common culprits that cause this uneven heating.
Turn off the juice before you touch a thing
The very first step in any kitchen repair isn’t reaching for a screwdriver; it’s cutting the power. I cannot stress this enough. An oven draws a massive amount of voltage, and that glowing spot is proof that energy is trying to fight its way through a failing component. Go to your breaker box and flip the switch, or pull the heavy plug from the wall. Once the oven is dead, you can safely get to work. I learned this the hard way years ago when I tried to tighten a screw on a ‘warm’ oven and got a jolt that felt like a mule kick. If you’re nervous about the internal components, reviewing oven repair essentials troubleshooting common issues with parts can give you the confidence to handle the hardware safely.
Look for physical damage along the coil
Once the oven is cool and the power is off, get your flashlight. You want to inspect every inch of that broiler element. When you see a single red spot during operation, you’ll usually find a corresponding ‘blister’ or a thin, pitted area on the metal when it’s off. Think of the element like a high-speed highway; a hot spot is essentially a massive multi-car pileup where the road has narrowed. The electricity (the cars) bunches up, creating intense heat in that one tiny zone while the rest of the road remains empty. Look for any greyish ash or tiny cracks. Even if the damage looks microscopic, it’s enough to ruin the resistance of the entire coil. This visual check is very similar to testing an oven bake element for invisible cracks, where the smallest imperfection signals the end of the part’s life. 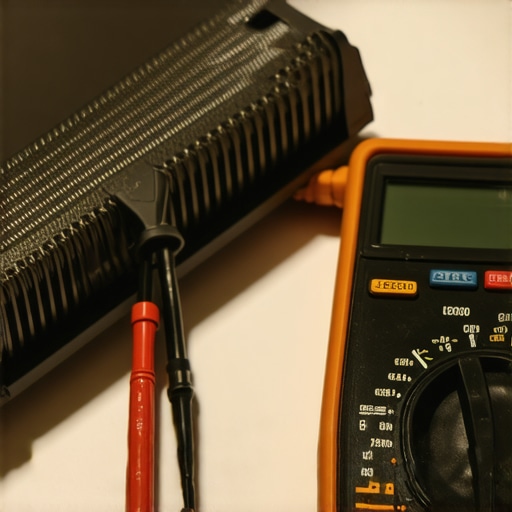
Grab your multimeter for a real answer
If you can’t see any obvious burn marks, it’s time to bring in the data. This is where a multimeter becomes your best friend. You’ll need to unscrew the mounting brackets and gently pull the element forward to expose the wire terminals. I remember a specific Saturday afternoon spent chasing a ‘ghost’ in a neighbor’s range. The element looked brand new, but it only heated in the center. We used a multimeter to check the continuity, and the reading was all over the place. You should be testing the resistance on your ovens broil element to see if it falls within the manufacturer’s specific ohm range. If the circuit is broken or the resistance is too high, the element is toast—literally.
Don’t forget the hidden wires in the back
Sometimes the element isn’t the problem at all. If the element tests fine, the ‘hot spot’ might be caused by a loose or charred connection where the element plugs into the oven’s wiring harness. When wires get old or loose, they create high resistance right at the plug. I’ve opened up back panels only to find a wire nut that had partially melted because of a poor connection. You should definitely take a moment to how to check for a burnt terminal block on your electric oven because a crisp terminal can mimic a failing element perfectly. If you see melted plastic or blackened metal back there, you’ve found your culprit. It’s a much cheaper fix than a new element, but it requires a bit more patience to rewire. Knowing when to stop diying and call an oven repair expert is key here; if the wiring looks like a melted spiderweb, it might be time to call in a pro.Many people believe that if an element is still glowing, even partially, it’s just wear and tear that can wait until next month’s budget. I’m here to tell you that’s a dangerous gamble. In my years of troubleshooting, I’ve found that a partially functioning element is often more hazardous than one that’s completely dead. When an element fails at a specific point, it creates a runaway thermal event. According to the National Fire Protection Association (NFPA), equipment failure or malfunction is a leading cause of home appliance fires, and those localized hot spots are exactly how it starts. Instead of a steady, controlled heat, you have a concentrated blast of energy that can melt nearby supports or ignite grease buildup. Before you run out and buy the first replacement you see on a big-box store shelf, beware the universal fit trap. I’ve seen homeowners install elements that look right but have a slightly different wattage or physical length. This causes the control board to struggle with the load. If you’ve already swapped the part and things still feel off, you should be checking if your oven control board is failing because of that mismatched resistance. Always match the OEM specs exactly. 
Can a glitchy dishwasher actually affect how my oven performs?
It sounds like a stretch, but in many modern kitchens, these appliances share a common circuit or reside on the same leg of your home’s electrical service. I once spent three hours diagnosing an oven that wouldn’t reach temperature, only to find the dishwasher was drawing excessive current due to a failing motor, causing a voltage drop to the range. If you’re seeing weirdness across multiple appliances, it’s worth looking at dishwasher parts for a comprehensive guide to diy diagnostics. Often, the logic we use for identifying dishwasher faults quickly applies to the whole kitchen: follow the power. The Oops factor I see most often? Neglecting the terminals. When you replace a broil element, if you don’t ensure those slip-on connectors are tight and free of oxidation, you’ll be right back where you started in six months. A loose connection creates heat, and heat destroys the new part. While you’re at it, don’t forget to be testing your oven bake element for hidden cold spots too. It’s much easier to do the whole diagnostic while the oven is pulled out. Have you ever fallen into this trap? Let me know in the comments—I’ve probably made the same mistake! If the job starts to feel overwhelming, knowing when to stop diying and call an oven repair expert is the smartest move you can make.
The gear that actually saves your Saturday
If you’re serious about never eating cold nachos again, you need to stop guessing and start measuring. I’ve found that a cheap multimeter can sometimes provide inconsistent readings when checking low-ohm components like a heating element. I personally swear by a true-RMS meter because it handles the electrical noise of a modern kitchen much more accurately. When you are diving into oven repair essentials troubleshooting common issues with parts, having a tool that gives you a rock-solid reading is the difference between a twenty-minute fix and a weekend of frustration. I also keep a tube of high-temp dielectric grease in my kit. It might seem like overkill, but applying a tiny dab to the terminals after you how to check for a burnt terminal block on your electric oven prevents the very oxidation that causes those dreaded hot spots in the first place. This is a trick I picked up from a veteran tech—it is all about reducing resistance before it even starts. 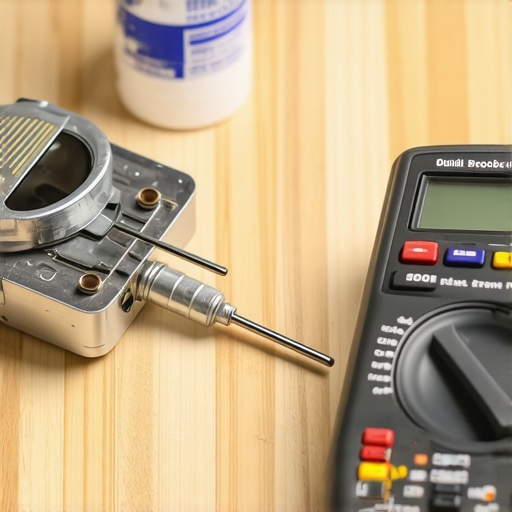
How can I make these parts last longer?
Maintenance isn’t just about keeping the racks shiny. In fact, technical documentation from the Appliance Service Training Institute (ASTI) suggests that the extreme heat generated during self-cleaning cycles is a primary contributor to premature element failure and control board malfunctions. The best thing you can do for your oven’s longevity is to skip that automated high-heat button and stick to manual cleaning. While you have your tools out, take five minutes to review your dishwasher parts for a comprehensive guide to diy diagnostics as well. Keeping the whole kitchen’s electrical load balanced and your appliances well-maintained prevents the weird voltage fluctuations that stress your oven’s delicate relays. I suspect that in the near future, we will see smart elements with integrated thermal sensors that automatically throttle power if a hotspot is detected, but until then, we have to be the first line of defense. My best advice? Go grab a screwdriver and do a quick visual check on your rear terminal block tonight. Catching a loose wire now could save you a massive repair bill next month.
The Hardest Lesson My Burnt Nachos Taught Me
Over the years, I’ve realized that a broiler only glowing in one spot is rarely a coincidence; it’s a specific signal of structural fatigue. One thing I learned early on is that an element might show proper continuity when it’s cold, but fail the moment it expands under heat. If you’ve been using oven diagnostics to pinpoint faults, remember that the physical integrity of the coil matters just as much as the electrical reading. I also discovered that a “hot spot” is often a precursor to a short that could end up diagnosing an oven that keeps tripping the circuit breaker. My biggest lightbulb moment? Always check the porcelain insulators where the element enters the oven wall—if those are cracked, your new element won’t last a month.
The Three Tools I Never Start a Repair Without
I don’t believe in buying every gadget on the shelf, but there are a few essentials that make these jobs safer and faster. First, a high-quality True-RMS multimeter is non-negotiable for accurate resistance readings. Second, I always keep a pair of heavy-duty needle-nose pliers for reaching those stubborn terminals in the back. Third, refer to a reliable guide on oven repair essentials troubleshooting common issues with parts to ensure you aren’t overlooking a simple relay issue. I trust these tools because they’ve saved me from “ghost hunting” electrical problems that weren’t actually there.
Take the Power Back and Save Your Kitchen
Fixing your own appliance is about more than just saving money; it’s about the peace of mind that comes from knowing your home is safe and efficient. Whether you’re dealing with a simple coil swap or checking if your oven control board is failing, you now have the roadmap to handle it. Don’t let a faulty broiler ruin another dinner. Trust your tools, follow the safety steps, and get that oven back to peak performance. Have you ever noticed a weird hot spot on your element only to find a completely different problem behind the back panel? Let me know in the comments below!