I was standing in my kitchen at 11:00 PM, socks soaking wet, staring at a dishwasher that refused to drain. It’s a special kind of frustration when you’ve already run the cycle twice and the water is just getting murkier. I remember my first time dealing with this—I was convinced the entire drain pump had given up the ghost. I even went as far as ordering a new drain pump assembly before even looking at the simplest component. It was a classic rookie mistake. I spent sixty bucks and three days waiting for shipping, only to realize a single piece of bell pepper was wedged in the check valve. That tiny rubber flap is the unsung hero of your kitchen, and today, we’re going to make sure yours isn’t choked by last week’s dinner. We are going to dive into the guts of your machine and get that water moving again. Whether you are a seasoned pro at oven repair essentials or this is your first time taking a screwdriver to an appliance, I promise you can handle this.
Stop Staring at the Murky Puddle in Your Tub
If your machine is leaving a swamp behind, you’re probably already diagnosing it like a pro, but you might be overlooking the gatekeeper of the drain hose. The check valve is a one-way street; it lets dirty water out but stops it from rushing back in. When it gets gunked up with seeds, glass shards, or grease, the whole system grinds to a halt. I’ve seen people replace their entire unit because they thought the motor was shot, when in reality, they just needed to clear out some hidden debris from the sump area. It’s often the difference between a five-minute fix and a $500 invoice from a contractor. I used to think standing water meant the drain pump was dead, but more often than not, it’s just a traffic jam at the valve.
Is such a tiny piece of rubber really worth the hassle?
It sounds almost too simple to be true, doesn’t it? You might be thinking that a professional repair is the only way to fix a dishwasher that drains too slowly. But here is a surprising fact: according to the home maintenance experts at The Spruce, the check valve is one of the most common points of failure for drainage, yet it is also one of the easiest parts to access without heavy tools. This means you have a very high chance of fixing this yourself for the grand total of zero dollars. Have you ever felt that sinking feeling when you see the water level rising instead of falling? Tell me I’m not the only one who has contemplated buying a new machine over a simple clog! Before you go testing your dishwasher heating element or worrying about the motherboard, let’s look at the mechanical basics. We’re going to walk through the exact steps to locate and inspect that valve so you can stop the flooding and get back to your life. Understanding the difference between a drain pump and a circulation pump is great, but today we are focusing on the gatekeeper.
Roll Up Your Sleeves and Access the Sump
I once spent an hour trying to force a drain cycle on a Bosch machine, getting sprayed with lukewarm greywater because I didn’t realize a literal toothpick had wedged the check valve open. It was a soggy, smelly lesson in checking the basics before the complex. If you hear a humming noise from your dishwasher’s drain pump but the water isn’t moving, you are likely dealing with a physical blockage rather than an electrical failure. To get to the heart of the problem, you need to clear the path. Start by pulling out the bottom rack and setting it aside. Most people get intimidated here, but it is no different than oven repair essentials where you have to remove the racks just to see the heating element. You need a clear workspace to see the bottom of the tub without straining your back.
Clear the Filters and Remove the Standing Water
You cannot work in a swamp. Grab a small cup and a bucket to bail out the standing water. Once you can see the bottom, you will need to remove the dishwasher filter. This is usually a twist-and-pull assembly. I have seen filters so caked in grease they looked like they were part of the floor. If it won’t budge, don’t force it; use a warm, wet rag to dissolve some of the gunk around the edges first. Cleaning this area is the first step in clearing hidden debris that might be migrating toward your drain hose. Think of this like a pre-flight check; you are ensuring the primary gates are open before you hunt down the secondary blockage at the valve itself.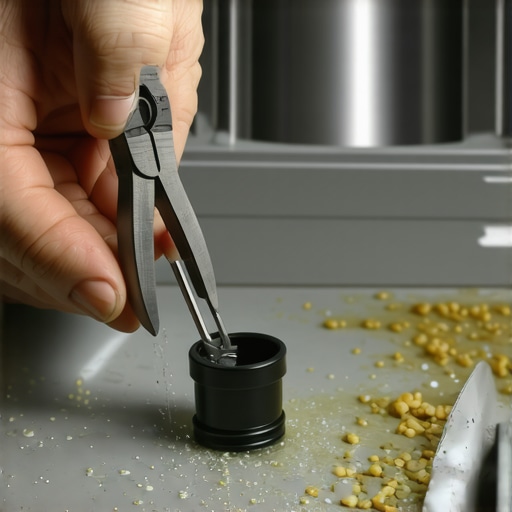
Locate the Rubber Flap Near the Drain Pump
Now for the ‘secret’ part. In most modern units, the check valve is a small, often black or translucent rubber flap located near the entrance of the drain hose. It acts like a bouncer at a club—it lets the dirty water out but refuses to let it back in once the pump stops. If you find your dishwasher is overflowing or just refusing to finish a cycle, this flap is likely stuck. Use a pair of needle-nose pliers or your fingers to gently pull the flap out. On some models, it might be tucked behind a plastic cover held by a single Torx screw. This is a common part of dishwasher diagnostics that most homeowners skip because it’s not immediately visible.
Flush the Valve and Check for Damage
Once the valve is out, rinse it under hot water. If it is warped, torn, or feels brittle like an old rubber band, it won’t seal properly, leading to that annoying backflow of water. You might be tempted to just leave it out, but that is a recipe for a smelly kitchen, as sink water will eventually flow back into your clean tub. If the valve looks good but was just covered in hair and seeds, you’ve likely found your culprit. While you have the area open, check the drain pump impeller for any obstructions like glass shards. It only takes one small piece of a broken wine glass to seize the whole motor, which can lead to you unnecessarily replacing a seized drain motor. Reinsert the valve, ensuring it seats firmly in its groove, and you are ready to test.The biggest lie in the DIY world is that ‘broken’ equals ‘defective.’ Most people see a part fail and immediately look for a replacement, but in my experience, the part is often just the messenger of a deeper systemic failure. For instance, you might find yourself replacing a noisy dishwasher drain pump assembly only to have the noise return a week later. Why? Because the real issue was a vibrating floor joist or a loose mounting bracket, not the motor itself. This is where identifying dishwasher faults quickly requires looking at the machine as a whole, not just a collection of swappable components. 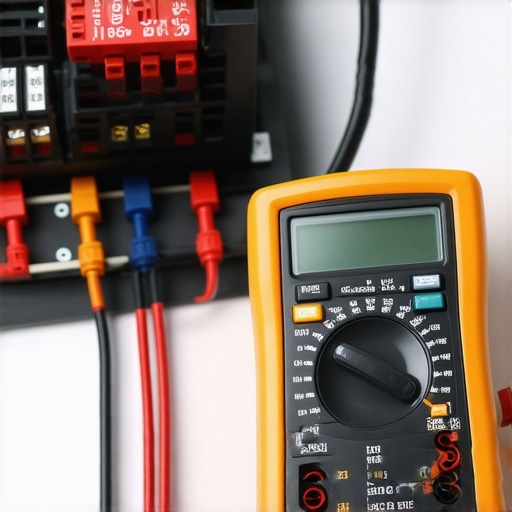
Stop Blaming the Pump and Check the Board
Everyone assumes that if a motor doesn’t spin, the motor is dead. But here is the contrarian truth: in modern appliances, the brain fails more often than the brawn. I’ve seen homeowners waste hundreds on parts when they really needed to use multimeter tricks for a dead control board. If the relay on the board is scorched, no amount of new pumps will fix your drainage problem. The same logic applies to oven diagnostics; a ‘dead’ element might actually be a failed solder joint on the clock assembly. According to the Association of Home Appliance Manufacturers (AHAM), a significant percentage of parts returned as ‘defective’ by consumers are actually perfectly functional, meaning the original diagnosis was flawed.
Why does your new part fail just weeks after installation?
It’s the ‘Oops’ factor of DIY repair: the installation environment. If you don’t identify a bad oven relay properly, you might bridge a connection that fries your new sensor. Or, more commonly, people overtighten the screws. When you are replacing a faulty oven light switch or a dishwasher sensor, cranking down on the plastic housing can cause micro-cracks. These cracks expand under heat, leading to ‘ghost’ failures that vanish when the machine cools down. Before you assume you bought a dud, check if you’ve literally squeezed the life out of the component. Have you ever fallen into this trap of replacing the same part twice because you missed the root cause? Let me know in the comments! If the technical side starts to feel overwhelming, knowing when to stop diying is the most ‘expert’ skill you can have. Contacting a professional for a second opinion on a complex board issue can save you more money than another blind part-swap ever will.
The Multimeter is Your Secret Weapon
I won’t lie—I’m a tool nerd. But I’m not talking about those shiny, overpriced sets you see in the front of the hardware store. I’m talking about the gear that actually saves your skin when you’re elbow-deep in a grease trap. If you’re serious about identifying dishwasher faults quickly, you need a high-quality multimeter. I personally use a Klein MM400 because the lead wires are flexible enough to reach into those tight corners behind a dishwasher’s kickplate without snapping. Cheap meters often give ghost readings that make you think a perfectly good part is dead, leading you to waste money replacing a noisy dishwasher drain pump assembly that was functioning perfectly fine. I also recommend investing in a set of back-probe pins; these razor-thin needles allow you to test for voltage at a harness connector without unplugging it, which is vital for real-time troubleshooting.
How can I make my kitchen appliances last twice as long?
Consistency beats intensity every time. You don’t need to do a deep-clean every weekend, but you should be cleaning the hidden debris under your filter at least once a month. For ovens, the secret is avoiding the ‘self-clean’ button like the plague. According to technical documentation from major manufacturers like Whirlpool (specifically their Job Aid for Gas and Electric Ranges), the extreme heat generated during self-cleaning cycles is the primary cause of control board failure and thermal fuse blowouts. Instead of risking a fried brain for your stove, spend ten minutes manually wiping down the bottom with a gentle degreaser. This habit alone will save you from testing your oven’s high-limit thermostat after a holiday cooking marathon.#IMAGE_PLACE_HOLDER_D#
Small Tools for Big Savings
Beyond the meter, keep a set of long-reach Torx drivers and a small telescoping mirror in your kit. I can’t tell you how many times that mirror has helped me find burn marks on an oven control board without having to pull the entire heavy unit out from the wall. It’s about working smarter, not harder. If you’re dealing with water issues, always test your dishwasher’s float switch for continuity before you assume the plumbing is the problem. These small diagnostic steps are what separate the people who spend twenty dollars from the people who spend two thousand. Looking ahead, I see appliance repair shifting toward integrated diagnostics where components talk to your home network. We are already seeing ‘smart’ dishwashers that can ping your phone when a filter is clogged. However, no app is going to replace the tactile skill of reseating a dishwasher door seal. The technology will get better at telling us what is wrong, but the execution of the fix will always belong to those of us willing to get our hands dirty. Go to your dishwasher right now and check the spray arms for mineral buildup. If you find even one hole clogged with a piece of plastic or a seed, clear it out with a toothpick. You’ll be amazed at how much better your dishes look. If you hit a wall, remember that pinpointing faults before calling a repair expert can save you a massive diagnostic fee, even if you eventually contact a professional for the final repair.
Hard-Won Secrets from My Years of Appliance Mistakes
Over the years, I’ve realized that dishwasher parts are rarely the primary issue—it’s usually the diagnostic process that fails. One major lightbulb moment for me was realizing that a visual check simply isn’t enough; you need to feel for obstructions with your hands. I once missed a tiny sliver of plastic because it was perfectly clear and submerged in water. Another lesson? Don’t ignore the smell. If your machine smells like ozone or burnt toast, stop immediately and look for electrical shorts rather than mechanical clogs. Finally, always document your disassembly. Taking a quick photo of the wiring before you start identifying dishwasher faults quickly can save you an hour of guesswork during reassembly.
The Diagnostic Gear I Never Leave Home Without
You don’t need a truck full of specialized equipment to be successful at oven repair essentials, but a few key items are non-negotiable for my toolkit. I trust my digital multimeter above all else because it provides objective truth when a component looks fine but is internally dead. A set of flexible back-probe pins is also vital; they let you test circuits while the machine is still live, which is often the only way to catch intermittent power drops. I also swear by a high-lumen headlamp. You can’t fix what you can’t see, and those shadows under the dishwasher are deeper than you think. These tools turn a frustrating afternoon into a successful dishwasher diagnostics session.
Build Your Skills One Fix at a Time
It is incredibly empowering to hear that familiar hum of a working machine after you’ve spent an hour troubleshooting. Don’t be intimidated by the complex-looking wires and sensors. Every expert started exactly where you are—staring at a puddle of water and wondering where to start with oven diagnostics or drainage issues. You have the tools, the knowledge, and the patience to get it done. Have you ever found a truly bizarre object stuck in your dishwasher’s check valve or pump? Drop a comment below and let me know what was stopping your drain!