I remember the moment vividly—standing in my kitchen, dishwasher running smoothly one minute, then suddenly disrupted by an annoying hum that seemed to come from nowhere. At first, I thought it was just normal background noise, but as the hum persisted and grew louder, I knew I had a problem. That lightbulb moment had me diving into the mysteries of my appliance, determined to find out what was causing that persistent drone.
Why That Humming Noise Shouldn’t Be Ignored
If your dishwasher begins to hum or make unusual noises, it’s more than just a minor annoyance. Such sounds often point to issues with the drain pump—an essential part responsible for removing water after each cycle. Ignoring these sounds can lead to more severe problems like leaks, poor cleaning, or complete pump failure, which can be costly and inconvenient. Plus, a humming drain pump might be a sign of debris buildup, worn bearings, or electrical faults that need attention before they escalate.
Fair warning: I once dismissed a similar humming as “just noise,” only to face a flood when my pump completely failed. That mistake cost me time, money, and a good deal of frustration. Early diagnosis and timely repair can save you from a similar headache. If you’re hearing that persistent buzz, don’t just shrug it off—it’s your dishwasher whispering for help.
Is Diagnosing a Hum Really Worth the Fuss?
Admittedly, I initially hesitated to get my hands dirty, worried I’d cause more harm than good. But I quickly learned that many issues are fixable with a little guidance and the right parts. In fact, a quick inspection of the drain pump and related components can make a world of difference. For detailed steps on how to troubleshoot typical dishwasher faults—including that dreaded humming—you might want to check out this comprehensive guide to DIY diagnostics. It’s a resource I wish I’d had from the start.
Have you dealt with that nagging humming sound before? If so, you’re not alone, and the good news is that solutions are within reach. Let’s explore how to identify whether that hum is a simple fix or a sign of something more serious, starting with pulling back the curtain on your dishwasher’s drain pump.
Disconnect Power and Access the Drain Pump
Start by unplugging the dishwasher to eliminate electrical hazards. Remove the lower kick panel or access panel at the front bottom, typically secured with screws. Use a screwdriver to carefully detach the panel, exposing the drain pump assembly. Remember, safety comes first—wear gloves if necessary to protect against sharp edges. I once forgotten to disconnect and nearly cut myself on the metal panel, so take your time.
Locate and Inspect the Pump for Debris and Damage
Identify the drain pump, usually a small motor with attached hoses at the base. Visually inspect the impeller—it’s a fan-like component inside the pump housing—for any debris, hair, or buildup that might cause humming. Also, check for cracks, broken blades, or burnt smells indicating motor wear. I found a spaghetti strand tangled around the impeller during my first repair, which when removed, immediately silenced the noise. A quick visual check can save hours of guesswork.
Disconnect and Remove the Pump
Disconnect the wiring connector by gently pulling the plug—avoid yanking the wires. Detach the hoses from the pump by loosening their clamps with a screwdriver or pliers. Carefully unscrew or unclip the pump from its mounting bracket; sometimes, the screws are stripped or stuck, requiring patience or penetrating oil. Once removed, set the pump on a clean surface for detailed inspection.
Test the Pump’s Motor and Check Electrical Continuity
Use a multimeter, set to ohms, to test the electrical resistance of the motor windings. Connect the probes to the pump’s terminals—good windings typically show a resistance between 20-50 ohms. If the multimeter reads infinite or zero, the motor has likely failed and needs replacement. I used a multimeter from a basic tool kit, which proved invaluable for diagnosing my dishwasher’s humming issue without buying a new pump prematurely. For detailed testing techniques, see this guide.
Assess the Pump’s Impeller for Free Movement
Manually rotate the impeller shaft with your fingers. It should spin smoothly without resistance or grinding noises. If it’s stiff or wobbly, the motor bearings are probably worn out. In my case, the impeller was seized due to mineral buildup, which I cleared with vinegar soak and gentle brushing. Regular cleaning helps prevent motor strain and humming sounds.
Replace If Necessary
If tests show the motor is faulty or the impeller is damaged beyond cleaning, replacement is the way forward. Find the correct part number by consulting your dishwasher’s manual or cross-referencing with parts guide. Install the new pump by reversing your removal steps, ensuring secure connections and clamps. Reassemble the panel and restore power to check if the humming has ceased. Remember, a properly functioning drain pump not only stops noise but ensures your dishwasher cleans effectively and avoids leaks.
Final Checks and Preventive Maintenance
After fixing or replacing the pump, run a short cycle to observe operating noise and drainage. Clean the filters and check for any residual debris that could cause future blockages. Keep in mind, routine inspections save money and headaches—be proactive. For more insights on diagnosing dishwasher faults, see this diagnostic overview.
With patience and a methodical approach, you can silence that persistent hum and restore your dishwasher’s peace. Remember, safety first—if you’re unsure about any step, consulting a professional is always wise. Happy fixing!
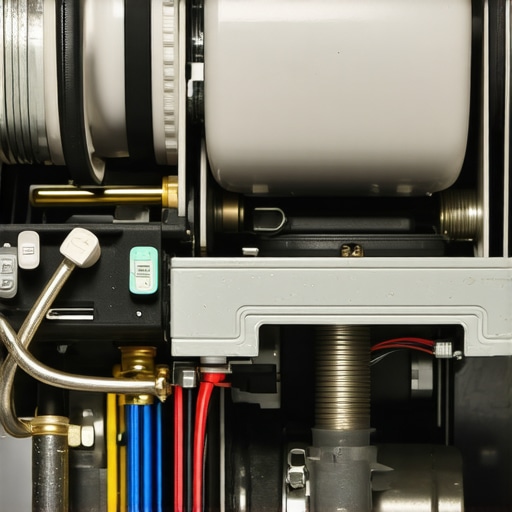
Many DIY enthusiasts and even seasoned technicians often rely on simplified assumptions that can lead them astray. One prevalent misconception is that all faults are visually obvious or easy to diagnose, but in reality, appliances like dishwashers and ovens hide complex issues beneath their surfaces. Misinterpreting symptoms–for example, assuming a humming noise is always a failed pump rather than a clogged impeller or electrical fault–can delay effective repairs and even cause further damage. It’s crucial to understand that some problems require nuanced testing, such as checking electrical continuity or inspecting internal components, using multimeters and detailed troubleshooting guides. Rushing to replace parts based on guesses rather than diagnostics can also lead to unnecessary expenses and frustration. Experts like appliance repair specialists stress the importance of systematic troubleshooting: isolate variables, verify suspected faults, and consult comprehensive resources before jumping to conclusions. For instance, rather than immediately replacing a thermal fuse when a dishwasher isn’t heating, testing for continuity first can save time and money—more on this approach can be found in our guide on testing oven components. Additionally, many overlook the significance of regular preventive maintenance, which can uncover hidden issues like mineral buildup or loose connections before they escalate.
A common trap is to ignore the importance of the diagnostic process itself, thinking that experience alone can identify faults quickly. But as several studies point out, methodical analysis dramatically improves repair success rates (see the research summarized in this diagnostic overview). Skilled technicians understand that every symptom has multiple potential causes, and the key is to narrow down options logically to avoid unnecessary parts replacements.
Have you ever fallen into this trap? Let me know in the comments. Recognizing these nuanced realities about appliance repair not only avoids costly mistakes but also transforms troubleshooting from guesswork into a precise science. Remember, mastering the details makes all the difference in achieving lasting, reliable repairs.
Keep Your Repairs Running Smoothly with the Right Tools
Maintaining your appliances effectively requires more than just knowledge; it demands the right set of tools suited for each task. Over the years, I’ve honed my toolkit to include a few specialized items that make diagnostics and repairs more precise and less time-consuming. For instance, a digital multimeter isn’t just useful—it’s indispensable for testing electrical continuity, resistance, and even voltage in tricky scenarios. I prefer models with auto-range and hold functions, which streamline testing without constantly adjusting settings. When inspecting components like heating elements or sensors, a non-contact infrared thermometer allows for quick temperature checks, helping confirm whether parts heat up correctly or are malfunctioning.
Why a Good Quality Screwdriver Set Matters
Having a screwdriver set with different tip types—Phillips, flat-head, Torx, and even specialty bits—ensures I can access every fastener without risking damage to screws or surrounding panels. Investing in high-quality, magnetic-tip drivers reduces slippage and stripping, important when working with fragile appliance bodies. This attention to detail saves time and prevents the need for costly repairs later on.
Instant Camera for Troubleshooting
A compact inspection camera with a flexible or articulated probe lets me peer into tight or hidden spaces—like behind walls or inside panels—without dismantling the entire unit. This tool is crucial when inspecting for debris, corrosion, or hidden damage. I use models with LED lighting to illuminate dark areas, making it easier to identify issues before proceeding with disassembly.
Strategy for Long-Term Results
Routine maintenance is the backbone of appliance longevity. Cleaning filters regularly, inspecting hoses and connectors for wear, and testing safety devices like thermal fuses can prevent bigger problems down the line. For example, regular checks of the dishwasher’s check valve, which I cover in this guide, can save you from flooding issues caused by debris buildup.
Integrating Software for Diagnostics
Beyond hardware, diagnostic software and apps are increasingly valuable. Connecting external diagnostic tools can help interpret error codes and provide step-by-step troubleshooting guidance. While many appliances now include built-in diagnostics, using connected apps allows for quick data logging and trend analysis, making it easier to spot patterns and potential failures before they occur.
What the Future Holds in Maintenance and Diagnostics
The trend is moving toward smarter, connected appliances that self-diagnose and relay data remotely. This evolution will require technicians and DIYers alike to adapt their tools and skills, embracing digital diagnostics and remote support systems. Staying ahead means investing in versatile tools now, like Bluetooth-enabled multimeters and diagnostic probes, and learning how to interpret digital alerts effectively. According to the industry expert, cultivating proficiency in these technologies will be a game-changer in appliance repair.
How do I keep my repair skills sharp over time?
The best way to ensure your repairs stand the test of time is continuous learning. Regularly reviewing diagnostic guides, updating your toolkit with the latest technology, and practicing troubleshooting techniques can prevent small issues from escalating. My tip: try calibrating your multimeter with a known voltage source periodically; it’s a simple step that ensures accuracy, especially when diagnosing critical components like heating elements or control boards.
Incorporating advanced tools and disciplined maintenance routines not only simplifies repairs but also extends your appliance’s lifespan. Remember, the more precise your diagnostics, the less guesswork—and the better your long-term results. Why not start by testing your dishwasher’s thermal fuse with a multimeter today? It’s a quick step that can prevent costly failures later on.
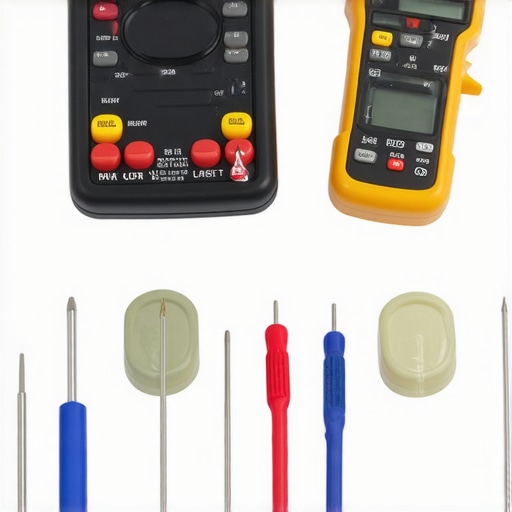
In my experience, a well-equipped toolkit with reliable diagnostic tools transforms appliance repair from guesswork into a predictable process. A high-quality digital multimeter and inspection camera are among my top recommendations—they save me time and give confidence in my diagnostics. Keep your tools in top shape, familiarize yourself with their operation, and you’ll tromp through repairs with greater precision and efficiency. Future trends suggest that integrating software diagnostics will further revolutionize DIY repairs, making knowledge and proper tools more vital than ever.
What the Hard Knocks Taught Me in Dishwasher Repair
My journey into appliance repair wasn’t smooth sailing; it was filled with unexpected setbacks and valuable lessons. One of the most profound realizations was that diagnosing a humming dishwasher pump requires patience and an eye for detail—rushing often leads to unnecessary replacements and increased costs. I learned that developing a systematic approach, like thoroughly inspecting the impeller and wiring before jumping to parts replacement, can save both time and money.
Another lightbulb moment was understanding that sometimes, seemingly complex issues are caused by simple debris or mineral buildup, which DIY enthusiasts can fix with routine cleaning. Moreover, I realized that investing in quality diagnostic tools—like a reliable multimeter and inspection camera—transformed my repair process from guesswork into precise science. These insights underscore the importance of learning thoroughly, even when it seems daunting at first, to become truly proficient in appliance repair.
My Go-To Tools and Resources for Diagnostics
Over the years, I’ve curated a set of tools that every DIYer should consider: a digital multimeter for electrical testing, an inspection camera for peering into tight spots, and a good set of screwdrivers to access panels without damaging screws. These tools make diagnosis easier and more accurate. As for resources, I trust this comprehensive guide to DIY diagnostics because it combines practical advice with clear instructions, empowering me to tackle problems confidently.
Additionally, I regularly consult detailed troubleshooting articles, like this diagnostic overview, which helps me verify my findings before changing parts. Combining the right tools with reputable information has drastically improved my repair success rate and reduced reliance on professional help, saving me money and frustration.
Your Next Step: Secrets That Make Repairs Stick
Don’t wait for small issues to become big problems—taking the initiative to learn and apply proper diagnostic techniques can extend your appliances’ lifespan and prevent costly calls to the repair shop. Whether it’s testing the thermal fuse or inspecting the drain pump, mastering these skills makes you more self-reliant and confident. So, tonight, grab your multimeter and review your dishwasher’s parts—your future self will thank you.
Have you ever struggled with troubleshooting a dishwasher hum? Share your experience below and let’s learn from each other’s journeys in appliance repair!