I still remember the Tuesday night I walked into the kitchen and felt that familiar, cold squish against my sock. I didn’t even have to look down. I knew. My dishwasher was staging a silent, watery protest. At first, I panicked and started looking at new models online, convinced my machine had finally kicked the bucket. It turns out, I was about to spend eight hundred dollars to fix a problem that actually cost less than fifty. Most of the time, your dishwasher isn’t ‘dead’—it’s just struggling with a tiny, overworked component called the water inlet valve. When this little gatekeeper fails, everything else stops working. I’ve spent years tinkering with my own appliances, and if I’ve learned anything, it’s that diagnosing the problem correctly is half the battle. If you’ve noticed your dishwasher won’t fill with water lately, you are likely staring at the exact same culprit I did.
The Puddle That Almost Cost Me Eight Hundred Dollars
Early in my DIY journey, I made a classic rookie mistake: I replaced the entire float switch assembly because I saw water on the floor. I was so sure! But after two hours of labor, the leak was still there. I had completely ignored the inlet valve tucked behind the kickplate. Don’t be like me. You need to identify dishwasher faults quickly before you start throwing money at the wrong parts. The inlet valve is a solenoid-operated device that opens to let water in and closes to keep your kitchen dry. When it wears out, it either sticks closed, leaving your dishes bone dry, or it fails to seal properly, which leads to that dreaded slow-motion flood. Have you ever walked into your kitchen only to find a mysterious pool of water despite the dishwasher being turned off?
Can a DIY Rookie Really Pull This Off?
I know what you’re thinking. Messing with water lines and electrical solenoids sounds like a recipe for a flooded basement or a blown fuse. But here is the truth: if you can use a screwdriver and a pair of pliers, you can handle this. Most people are terrified of ‘internal’ parts, but my dishwasher parts guide shows that the inlet valve is actually one of the most accessible components. According to data from HomeAdvisor, a professional appliance repair call typically costs between $100 and $300 just for the labor and diagnostic fee. Doing it yourself isn’t just about saving money; it’s about the satisfaction of knowing your machine inside and out.
Spotting a Failing Valve Before It Floods Your Home
The signs are usually subtle at first. Maybe your glasses aren’t coming out as clean as they used to because the water level is too low. Or perhaps you hear a high-pitched whistling sound during the fill cycle—that’s often the sound of a restricted valve struggling to let water through. It is frustrating. You stand there watching the clock tick, wondering why the cycle is still going when the dishes are clearly dry and the soap hasn’t even moved. I’ve found that these components usually fail due to hard water deposits or simple mechanical fatigue. We’re going to walk through the five specific red flags that scream ‘replace me’ so you can stop guessing and start fixing.
Before you even touch a screwdriver, you have to treat this like a surgical operation. You are dealing with the two things that hate each other most: water and electricity. Flip the breaker at your main panel and turn off the water shut-off valve under the sink. I learned this the hard way during a separate project involving oven repair essentials where I thought ‘off’ on the dial meant ‘safe’—it did not, and I got a zap that I still feel in my teeth today. For a dishwasher, the water is just as dangerous. If you do not shut it off, you will have a miniature geyser the second you loosen that compression fitting.
Shut Down the Utilities Before You Start
Once the power and water are killed, your first physical task is removing the kickplate. This is the metal or plastic panel at the very bottom of the machine. Usually, it is just two screws. Lay on your side and peer underneath with a flashlight. You are looking for a plastic component where the main water line connects. This is your target. If you see white crusty buildup around it, that is calcium, and it is a smoking gun. Sometimes, you might find that the dishwasher float switch is stuck instead, but if the valve looks corroded, it is time to dig deeper.
Strip Away the Bottom Panel to Reveal the Valve
The valve is held in place by a bracket and a couple of wire leads. Before you pull it out, take a photo. I cannot stress this enough. I once spent forty-five minutes trying to remember which wire went to which terminal because I was too confident in my memory. Once you have your photo, disconnect the wires and the water lines. Have a towel ready, because even with the water off, there is always a little bit of residual liquid trapped in the hose that will try to escape onto your floor. This is a great time to identify dishwasher faults quickly by looking at the small mesh screen inside the valve’s intake.
Let the Multimeter Solve the Mystery
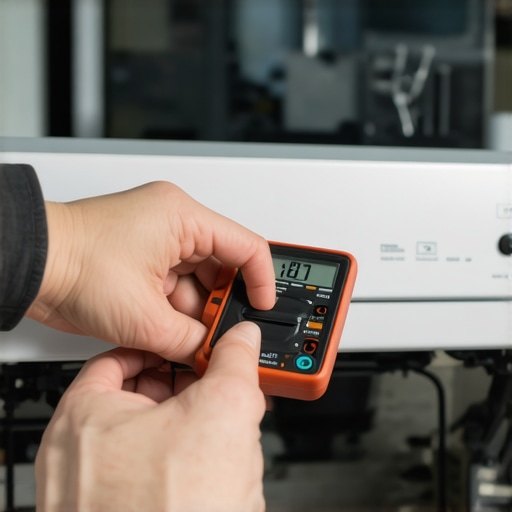
If the valve looks clean but the machine still won’t fill, you need to test it for electrical continuity. Set your multimeter to the lowest ohms setting. Touch the probes to the two metal terminals on the valve. You are looking for a reading between 500 and 1,500 ohms. If the meter shows a ‘1’ or ‘OL’, the solenoid coil inside has burned out. It is electrically dead. This is the same logic used when testing a dishwasher high limit thermostat for continuity. If the electrical path is broken, the part cannot function, no matter how much you wish it would.
Why Cleaning the Screen Often Beats Buying New Parts
Sometimes the valve is fine, but it’s just ‘blinded’ by sediment. I remember a neighbor who was ready to junk her high-end Bosch because it wouldn’t fill. I pulled the valve and found a tiny pebble from a recent water main break lodged right in the intake screen. I popped it out with a needle, and the machine ran perfectly for another five years. Learning how to clear a hard water clog in your dishwasher inlet valve can save you the cost of the replacement part entirely. If the screen is clear and the multimeter says the solenoid is good, but the water still won’t flow, the internal diaphragm is likely jammed, and that is the one time you truly must buy a replacement.
This brings us to the biggest trap in modern DIY: the ‘parts-cannon’ mentality. Most people believe that if a machine stops working, the ‘brain’ or the main control board must be fried. In reality, modern appliances are remarkably robust on the digital side; it is the physical, moving parts that fail 90% of the time. I have seen countless homeowners drop two hundred dollars on a new board when they really just needed to identify dishwasher faults quickly by checking a simple sensor. Before you order the most expensive part on the diagram, remember that electronics usually either work or they don’t—mechanical parts, however, love to fail slowly and inconsistently. This same logic applies when you are diving into oven diagnostics. We often assume a complex computer failure when the reality is just a worn-out mechanical relay or a loose wire.
Why Does Your Multimeter Lie About a ‘Good’ Valve?
Here is the advanced nuance that separates the pros from the frustrated: static resistance versus load performance. You might test your inlet valve with a multimeter and see a perfect 1,000 ohms, lead you to believe the part is fine. But a coil can show perfect continuity while the internal mechanical plunger is physically seized by calcium. According to a technical report from the Association of Home Appliance Manufacturers (AHAM), mechanical fatigue in solenoid-operated valves accounts for significantly more field failures than electrical coil burnouts. This is why you must always pair your electrical testing with a physical inspection. If you have already confirmed the dishwasher float switch isn’t stuck, and your electrical readings are good, but no water flows, the mechanical side of the valve has failed.
Stop Overtightening Your Plastic Fittings
If there is one ‘oops’ factor that kills more DIY projects than any other, it is the ‘gorilla-grip’ approach to plumbing. Most modern dishwasher valves use plastic housings. When you connect your brass 90-degree elbow or your braided steel line, you only need it to be hand-tight plus a quarter turn with a wrench. I’ve seen people crack the housing of a brand-new valve before they even turned the water back on because they thought tighter meant safer. This is an expensive mistake that can lead to a slow leak behind your cabinets that you won’t notice for months. Whether you are handling oven repair essentials or plumbing a dishwasher, finesse always beats brute force. 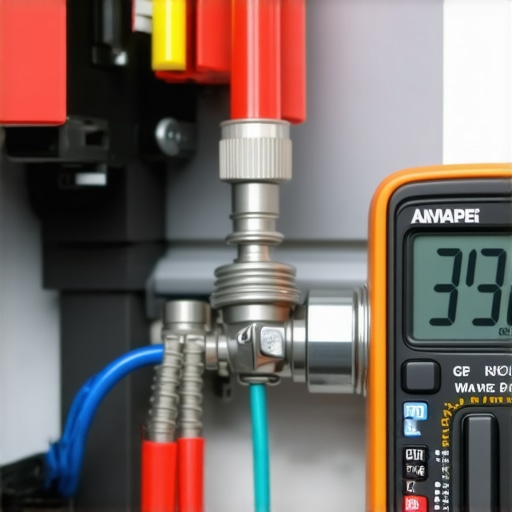
The Secret Logic of Hidden Thermostats
Another common mistake is ignoring the safety chain. Many people focus so much on the dishwasher won’t fill with water issue that they forget about the thermal components. If your dishwasher overheated during a previous cycle, it might have tripped a one-time thermal fuse. If that fuse is blown, the machine might not even attempt to open the water valve. It is a protective loop. I always recommend testing your dishwasher’s high limit thermostat for continuity as part of your standard diagnostic routine. It takes thirty seconds and can save you from replacing a perfectly good inlet valve. Have you ever replaced a part only to realize the problem was a five-dollar fuse all along? Let me know in the comments—I’ve definitely been there myself.The right tools turn a stressful Saturday into a thirty-minute win. I used to rely on a cheap five-dollar screwdriver set, but I quickly realized that a dedicated 1/4 inch nut driver is the absolute king of the kitchen. Most dishwasher and oven panels are held together by these exact hex-head screws. If you are serious about DIY, you need a multimeter that handles Low Impedance (LoZ) measurements. According to Fluke’s technical application notes on stray voltage, a standard high-impedance meter can pick up ghost voltages from adjacent wires, leading you to believe a component is live when it’s actually dead. This single piece of knowledge has saved me from more phantom part replacements than I can count. When you are deep into oven repair essentials, having a meter that doesn’t lie to you is the difference between a fixed stove and a wasted afternoon.
How do I maintain my appliances to avoid these big repairs?
The secret isn’t some expensive chemical; it’s consistency. Every three months, I run a cycle with a bowl of white vinegar on the top rack to remove hard water build-up before it can solidify inside your inlet valve. While you’re at it, take five minutes to clear your dishwasher spray arm holes with a simple toothpick. These tiny openings are the arteries of your machine; if they clog, your pump works twice as hard and dies twice as fast. 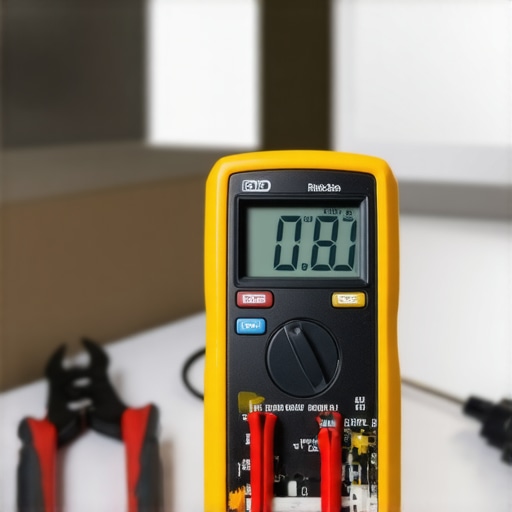
Your Kitchen is Getting Smarter—For Better or Worse
We are entering an era where your dishwasher won’t just break; it will send a notification to your phone telling you exactly which sensor is failing. Predictive diagnostics are the next big trend, using vibration sensors to detect a failing bearing months before it starts squealing. However, until we all have AI-powered kitchens, we still have to rely on manual tests. I still prefer to test an oven thermal fuse myself rather than trusting a digital display that might be glitched. If you want to master your home, start by trusting your own data. Don’t wait for a total breakdown. Go grab your multimeter right now and check the continuity of one suspect part; it’s the only way to stop the guessing game and truly own your maintenance schedule.
What My Local Repair Shop Never Mentions About Hardware
I’ve learned that the most expensive part is the one you buy twice. When I first started, I bought the cheapest generic valves on eBay, only to have them leak within six months. Always look for OEM (Original Equipment Manufacturer) stickers; the extra ten dollars is worth the peace of mind. Another secret? That paper circuit diagram tucked in a plastic sleeve behind your kickplate is gold. Most homeowners throw it away or ignore it, but it’s the literal map to your machine’s soul. I also discovered that if you’re already down there, you should check if your dishwasher is leaking from the kickplate area because of a loose hose clamp rather than a bad valve. It’s those small details that separate a quick fix from a wasted Saturday.
#IMAGE_PLACEHOLDER_E#
The Gear That Actually Earns Its Place in My Toolbox
You don’t need a thousand-dollar setup to keep your kitchen running. My “Big Three” for appliance work are a quality 1/4-inch magnetic nut driver, a dependable multimeter, and a simple LED headlamp. Handheld flashlights are useless when you need both hands to steady a solenoid. I also keep a copy of my dishwasher parts guide bookmarked on my phone for quick reference at the hardware store. If you ever venture into the cooking side of the kitchen, knowing how to tell if your oven control board is repairable can save you just as much as fixing a fill valve. These resources are my bibles for home maintenance.
Stop Fearing the Machine and Start Owning It
Fixing your own appliances isn’t just a way to save a few hundred bucks—it’s about reclaiming control over your home environment. The next time you find your dishwasher won’t fill with water, you won’t feel that sinking pit of dread. You’ll feel a sense of curiosity. You have the tools, the knowledge, and the confidence to identify dishwasher faults quickly and accurately. Don’t let a simple mechanical gatekeeper ruin your week. Have you ever successfully fixed an appliance only to have your spouse or roommate look at you like you’re a wizard? Let me know your favorite DIY win in the comments below!