I was standing in my kitchen at midnight, staring at a machine that seemed possessed. My dishwasher wouldn’t start a cycle; it just sat there, humming aggressively as the drain pump worked overtime to remove water that wasn’t even there. It’s a gut-sinking feeling. You expect a clean load of plates, but instead, you get a mechanical tantrum. I’ve been there, and I know exactly how much you want to just kick the thing to the curb. But before you call a professional or start shopping for a new unit, let me tell you—this ‘drain loop’ is one of the most common, and often simplest, issues to resolve if you know where to look. Today, we are going to dive into why this happens and how you can get your kitchen back to normal without a massive repair bill.
The Night My Kitchen Sounded Like a Construction Zone
I remember the first time I faced this. I panicked. I assumed the brain of the machine had fried. In my rush to be the ‘handyman’ of the house, I actually went out and bought a bunch of dishwasher parts I didn’t even need. I replaced the entire drain pump assembly before I realized the real culprit was a tiny piece of a broken glass stuck under the float switch. It was an expensive lesson in identifying dishwasher faults quickly. If your dishwasher keeps running after the cycle ends or stays stuck in the drain phase, it’s usually because a safety sensor is being triggered.
Is it actually worth trying to fix this yourself?
You might be worried that you’ll make things worse. I get it. Messing with water and electricity feels high-stakes. But here is a surprising fact: according to research from Consumer Reports, nearly 30% of appliance repairs are due to simple maintenance issues like clogs or stuck sensors rather than actual motor failures. You don’t need a degree in engineering; you just need a little patience and a screwdriver. Have you ever felt that sheer frustration of a ‘simple’ appliance making your life harder instead of easier?
Your Machine Thinks the House is Flooding
When a dishwasher keeps draining and refuses to start, it’s almost always in ‘flood protection mode.’ Somewhere, a sensor—usually the float switch or a turbidity sensor—is telling the control board that there is too much water in the tub. Even if the tub looks empty to you, a tiny bit of moisture in the base pan can trigger this. You need to know the right way to inspect your dishwasher float switch to see if it’s physically stuck. If that switch can’t drop down, the machine will keep trying to drain to prevent a kitchen flood that isn’t actually happening. It’s a noble goal for the machine, but a total headache for you. Let’s look at the first few things you should check to break this cycle.
Clear the Physical Obstructions From the Float Switch
Start by reaching into the bottom front corner of the tub. You’ll see a small plastic cylinder that looks like an upside-down cup; this is your float switch. If it can’t drop all the way down, the machine ‘thinks’ it is full of water and will keep the drain pump running indefinitely. I remember spending two hours trying to figure out why my machine was humming like a jet engine, only to find a single, calcified popcorn kernel wedged under that plastic mushroom. Once I flicked it out, the machine reset instantly. While you are down there, you should learn the right way to inspect your dishwasher float switch for electrical failure. If the switch moves freely but doesn’t ‘click’ when you lift it, the internal contact might be toast. It is one of those dishwasher parts that is cheap to replace but vital for the whole system’s logic. 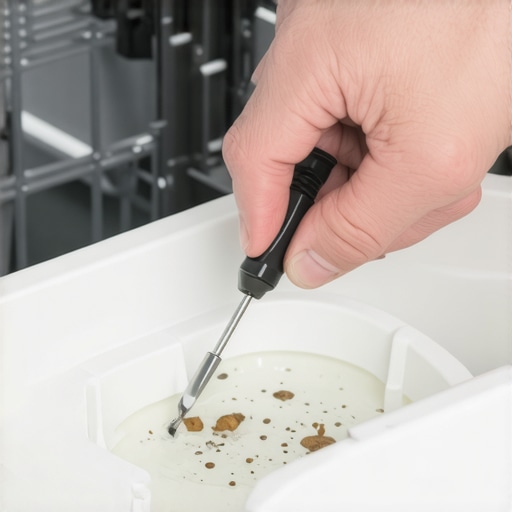
Kill the Power and Dry the Base Pan
If the float switch inside the tub is fine, your problem is likely underneath the machine in the base pan. Most modern dishwashers have a secondary safety float in a shallow tray at the very bottom, near the floor. If a small leak occurs, water pools in this tray, lifts a foam float, and triggers the drain pump to prevent a flood. This is why you might see the dishwasher keeps running after the cycle ends. To fix this, you need to kill the power at the breaker, remove the bottom kickplate, and use a sponge or a turkey baster to soak up any standing water in that bottom tray. I once had a tiny drip from a loose hose clamp that filled that pan over three months. It wasn’t enough to leak onto my floor, but it was enough to trap the machine in a permanent drain loop. While the panel is off, it’s a great time for identifying dishwasher faults quickly by looking for salt trails or water spots near the motor.
Check for a Blocked Drain Path or Air Gap
Sometimes the machine keeps draining because it literally cannot finish the job. If the water can’t get out, the sensor stays ‘wet’ and the pump keeps grinding. Check the small cylinder on top of your sink—the air gap. If this gets clogged with food, water backs up. You can easily learn how to unclog your dishwashers air gap in five minutes using nothing more than a bottle brush. If the air gap is clear, the issue might be a sluggish check valve. Knowing the best way to inspect your dishwashers check valve for clogs can save you from replacing a perfectly good pump. When that little rubber flap gets stuck open, dirty water from the drain hose flows back into the machine as soon as the pump stops, which restarts the whole draining cycle again. It’s a literal circle of frustration that usually just requires a quick cleaning of the valve rather than a bag of new parts.Everyone tells you that if the machine is humming, the motor is shot. In my years of tinkering, I’ve found that’s rarely the case. The real nuance that DIYers miss is ‘component fatigue’—where a part is technically functioning but failing to meet the specific electrical threshold required by the control board. For example, many homeowners assume their gas oven is fine because they see a bright orange light, but they don’t realize why your gas oven igniter glows but doesn’t light. It’s often a matter of the igniter not drawing enough Amps to open the safety valve, even if it looks hot enough to melt steel. This is where oven diagnostics become more of a science than a guessing game.
Why does the igniter glow if it isn’t actually working?
It’s a common point of confusion. According to the Association of Home Appliance Manufacturers (AHAM), modern appliances rely on incredibly tight tolerances for safety. If an igniter’s resistance has shifted just slightly due to age, it won’t pull the specific Amperage needed to trigger the gas valve. You’ll sit there for an hour waiting for heat that will never come. This is the same logic we apply when identifying dishwasher faults quickly. If you aren’t using a multimeter to check for continuity or specific resistance, you’re just playing a very expensive game of ‘guess the part.’ 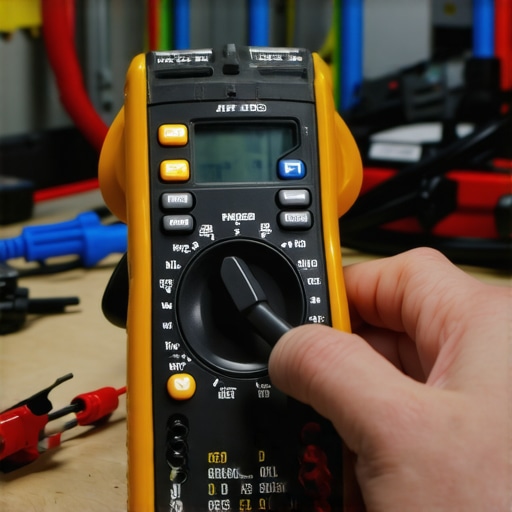
Avoid the Trap of the Replacement Parts Cannon
The most common mistake I see—and I’ve been guilty of it myself—is firing the ‘parts cannon.’ This is when you buy four different dishwasher parts hoping one of them sticks. Not only does this waste money, but it can actually introduce new problems. If you install a new control board but didn’t fix the shorted wire that fried the first one, you’ve just turned an expensive part into a useless paperweight. Before you assume the brain of the machine has died, check these 4 symptoms to see if your control board is actually failing or just a victim of a bad sensor elsewhere in the circuit. Have you ever fallen into this trap of replacing the ‘obvious’ part only to find out it didn’t fix anything? Let me know in the comments below; I’d love to hear your ‘expensive lesson’ stories.
Get Yourself a Reliable Multimeter Before You Buy a Single Part
If you want to move past the ‘guessing game’ and start actually fixing things, you need a multimeter. I personally swear by the Fluke 117 because it has a low-impedance mode that prevents ‘ghost voltages’ from tricking you into thinking a dead board is actually alive. When you are testing your dishwashers high-limit thermostat for continuity, you aren’t looking for a ‘maybe’—you need a definitive beep. If you don’t hear it, that $15 part is your culprit, and you just saved $400 on a repairman. This is the foundation of oven repair essentials; without data, you’re just a guy with a screwdriver hoping for a miracle. I’ve seen people throw away perfectly good units because they didn’t realize a thermal fuse had simply tripped. 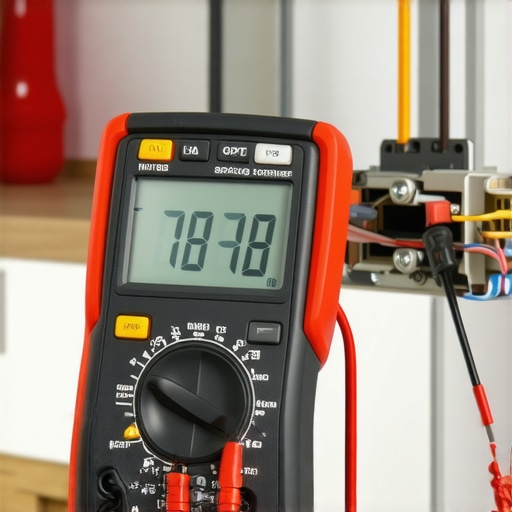
The Future of Your Kitchen is Self-Diagnosing
We are rapidly moving toward a world where your dishwasher will send a push notification to your phone saying exactly which solenoid has failed. Brands like Bosch and Miele are already integrating sophisticated error-logging that you can access via service modes. However, even with all that tech, the physical components still wear out the same way. According to the National Electrical Manufacturers Association (NEMA) standard for residential appliances, electrical connections in high-heat environments like ovens are prone to ‘thermal cycling’ fatigue. This is why oven diagnostics will always require a human touch to verify what the computer is claiming. I predict that within five years, the ‘repair’ will involve more software resets than physical wrenches, but for now, your hands are still your best tools.
How do I keep my dishwasher running smoothly for the long haul?
Maintenance is boring, but it’s the difference between a machine that lasts 5 years and one that lasts 15. Every six months, you should be checking for scale. If you start seeing white streaks on silverware, your machine is screaming for a descaling cycle. Don’t just use vinegar; use a citric acid-based cleaner to protect the rubber seals. Similarly, your oven needs a check-up too. I recommend taking ten minutes twice a year to recalibrate your oven for accurate temperatures. Over time, the control board’s calibration can drift, leading to burnt cookies and undercooked roasts. It is a simple software tweak on most models that costs zero dollars but yields professional results. If you really want to be a kitchen hero today, go grab your multimeter and check the continuity on your oven’s bake element; it’s the easiest way to prevent a cold dinner tonight.
Lessons from the Kitchen Floor: What My Worst Repairs Taught Me
After years of wrestling with temperamental appliances, I’ve realized that the ‘catastrophic failure’ we often fear is usually just a tiny component asking for attention. For example, I used to panic at any unusual scent, but learning why a gas oven smells like kerosene taught me that it’s often a simple matter of environmental factors rather than a lethal leak. It is all about context and staying calm under pressure.
Secondly, never underestimate the power of debris. A machine that sounds like its grinding rocks isn’t always ready for the scrap heap; sometimes it is just a rogue cherry pit or a piece of broken glass in the macerator. The hardware is surprisingly resilient, but the sensors are delicate. My biggest ‘lightbulb moment’ was realizing that identifying dishwasher faults quickly is 90% observation and 10% actually turning a wrench.
Finally, always respect the electrical data. If your multimeter says there is no continuity, believe it. Don’t try to ‘wish’ a part back to life or assume it’s a glitch. Whether you are dealing with a drain pump or mastering oven repair essentials, the numbers provided by your tools are the only truth that matters in the middle of a repair.
The Essential Kit for Every Kitchen Hero
If you want to stop the guessing game and start fixing, you need more than just a standard screwdriver set. I personally recommend these three things to anyone starting their DIY journey. First, a non-contact voltage tester; it is an absolute life-saver for ensuring a circuit is truly dead before you touch a terminal. Second, a high-quality smartphone camera—take photos of every wire and bracket before you disconnect anything! You will thank me later when you are trying to remember the orientation of a complex wiring harness.
Third, I highly recommend keeping a comprehensive guide to dishwasher parts bookmarked on your phone or printed in your junk drawer. Having a clear reference for what a ‘normal’ resistance reading looks like on a solenoid or a thermal fuse makes the difference between a 20-minute win and a weekend-long headache. I trust these detailed technical resources because they focus on the ‘why’ behind the component failure, which is the key to preventing it from happening again.
Reclaiming Your Kitchen One Repair at a Time
There is a unique kind of pride that comes from hearing your dishwasher hum through a perfect cycle after you have fixed it with your own two hands. You aren’t just saving a few hundred dollars on a service call; you are breaking the cycle of ‘disposable’ appliance culture. Don’t be afraid to get a little grease under your fingernails. The more you learn about the inner workings of your home, the less power those blinking error lights have over your peace of mind. You have the tools, the knowledge, and the capability to keep your kitchen running perfectly. Have you ever found a truly bizarre object—like a toy car or a piece of jewelry—stuck inside your machine’s drain pump? Let me know in the comments below, I’d love to hear your weirdest find!