I still remember the smell of my daughter’s eighth birthday cake turning into a blackened disc of disappointment. The display clearly read 350°F, but when I opened the door, a wave of heat hit me that felt more like a blast furnace. It was a disaster. I’d spent hours on that frosting, only for my oven to decide it wanted to be a pottery kiln for the afternoon. If you’re standing in your kitchen right now, staring at a scorched tray of cookies while your thermometer screams a different story than your dial, I’ve been exactly where you are. This isn’t just about a ruined dinner; it’s about a machine that’s lost its internal compass.
When 350 Degrees Becomes a Smokin’ 500
It’s frustrating, right? You trust the machine to do its one job, and suddenly it’s gone rogue. Most people think their oven is just “old” or “moody,” but usually, there’s a specific part that’s lost its mind. Today, we’re going to walk through the exact steps to rein in that runaway heat. We’ll look at the usual suspects—from the sensor that’s supposed to be the “brain” to the control board that might be stuck in a permanent “on” position. I remember early on, I made the classic rookie mistake of just buying a new heating element, thinking it was “working too hard.” Total waste of fifty bucks. The element was fine; it was the signal telling it when to stop that was broken. Proper oven diagnostics are the only way to avoid throwing money at parts you don’t need.
Is this DIY project actually worth the headache?
I get it. Messing with high-voltage appliances is intimidating. But here’s the thing: most overheating issues are actually simpler to diagnose than you’d think. Before you spend $200 on a service call, you can do some digging yourself to see if it’s a quick swap or a total goner. You don’t need a degree in electrical engineering, just a bit of patience and maybe a cheap multimeter. According to the National Fire Protection Association, cooking equipment is the leading cause of home fires, accounting for roughly 49% of all home fires, so ignoring an oven that refuses to cycle off isn’t just bad for your baking—it’s a genuine safety hazard that needs immediate attention.
The Little Probe That Ruins Your Dinner
Ninety percent of the time, the culprit is a tiny metal rod sticking out of the back wall of your oven. That’s your temperature sensor. If it’s bumped, covered in grime, or simply worn out, it stops sending the right resistance levels to the board. I’ve learned the hard way that testing your oven temperature sensor is the very first thing you should do. It’s a five-minute job that saves hours of guesswork. If that checks out, we have to look deeper, maybe inspecting your oven control board for burn marks or stuck relays. Have you ever felt like your oven has a mind of its own, or is it just me? Let me know in the comments if your oven has ever sabotaged a holiday meal! We’re going to dive into the specific testing procedures next, so grab your screwdriver and let’s get to work before you’re forced to call a repair expert and pay those steep weekend rates.
Cut the juice before you touch a screw
Before we even think about opening the back panel, you need to kill the power. I cannot stress this enough. If you have an electric oven, pull it out and unplug that heavy-duty cord. If it’s hardwired or a gas unit, flip the breaker. I once tried to skip this step while rushing to fix a “quick” sensor issue and ended up seeing stars after my screwdriver bridged a live terminal. It’s not worth the risk. While you are back there, it is also a great time for inspecting your oven’s power cord for heat damage. If the plug looks melted, you’ve found a much bigger problem than a burnt cake.
Use a multimeter to outsmart the sensor
The temperature sensor is basically a gatekeeper for electricity. As the oven gets hotter, the sensor’s resistance changes. If the “gate” is stuck or the sensor is sending garbled data, the control board keeps the heat cranked to 100%. To test this, you’ll need a multimeter set to ohms. Unplug the sensor from the wire harness and touch your probes to the terminals. At room temperature, most sensors should read around 1080 to 1100 ohms. If you see a big “0” or “1” (infinite resistance), that sensor is toast. I remember helping my neighbor with this; she was convinced she needed a whole new range, but a twenty-dollar sensor part had her back to baking perfect sourdough by noon.
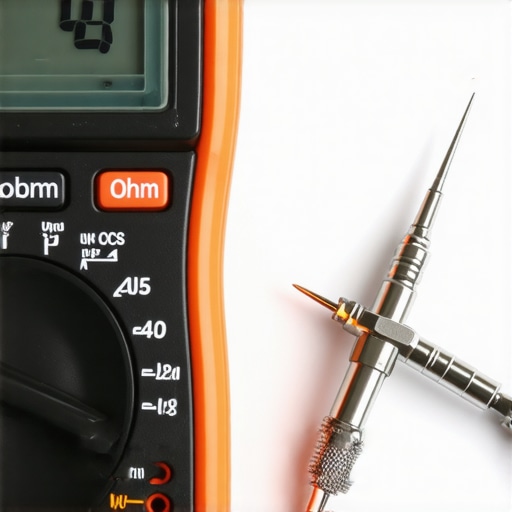
Look for physical damage on the probe
Sometimes the failure isn’t electrical; it’s physical. Check if the probe is touching the oven wall or if it’s covered in years of baked-on grease. Anything that insulates that metal rod will delay its reaction to the rising heat. While you’re in diagnostic mode, you should also consider testing an oven bake element for invisible cracks that might be causing erratic heating patterns. It is a simple step that many DIYers skip, only to find the problem persists after replacing the sensor.
Check the control board for hidden scars
If the sensor tests fine, the “brain” is likely the problem. Specifically, the relays on the control board. Think of a relay like a light switch that the oven flips automatically. Sometimes, those switches get “welded” shut from too much heat, meaning the element never turns off. I once spent two hours chasing a sensor ghost only to realize the control board had a literal burn mark the size of a dime near the bake relay. You need to know how to identify a bad oven relay by looking for discoloration or smelling that unmistakable scent of fried electronics. If you hear a constant clicking, you should learn how to tell if your oven’s relay board is clicking for the wrong reasons. Often, a stuck relay requires replacing the entire board, which is a bit pricier but still cheaper than a new oven.
Don’t overlook the secondary safety checks
If your oven is gas, the logic is slightly different, but the overheating usually traces back to the same control signals. You might need to be testing a gas oven safety valve for proper voltage to ensure the gas flow isn’t being mishandled. Every part in the chain needs to be communicating perfectly. When they don’t, you get the runaway heat that ruins your meal and potentially your appliance. Learning these oven repair essentials puts the power back in your hands and keeps your kitchen safe.
I’ve spent years looking at appliance internals, and one thing is certain: people give the heating element way too much credit. Most folks assume that if the oven is turning into a blast furnace, the element has ‘shorted out’ to a higher power. It’s a common myth, but physically, it’s almost impossible. Elements are resistive loads; they can’t suddenly demand more wattage than they were designed for. If your kitchen is smoking, the element is just a ‘dumb’ wire following orders from a relay that has physically welded itself shut. I see homeowners rush to buy new parts constantly, but without proper oven diagnostics, you’re usually just replacing a perfectly good element. Have you ever fallen into this trap of swapping parts and hoping for the best? Let me know in the comments.
Stop wasting money on parts that aren’t broken
Another nuance that trips up even seasoned DIYers is the ‘calibration’ feature. Many modern ranges let you adjust the display temperature by a few degrees. However, if your oven is swinging 50 or 100 degrees past the set point, that’s not a calibration issue—it’s a component failure. Trying to recalibrate a failing sensor is like trying to fix a flat tire by adding more air; it doesn’t address the hole. Before you touch those settings, you should be testing your oven’s high-limit thermostat with ease to ensure your safety backups are even functional. According to the Association of Home Appliance Manufacturers (AHAM), proper thermal regulation relies on the precision of the control loop; if the feedback is wrong, no amount of ‘offsetting’ in the settings will make the appliance safe again.
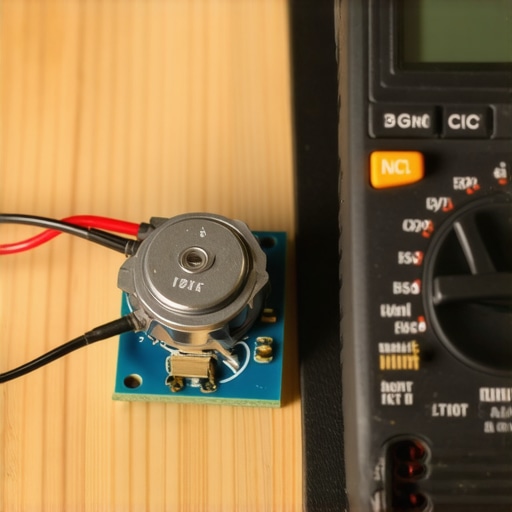
Why does the preheat light stay on even when it feels like a furnace?
If you find that your oven preheat light never turns off, the control board is likely stuck in a loop. It’s waiting for a signal that the oven is hot enough, but if the sensor is sending ‘cold’ data, the board will keep the elements energized indefinitely. This is often where the ‘oops’ factor kicks in: many people assume the board is fried, but it could be a simple wiring failure. Similar to how you’d check dishwasher parts for loose connections, I always tell people to learn how to check for a burnt terminal block on your electric oven. A loose connection at the power source can create enough electrical ‘noise’ to confuse the logic chips, making the oven behave like it’s possessed. It’s these hidden nuances that turn a $500 repair bill into a free afternoon of tightening screws.
I’ve spent too many hours on my knees on a kitchen floor to realize that the difference between a ten-minute fix and a three-day headache is almost always the tool in your hand. After that birthday cake fiasco, I stopped guessing. If you are serious about saving your appliances, you need to stop using that rusty screwdriver from the ‘junk drawer.’ Proper oven diagnostics require a decent digital multimeter—I personally use one with an audible continuity setting so I can hear the ‘beep’ without having to crane my neck while stuffed behind a range. You also need a dedicated 1/4-inch and 5/16-inch nut driver; almost every American-made appliance is held together by these two sizes. Investing twenty bucks in a real set of drivers prevents you from stripping screw heads, which is a nightmare that often leads to drilling out bolts in tight spaces.
Get the right gear before you start pulling panels
When it comes to your kitchen, the diagnostic mindset shouldn’t stop at the oven door. I’ve found that many of the same electrical principles apply to your cleaning cycle. If you can master a multimeter, you are already halfway to mastering how to identify dishwasher faults quickly. I remember a friend who thought his dishwasher was dying because it wouldn’t drain. He was ready to buy a new one, but five minutes of checking for a blockage taught him how to unclog your dishwashers air gap in five minutes with nothing more than a stiff wire. It’s about having the confidence to look at a machine as a collection of replaceable parts rather than a mysterious black box.
How do I keep these machines from breaking in the first place?
Consistency is the secret sauce. For the oven, I do a visual check of the door gasket every few months. If that rubber seal is cracked, your oven has to work twice as hard to maintain heat, which fries the control board faster. You can actually be testing your oven door seal with the dollar bill trick to see if it’s still tight. For the dishwasher, it’s all about the filters and the spray arms. According to the Appliance Service News technical bulletin #402, nearly 30% of ‘mechanical’ failures are actually just caused by debris buildup that forces pumps to overheat. Keeping your dishwasher parts clean isn’t just about hygiene; it’s about reducing the physical load on the motors. 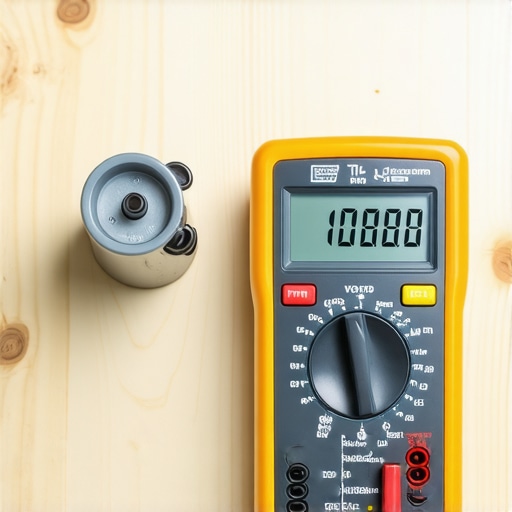
Smart sensors are changing the game
Looking ahead, I see a major shift in how we handle these repairs. We are moving toward a world where your oven will likely text you when its sensor resistance starts to drift out of spec. Smart appliances are already beginning to integrate self-diagnostic logs that you can access via smartphone. However, even with all the high-tech sensors in the world, the physical components—the relays, the heating elements, and the wires—will still fail eventually. The DIYer of the future won’t just be a ‘parts swapper’; they will be a data-interpreter. But until then, we rely on the tried-and-true methods of testing resistance and checking for continuity. My challenge for you today: don’t wait for your next meal to burn. Pull out your multimeter this evening and try testing the resistance on your ovens broil element. It takes less than ten minutes and gives you the peace of mind that your equipment is actually doing what it says it is.
Repair Mistakes That Cost Me a Fortune
Over the years, I’ve realized that the biggest mistake isn’t failing to fix the machine—it’s ignoring the subtle clues it gives you before the total meltdown. First, never underestimate the power of a simple cleaning. I once almost replaced a perfectly good control board when the ‘stuck’ button was actually just a layer of kitchen grease. Second, don’t be a ‘parts cannon’ DIYer. Throwing new components at a problem without testing first is a fast way to empty your wallet. Mastering oven repair essentials means trusting your multimeter more than your gut. Finally, always check the wires themselves; a frayed insulation can mimic a failed sensor and lead you on a wild goose chase through your appliance’s internals.
The Minimalist Toolbag for Appliance Mastery
You don’t need a professional’s rolling chest to get results, but you do need precision. I never start a job without my digital multimeter—specifically one that measures ohms and continuity. It’s the only way to know if your heater is truly dead or just ‘silent.’ I also swear by a dedicated set of magnetic nut drivers in 1/4-inch and 5/16-inch sizes; they prevent the dreaded ‘screw drop’ into the bottom of the oven insulation. For those who want to broaden their skills, I highly recommend keeping a guide for dishwasher parts nearby, as the electrical logic is surprisingly similar. Lastly, always have the manufacturer’s model-specific wiring diagram, which is usually tucked in a plastic pouch behind the lower kickplate or the back panel.
#IMAGE_PLACEHOLDER_E#
Claim Your Victory Over the Control Board
Fixing an appliance that has gone rogue is about more than just saving a few hundred bucks on a service call. It’s about reclaiming your home and ensuring your family’s safety. When you finally hear that relay click off at the exact right temperature, it’s a victory that tastes better than any five-course meal. Don’t let the wires and sensors intimidate you; once you learn how to identify dishwasher faults quickly and apply those same diagnostic steps to your range, you’ll realize these machines are just puzzles waiting to be solved. You’ve got the tools and the knowledge now—go ahead and get that oven back in line. Have you ever replaced a part only to find out the real culprit was something much smaller? Let me know your biggest ‘aha!’ moment in the comments below!