I was standing in my kitchen at 2 AM, staring at my range like it was a ticking time bomb. The staccato click-click-click was rhythmic, almost like the machine was trying to send me a frantic message in Morse code. I ignored it for a week, telling myself it was just the thermostat doing its job. Boy, was I wrong. That simple sound was actually the death rattle of my control board, and my ignorance ended up costing me a whole lot more than just a single relay. If you are hearing that same persistent rhythm every time you preheat, you need to know what is happening behind that digital display before you find yourself searching for oven repair essentials. Today, I am going to help you decode those sounds so you do not make the same expensive mistake I did. We are diving deep into the difference between a healthy cycle and a failing component. Have you ever been halfway through baking a birthday cake only to have your oven start acting like a percussion instrument?
Stop Ignoring That Persistent Rhythmic Clicking
A relay is basically an electrically operated switch. In a healthy oven, you should hear a solid click when the bake or broil element kicks on, and another when it reaches temperature and shuts off. It is a sign of life. But when those clicks become rapid-fire or happen when the oven is not even in use, you have got trouble. I once spent three hours testing the resistance on my oven’s broil element only to realize the element was perfectly fine—the relay board just could not talk to it anymore. According to the repair experts at RepairClinic, a relay that chatters or clicks repeatedly is often suffering from worn-out internal contacts or a failing capacitor on the control board, which prevents the voltage from remaining steady. It is a common point of failure that many DIYers overlook while they are busy pinpointing faults elsewhere.
Is a noisy relay board actually a fire hazard?
Most people worry about their house burning down when they hear electrical noises, and that fear is not entirely misplaced. While a clicking board usually just leads to an oven that will not heat, a relay that welds itself shut can keep an element energized indefinitely. This is why you must know how to identify a bad oven relay on the control board early on. If you start smelling something like burning plastic along with the noise, you need to pull the range out and inspect your oven control board for burn marks immediately. Trust me, catching this early is the difference between a cheap fix and a total appliance replacement. Before you start panicking and calling a pro, let us look at the specific symptoms that separate a minor glitch from a total board failure.
Hunt Down the Scorch Marks First
Before you start ordering expensive replacement parts, you need to see the damage for yourself. Most relay failures leave a physical trail. I remember the first time I pulled the back panel off my GE range; I was so focused on the clicking that I almost missed the faint, silvery-grey smudge on the plastic casing. That smudge was actually vaporized solder. If you want to save yourself a headache, you must inspect your oven control board for burn marks with a flashlight and maybe even a magnifying glass. Look at the soldered joints on the back of the board, specifically where the black rectangular boxes—the relays—are mounted. If the solder looks melted or if the green circuit board is charred, the relay has been arcing. Arcing is like a tiny lightning storm inside your oven’s brain, and it usually means the internal switch is physically failing. Thinking of your control board like a traffic cop helps: when the cop is exhausted and starts waving everyone through at once, you get a pile-up. In oven terms, that pile-up is a blown fuse or a runaway heating element.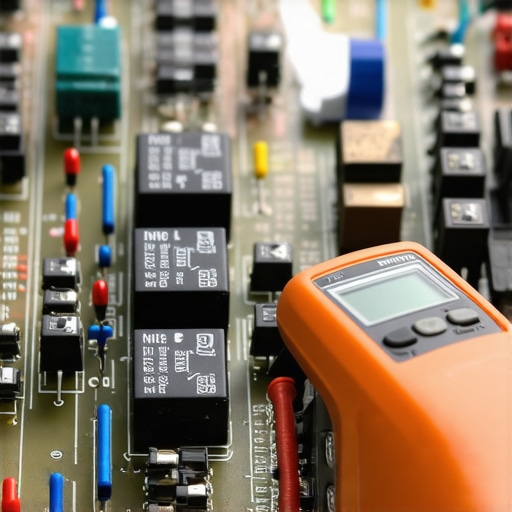
Does Your Multimeter Agree With the Clicking?
If the board looks clean but the noise persists, it is time to get clinical. A clicking sound means the relay is trying to close, but it does not mean it is successfully passing voltage. This is where your diagnostic skills really come into play. Just as you would use a comprehensive guide to DIY diagnostics for a dishwasher that won’t drain, you need a systematic approach here. Set your multimeter to the ohms setting. You are looking for continuity across the relay contacts when they are energized. If the relay clicks but you get an ‘OL’ (Open Loop) reading, the internal contacts are toasted. I once spent a whole afternoon chasing a ghost in my wiring, only to find that the relay was clicking perfectly but the internal copper plate had snapped. It felt like a win to finally find it, but a loss that I had wasted so much time not identifying the bad oven relay immediately. This step is non-negotiable because a clicking relay can sometimes be a symptom of a weak power supply on the board rather than the relay itself.
Don’t Forget the Sensor and Element Check
Sometimes the clicking is just the control board reacting to bad data from elsewhere. If your oven is constantly clicking on and off, it might be because it thinks it has already reached the target temperature. You should try testing your oven temperature sensor without calling a pro to ensure it is sending the right resistance signals back to the brain. If the sensor is telling the board it is 500 degrees when it is actually 75, the board will frantically click the relay to shut off the heat. Furthermore, physically check your oven’s bake element for tiny blisters. A failing element can occasionally cause irregular draws that stress the relay. While you are at it, it is a good idea to perform oven diagnostics on the wiring harness. A loose spade connector at the element can cause the relay to cycle rapidly as it struggles to maintain a steady current. When I worked on my neighbor’s oven last summer, we found a mouse had chewed just enough insulation off a wire to cause an intermittent short, making the control board sound like a machine gun. A bit of electrical tape and a new sensor saved them from a $300 board replacement. Always start with the small stuff before you commit to the big oven repair essentials.
Stop Throwing Money at Your Control Board
Most DIY guides tell you that a clicking relay is a death sentence for the entire assembly. I am here to tell you that is a half-truth that keeps appliance manufacturers in business. The secret nuance many pros will not mention is that the relay is often the victim, not the villain. If you have already started oven diagnostics, you need to look at the filter capacitors nearby. A failing capacitor creates electrical ripple that prevents the relay from holding its position, causing that frantic chattering sound. It is the same logic we use when identifying a bad dishwasher circulation motor by the sound; sometimes the component is not dead, it is just starving for steady power. Do not just swap the board and hope for the best; you might be treating the symptom rather than the disease. 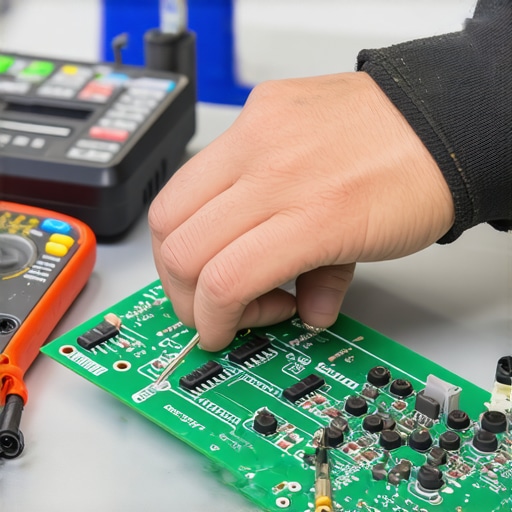
The Static Discharge Trap
The biggest ‘oops’ factor I see with home repairs is the lack of ESD (Electrostatic Discharge) protection. You can kill a three-hundred-dollar part before you even plug it in just by the static on your fingertips. I have seen enthusiasts successfully identify a bad oven relay, order the replacement, and then fry the sensitive microprocessors during installation because they worked on a carpeted floor. It is like replacing the dishwasher soap dispenser assembly and forgetting the gasket—you have solved one problem but created a much more frustrating one. Always ground yourself to the appliance frame before touching any green circuitry.
Can a Loose Power Cord Mimic a Dying Control Board?
It sounds overly simple, but your wall outlet is a major player in this drama. According to data from the Major Appliance Technical Training & Certification (MATTC) program, nearly 20% of control boards returned as defective actually have zero hardware faults. The real culprit is often a loose neutral wire or a scorched terminal block where the cord connects to the range. When the connection is weak, the voltage drops the moment the heating element demands power, causing the relay to drop out and click repeatedly. Before you commit to oven repair essentials, you must inspect your oven control board and the terminal block for signs of heat. If the plastic around the power cord screws is melted, you found your ghost. It is a similar headache to fixing a dishwasher that won’t start after a power surge; the damage is often at the point of entry, not the brain of the machine. Have you ever fallen into this trap and replaced a part only to find the problem persisted? Let me know in the comments below.
Ditch the Cheap Tools and Buy a Real Multimeter
To graduate from a frustrated homeowner to a confident DIYer, you need more than just a screwdriver set. I spent years using a ten-dollar hardware store multimeter before I realized it was giving me ‘ghost’ readings that didn’t exist. Now, I swear by the Fluke 117 because of its LoZ (Low Impedance) feature. This specific function prevents false readings caused by phantom voltage, which is common in tightly packed appliance wiring. If you are serious about oven repair essentials, you need a tool that tells the truth. A reliable meter is just as important when you are using a guide to dishwasher parts and DIY diagnostics to find a shorted heating element. Without precise resistance data, you are just guessing, and guessing is how you end up buying a three-hundred-dollar control board you didn’t actually need.
How do I maintain my oven’s digital brain over time?
Long-term maintenance is really about heat management and cleanliness. Most control boards fail because they get baked by the very heat they are trying to regulate. To prevent this, ensure your oven’s cooling fan is clear of dust; a clogged intake can raise the ambient temperature behind the display by thirty degrees. Also, stop using the self-cleaning cycle if your range is over five years old. The extreme 900-degree heat is notorious for blowing thermal fuses and melting solder joints on the relays. You are better off testing your oven’s high limit thermostat with ease every year to ensure the safety cutoffs are actually responsive. According to the National Electrical Manufacturers Association (NEMA) technical report ICS 2-2021, even microscopic oxidation on silver-plated relay contacts can increase electrical resistance significantly, eventually leading to the catastrophic ‘clicking’ failure we discussed earlier. Keeping the area behind your range dry and well-ventilated is the best way to fight this invisible corrosion. 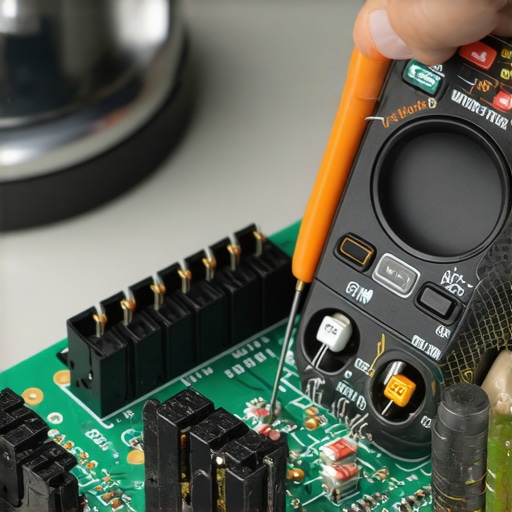
Your Smartphone Is About to Become a Part of the Machine
The world of home repair is shifting toward smart diagnostics. We are moving away from listening for clicks and toward apps that can read error codes via sound or NFC. I predict that within the next five years, every mid-range appliance will have a built-in ‘Health Monitor’ that alerts your phone before a part actually fails. We already see shades of this when you perform oven diagnostics on modern LG or Samsung units. This technology will eventually make it much easier to decide when to stop diying and call an oven repair expert. Until then, you have to be the computer. For example, don’t just wait for a total failure; proactively test your oven bake element for hidden cold spots using an infrared thermometer during a standard preheat. If you see a twenty-degree variance along the coil, that element is on its way out. You can also quickly replace a faulty oven light switch while the panels are off to keep everything in top shape. I strongly recommend trying the ‘Paper Test’ tonight: slide a single sheet of paper into your closed oven door; if it pulls out without resistance, your gasket is failing, and your control board is working double-time to compensate. Take five minutes to check that seal before your next big bake.
The Expensive Shortcuts I’ll Never Take Again
After years of tinkering, I’ve learned that the fastest way to double your repair bill is to buy parts based on a hunch. One of my biggest lightbulb moments was realizing that a clicking relay is often just the messenger, not the criminal. I once replaced a board three times before realizing a loose wire at the terminal block was starving the system of power. Always verify voltage before you condemn a component. Another hard-learned truth: your oven is a high-heat environment, and vibration is the enemy. Every time you open the back panel, check for loose screws and spade connectors. Even a slightly wobbly connection can create the electrical noise that mimics a failing board. Finally, never underestimate the power of a simple visual check. Before I even reach for a tool, I inspect my oven control board for burn marks because 90% of the time, the damage is staring you right in the face.
The Gear That Separates Amateurs from Pros
If you want to move beyond the “swap and pray” method, you need a few non-negotiables in your toolbox. I personally trust the Fluke 117 Multimeter because it filters out ghost voltages that can lead to misdiagnosis. Beyond the meter, an infrared thermometer is a game-changer when you are testing your oven temperature sensor without calling a pro. It lets you see exactly where the heat is (or isn’t) without opening the door. I also highly recommend keeping a dedicated grounding strap in your kit. One static pop can turn your repair into a total loss. These aren’t just gadgets; they are the oven repair essentials that give you the confidence to tackle complex circuitry without the fear of making things worse.
Master Your Kitchen’s Mechanical Brain
There is a unique kind of satisfaction that comes from hearing that single, clean click of a relay and seeing the orange glow of a bake element spring to life. You don’t have to be an electrical engineer to keep your appliances running; you just need patience and a systematic approach to oven diagnostics. Remember that your oven is a tool, and you are its master. By taking the time to decode these rhythmic warnings, you are saving money and keeping a perfectly good machine out of the landfill. However, keep your safety first—know when to stop diying and call an oven repair expert if the problem involves internal gas valves or complex wiring harnesses that seem beyond your comfort zone. Have you ever successfully tracked down a clicking sound in your oven, or did you find a different surprise behind the control panel? Let me know in the comments below!