I remember the exact moment I realized my oven was lying to me. I had just finished scrubbing the racks until they shone like new money, yet the second I turned the dial to 400 degrees, a nasty, acrid smell filled the kitchen. It wasn’t the pizza. It wasn’t the pan. It was coming from underneath the floor. I stood there, oven mitts on, staring at a perfectly clean interior while smoke wafted out of the side vents like a signal fire. That’s the curse of the modern hidden bake element. It looks sleek, but it’s basically a secret basement where crumbs go to die—and then catch fire. If you’ve noticed your gas oven smells like kerosene when preheating or just reeks of old burnt toast, you aren’t crazy. You just have a debris problem you can’t see.
Stop Ignoring the Smoke Under Your Oven Floor
Most of us assume that if we can’t see the burner, we can’t clean it. I made that exact mistake for years. I figured as long as I wiped the spills off the bottom panel, I was golden. But gravity is a relentless jerk. Grease and tiny food particles find their way through the seams and vent holes, piling up right on top of the burner assembly. This doesn’t just smell bad; it actually forces your oven to work harder, wasting energy and potentially leading to an invisible clog in the gas orifice. According to the Association of Home Appliance Manufacturers, even a thin layer of carbonized residue can significantly impact the heat distribution and efficiency of your appliance. Today, I’m going to show you how to pull that floor panel up safely so you can clear out the junk before it ruins your next meal. We’re going to tackle oven repair essentials that any homeowner can handle with a screwdriver and a little bit of patience.
Is Tearing Your Oven Apart Actually Worth the Risk?
I get it. You’re worried you’ll unscrew something and never get it back together, or worse, cause a gas leak. I felt the same way until I realized that knowing when to stop diying and call a pro is usually a decision made after you’ve tried the basic maintenance. Cleaning a hidden burner isn’t ‘tearing it apart’—it’s just opening the hood of the car to check the oil. Have you ever looked at those vent slits and wondered what’s growing down there, or are you just waiting for the smoke alarm to tell you it’s time to clean? Let’s get into the nitty-gritty of how to do this safely.
Safety First or No Pizza Later
First things first: cut the power and the gas. You do not want a surprise shock or a gas leak while your head is physically inside the appliance. I learned this lesson the hard way years ago when I tried to nudge a spark igniter back into place while the oven was still plugged in. A small zap is a fantastic way to spill your coffee and ruin your entire morning. Once you have confirmed everything is cold and disconnected, pull out the racks and set them aside. If you are struggling with the fit or they are warped, you might consider choosing the correct replacement rack for an older oven to make this easier next time.
Diving Into the Crumb Graveyard
Look at the very back of the oven floor. Most modern models have two hex-head screws holding that bottom panel in place. Use a nut driver or screwdriver to remove them, then lift the back edge of the panel slightly. You will need to slide the entire floor toward the back of the oven to unhook it from the front lip. When I finally pried mine up, I found a literal ‘treasure trove’ of carbonized peas and what I am fairly certain was a fossilized tater tot from three Super Bowls ago. That little potato puck had turned into a piece of charcoal and was the sole culprit behind the acrid smoke. This is the ultimate moment for oven repair essentials because the burner assembly is now completely exposed and vulnerable. 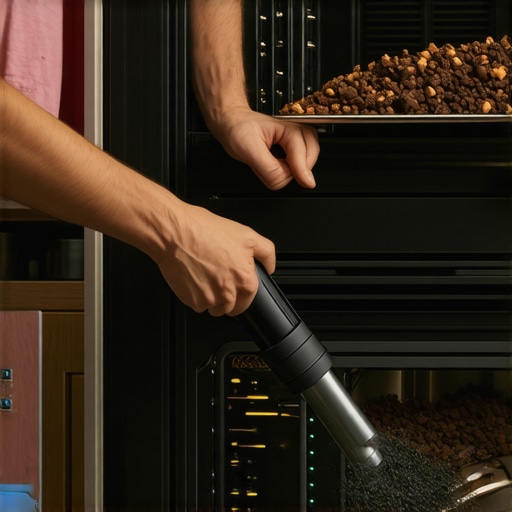
Give Your Burner Room to Breathe
With the floor panel out, grab a shop vac. Do not use your expensive house vacuum for this unless you want it to smell like a campfire for a month. Suck up every loose bit of debris sitting on the burner and the oven base. While the area is clear, check the burner tube itself for blockages. If you have noticed that your gas oven flame looks lazy and yellow, the tiny holes in the burner are likely partially clogged with grease. Use a stiff nylon brush—avoid wire brushes as they can accidentally enlarge the holes—to clear the ports. This is also a prime opportunity to inspect your oven power cord for heat damage if you have an electric unit, or to look for an invisible clog in the gas orifice. If your igniter looks caked in white residue, that might be why your gas oven igniter clicks but the burner doesn’t light. Give it a very gentle wipe with a dry cloth to restore the connection. When reassembling, ensure the floor panel is seated perfectly flush. If it is crooked, you might find that your oven door glass is scorching hot to the touch because heat is escaping where it shouldn’t.Let’s dig deeper into the logic of why we often fix things that aren’t actually broken. The most common myth in modern appliance repair is that a digital error code is a definitive diagnosis. It’s not; it’s a symptom. When people see a flashing light, they immediately start looking for how to fix an oven error code by replacing the most expensive part they can find—the control board. But in my experience, and backed by data from the Association of Home Appliance Manufacturers (AHAM), the majority of ‘board failures’ are actually just sensor ‘drift’ or poor terminal connections. Before you drop $300 on a new brain for your stove, you need to master oven diagnostics like a professional would.
Don’t Blame the Control Board First
I’ve seen countless homeowners get frustrated when diagnosing an f3 error code only to find that the new board didn’t fix a thing. Why? Because the temperature sensor (RTD) was simply covered in a layer of grease or had a slightly loose wire. This is the ‘Oops’ factor of DIY: replacing the messenger instead of the problem. If you don’t see literal scorch marks when you inspect your oven control board for burn marks, there is a very high chance the board is fine and your multimeter is about to save you a fortune.
How Can You Tell if a Sensor Is Lying to You?
The secret lies in resistance. You need to stop guessing and start measuring. By testing your oven temperature sensor with a multimeter set to ohms, you can compare the reading to the manufacturer’s spec sheet. If it’s even slightly out of range, the oven thinks it’s already at 500 degrees when it’s actually stone cold. I recommend learning a few multimeter tricks for diagnosing a dead control board before you click ‘buy’ on that replacement part. 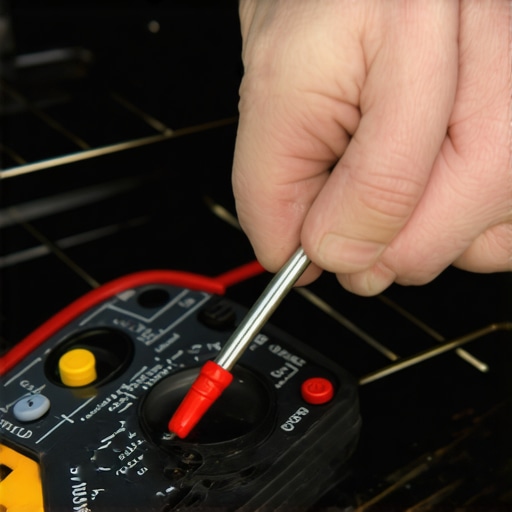
The Hidden Trap of Heat and Metal
Here is the nuance most people miss: appliances breathe. Not like we do, but through thermal expansion. A common mistake I see involves over-tightening screws after a repair. When that metal heats up, it needs to expand. If you’ve cranked a screw down too tight on a heating element bracket or a rack support, you’re practically asking for it to snap or strip the threads over time. This is why you often find yourself needing to know how to replace a stripped dishwasher rack screw or dealing with rattling components. Keep things snug, but don’t play ‘strongman’ with the screwdriver. This same logic applies to your dishwasher; if you’ve recently had to test the resistance on your dishwasher heating element, ensure the mounting nuts aren’t crushing the tub gasket too hard. Have you ever fallen into the trap of replacing a massive part only to find it was a tiny loose wire? Let me know in the comments.
Once you’ve successfully avoided the control board trap, you start to realize that maintenance isn’t just about fixing what’s broken—it’s about preventing the next failure before it starts. I’ve found that the logic we use for ovens scales perfectly to other heavy hitters in the kitchen. For instance, if you can troubleshoot a gas orifice, you can definitely handle identifying dishwasher faults quickly before your kitchen floor becomes a swimming pool. The mindset is the same: look for the simple physical blockages before you assume the computer is fried.
Why a Cheap Multimeter Is a Dangerous Gamble
If you’re going to get serious about oven diagnostics or any electrical repair, you need a decent multimeter. I used a ten-dollar bargain bin special for years until it gave me a false ‘open’ reading on a perfectly good bake element. I almost threw away a $50 part because of a $10 tool. Now, I swear by my Fluke 117. It has a ‘LoZ’ mode that prevents ghost voltages from giving you a heart attack. When you are testing the dishwasher float switch for continuity, you need a tool that doesn’t lie. Technical documentation from the National Fire Protection Association (NFPA) emphasizes that improper testing equipment is a leading cause of misdiagnosis and electrical hazards in home repairs. Accuracy isn’t just about convenience; it’s about safety.
How do I keep my appliances alive for a decade?
The secret isn’t some magic spray; it’s a schedule. Every six months, I pull my dishwasher apart. I’m not talking about a full teardown, but I make sure to clean the hidden debris under the dishwasher filter where seeds and glass shards like to hide. While I’m down there, I check for any signs of wear on the rubber components. It is much easier to replace a worn-out dishwasher detergent dispenser seal when you notice it’s slightly brittle than it is to deal with it after it has leaked all over your hardwood. For the oven, I do a quick check of the seal. If you’re finding the right part number for an oven door gasket now, you’re saving yourself from a massive energy bill later this winter.
The Future of Your Smart Kitchen
We are moving toward an era where your oven will probably email you when its igniter is getting weak. Manufacturers are leaning heavily into ‘predictive maintenance’ via Wi-Fi connectivity. However, I predict this will actually make our DIY skills more valuable, not less. As systems get more complex, the ‘smart’ sensors will fail just as often as the mechanical parts. Having a comprehensive guide to dishwasher parts in your back pocket will be the only thing standing between you and a $200 ‘service fee’ just for a technician to reset a sensor. Don’t let the touchscreens intimidate you; underneath the glass, it’s still just heat, water, and electricity. I challenge you to grab your multimeter this weekend and check your dishwasher’s float switch—it takes five minutes and could save you from a flood next month.
Small Mistakes That Taught Me Everything About Diagnostics
If there is one thing a decade of fixing my own stoves has taught me, it is that the most expensive part is rarely the one that actually broke. I used to think a dead display meant a dead appliance, but usually, it is just a loose wire or a bit of corrosion. My biggest lightbulb moment came when I stopped trying to ‘solve’ the problem and started just looking for what was dirty or loose. You would be amazed how often oven diagnostics come down to a simple cleaning rather than a complex replacement. I have spent hours chasing ghost voltages only to realize a terminal was simply oxidized. Patience is your best tool.
A Toolbox That Pays for Itself
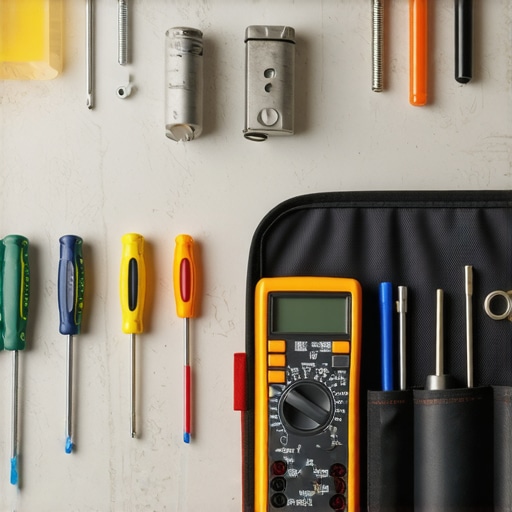
You do not need a garage full of gear to keep your kitchen running perfectly. I rely on three core items: a reliable digital multimeter (like the Fluke models mentioned earlier), a high-powered shop vacuum, and a set of stiff nylon brushes. These tools allow me to transition from checking a heating element to identifying dishwasher faults quickly without breaking a sweat. If you are just starting out, I highly recommend keeping a comprehensive guide to dishwasher parts bookmarked on your phone or printed in a drawer nearby. It turns a stressful afternoon into a manageable logic puzzle. Trusting your tools means you spend less time guessing and more time actually enjoying your home.
Your Kitchen Is Smarter Than You Think
Do not let the flashing lights and digital screens scare you away from basic maintenance. At the end of the day, these machines are just tools meant to serve you, not the other way around. When you master oven repair essentials, you aren’t just saving money—you are gaining independence from the cycle of ‘buy and toss.’ Whether you are identifying a bad dishwasher circulation motor by the sound or just clearing out carbonized crumbs from a burner, you are the one in control. Have you ever found a bizarre ‘treasure’ hidden under your oven floor during a deep clean? Tell me your funniest or weirdest discovery in the comments below!