It was Tuesday night, halfway through the ‘Heavy Duty’ cycle, when the kitchen suddenly went pitch black. The silence was deafening. I smelled that distinct, metallic, ozone-like scent of a circuit breaker giving up the ghost. I stood there in the dark, socks slightly damp from a small leak I had been ignoring, realizing my dishwasher had just declared war on my home’s electrical panel. If you’ve ever had your dishwasher trip the GFCI or the main breaker the second it hits the drying cycle, you know that sinking feeling. You aren’t just looking at a stack of dirty plates; you’re looking at a potential fire hazard. According to the National Fire Protection Association (NFPA), electrical failures or malfunctions are a leading cause of home fires, and heavy-duty appliances like dishwashers are often the primary culprits.
Stop Playing Guessing Games with Your Breaker Box
In my early DIY days, I was the king of ‘part-swapping.’ I once spent a small fortune on a control board after trying to identify dishwasher faults quickly without the right tools, only to realize the issue was a simple short in the heater. It was an embarrassing, expensive lesson that left me with a spare part I didn’t need and a kitchen that still didn’t work. Today, I want to save you from that headache. We are going to dive deep into how to figure out if your heating element has developed a ‘short to ground’—which is essentially electricity escaping where it shouldn’t. Before you go out and buy a whole new machine, we need to look at dishwasher parts and DIY diagnostics to confirm the failure. Have you ever seen your kitchen lights flicker the moment the water starts to heat up?
Is this job actually safe for a regular homeowner?
I get it. Electricity is intimidating. The idea of poking around the ‘guts’ of a machine that holds both water and high-voltage power sounds like a recipe for a bad Saturday. But here’s the secret: as long as the power is completely disconnected, you’re just measuring resistance. If you can use a kitchen scale or a thermometer, you can use a multimeter. We’ll be testing the resistance on your dishwasher heating element to see if it’s still within a healthy range or if it has leaked its current to the metal frame. Stick with me, and we’ll get this sorted out before the sink overflows with tomorrow’s breakfast dishes.
Step One: Kill the Juice Before You Touch the Guts
Before you even think about unscrewing a panel, you must verify that the power is dead. I cannot stress this enough. I once rushed into a repair on a Whirlpool and forgot that the dishwasher was on a dedicated circuit that didn’t shut off when I flipped the general ‘Kitchen’ breaker. I got a jolt that felt like a localized lightning strike, and I spent the rest of the day with a vibrating thumb. Go to your main panel, find the specific breaker for the dishwasher, and flip it to the ‘Off’ position. Once that is done, try to start a cycle. If the lights stay dark, you are safe to proceed. This is the foundation of all oven repair essentials and troubleshooting common issues when dealing with high-voltage components.
Locate the Hidden Terminals Under the Tub
To get to the heating element terminals, you generally don’t need to pull the whole machine out. Most modern units allow access through the bottom kickplate. Unscrew the two screws holding that metal or plastic guard in place. Once you’re inside, look past the mess of wires for two thick, threaded posts that poke through the bottom of the dishwasher tub. These are your element leads. Think of these posts like the ‘spark plugs’ of your dishwasher; if they aren’t getting the right flow, nothing happens. Before you test, you must pull the wires off these terminals. Use needle-nose pliers and pull by the metal connector, not the wire itself. If the wires are brittle or scorched, you might have found your problem already, similar to how you would how to check your ovens bake element for tiny blisters when it stops heating effectively.
Use a Multimeter to Expose the Truth
Now we get to the actual testing the resistance on your dishwasher heating element. Set your digital multimeter to the lowest setting for Ohms (Ω). Place one probe on each of the two terminals. You are looking for a reading typically between 15 and 30 ohms. If your meter reads ‘OL’ (Open Loop) or ‘1’, the internal coil is snapped. It is a dead circuit. 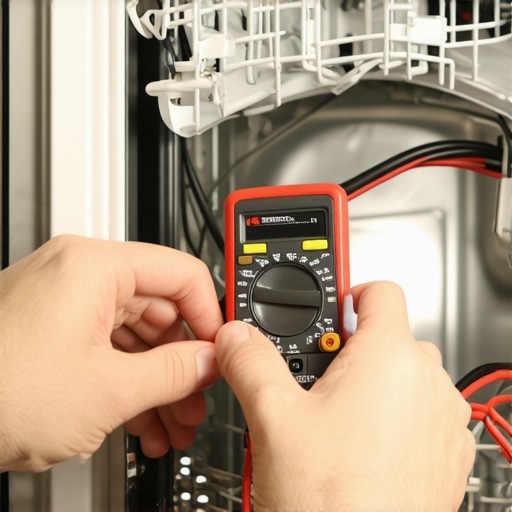 But here is the kicker: even if the resistance is perfect, the element can still be the reason your breaker is tripping. This happened to me last winter. My meter showed a perfect 22 ohms, so I spent three hours checking the thermal fuse on your dishwasher and inspecting the control board, only to realize I skipped the most important test.
Why a Ground Test is Non-Negotiable
A ‘short to ground’ happens when the protective outer casing of the element develops a microscopic crack, allowing electricity to jump to the water or the metal frame. To test this, keep one probe on a terminal and touch the other probe to the metal frame of the dishwasher or the green ground wire. Your meter should show no movement (OL). If you get any numerical reading at all, even a tiny one, the element is ‘leaking’ current. That leak is what tells your GFCI or breaker to shut down the party. It is a safety feature doing its job. If you find a leak, you need to dive into dishwasher parts and DIY diagnostics to find the exact replacement part for your model number. Checking this early prevents you from chasing ghosts in the wiring harness for hours.Even when your meter shows a perfect reading, you aren’t necessarily out of the woods. Most DIYers believe that a single ‘pass’ on a resistance test means the element is healthy, but in my experience, that is exactly when you should start digging deeper. We often overlook the physics of thermal expansion. A heating element is a coil of wire encased in ceramic and metal; when it gets hot, it physically expands. I have seen dozens of elements that test perfectly fine while cold but develop a ‘ghost short’ the moment they reach operating temperature. This is where the frustration begins, as your dishwasher might run for twenty minutes before suddenly killing the lights. If you are tired of the cycle never finishing, you might be dealing with why your dishwasher cycle takes hours longer than usual because the heater is struggling to stay consistent.
Don’t Fall for the Control Board Replacement Trap
The most expensive mistake I see people make is assuming a tripping breaker means a dead control board. It is a common myth that the ‘brain’ is the first thing to fry. In reality, the board is usually just the messenger. Before you drop $200 on a new module, you must how to inspect your oven control board for burn marks or localized damage. If the board looks clean, your problem is almost certainly downstream in the high-draw components like the heater or the pump motor. According to research from the National Association of Service Technicians (NASTeC), a significant percentage of control boards returned as ‘defective’ actually have zero faults; the real issue was a pinched wire or an intermittent heater short that the technician failed to catch. 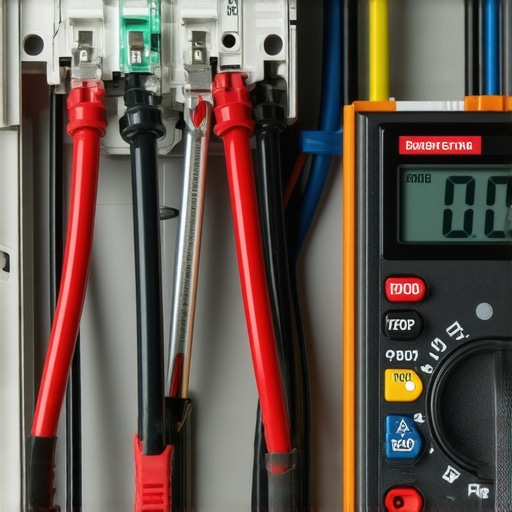
Can a failing element actually destroy other parts of the machine?
This is the advanced question every homeowner should ask. The answer is a resounding yes. If you ignore those tiny flickers or the occasional breaker trip, you are playing Russian roulette with your appliance. A ‘leaking’ element can send a surge back through the wiring harness, eventually melting the plastic connectors or even how to identify a bad oven relay on the control board that was never designed to handle that kind of stray voltage. It turns a $30 repair into a $400 disaster. This is why trying to identify dishwasher faults quickly is about more than just convenience—it is about asset protection.
The Secret ‘Dry Test’ Most Techs Keep to Themselves
If you suspect an intermittent short but your meter says everything is fine, try the ‘insulation resistance’ test. While the dishwasher is empty and dry, use your multimeter on its highest Megohm setting to check for any continuity between the terminals and the frame. Even a reading of 5 or 10 Megohms—which many would consider ‘infinite’—is a red flag for a high-voltage component. Water and electricity are a volatile mix, and as you learn more about dishwasher parts and DIY diagnostics, you realize that ‘good enough’ is never good enough for a machine that sits in your kitchen. If you ever feel like you’re in over your head, knowing when to stop diying and call an oven repair expert or appliance pro can save your sanity and your house. Have you ever fallen into this trap of replacing a perfectly good part only to find the problem was a hidden short? Let me know in the comments below.I don’t just use any multimeter when I’m under a sink. I use a Fluke 117. Why? Because when you’re dealing with intermittent shorts, you need the ‘AutoVolt’ and ‘LoZ’ features to prevent ghost voltages from lying to you. If you’re serious about oven diagnostics pinpointing faults before calling a repair expert, you need a tool that doesn’t just beep, but actually tells the story of the current. One thing I’ve noticed in a decade of fixing my own gear is that these elements don’t just die of old age; they die of neglect. Hard water is the silent killer. When calcium builds up on that metal sheath, it creates ‘hot spots.’ The heat can’t escape into the water efficiently, so the metal gets brittle and eventually cracks. You’ll start seeing that why your dishwasher leaves a chalky film on all your dishes, which is your first warning sign. If you aren’t clearing hard water deposits from dishwasher interior walls every few months, you’re basically asking that element to burn itself out.
My Secret Weapon for Electrical Gremlins
High-quality tools are an investment, not an expense. A cheap meter might give you a ‘pass’ on a cold element, but it lacks the precision to catch a leakage of 0.5 milliamps. According to technical service manuals from GE Appliances, specifically regarding their Calrod-style heaters, maintaining proper water flow is actually the most important ‘cooling’ mechanism for the element. If your spray arms are clogged, the element can overheat in seconds, leading to localized metal fatigue. This isn’t just about the dishwasher either; applying these diagnostic habits is exactly how to test an oven broil element using a simple ohmmeter when your dinner won’t cook. 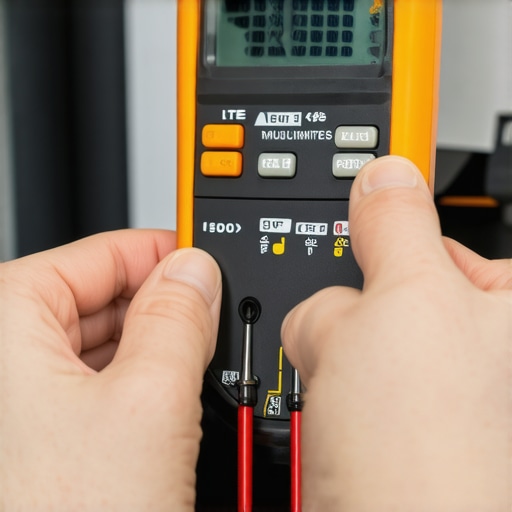
Keep the Scaly Monster Away from Your Heater
We are entering an era of ‘Right to Repair’ where manufacturers are being pushed to make parts more accessible, but they are also making them more complex. I predict that in the next few years, we will see ‘smart elements’ with built-in thermistors that shut down before they can trip a breaker. Until then, the best defense is a proactive offense. Use a citric acid-based cleaner once a month. It’s cheap, it’s safe, and it keeps the scale from insulating your heater against its own environment.
How do I keep my dishwasher from becoming a giant paperweight?
Long-term maintenance isn’t just about cleaning filters. It’s about checking the ‘High Limit’ thermostat. Just like when you are testing your ovens high limit thermostat with ease, the dishwasher has a safety switch that should cut power if things get too hot. If that switch fails or becomes ‘lazy,’ your heating element is the next thing to go. I recommend a ‘Dry Run’ every six months. Empty the machine, run a cleaning cycle, and then re-verify your resistance while the element is still warm. If the resistance jumps more than 5-10% from its cold state, the internal coil is likely on its way out. If you’ve got a weird error code or a terminal that looks melted, contact us or a local pro before the wiring harness melts. My advanced tip for you: next time the machine is open, look at the push-on connectors at the heater. If they aren’t shiny and tight, snip them off and crimp on new, high-temp nickel-plated terminals. It’s a $2 fix that prevents a $200 failure.
Why Your Multimeter Might Be Lying to You
After years of wrestling with electrical gremlins, I’ve realized that standard tests don’t always tell the whole story. Here is some insider wisdom from the front lines of appliance repair. First, remember that heat changes everything. An element that shows 22 ohms on your counter might expand and touch the metal frame once it hits 150 degrees. If you’re testing the resistance on your dishwasher heating element and it passes while cold, try the test again immediately after a failed cycle while the part is still warm. Second, visual inspections are critical; look for hairline cracks in the ceramic coating. If you see even a tiny black speck, electricity is likely finding a way out through that breach. Lastly, check the ‘tightness’ factor. Many elements are victims of loose spade connectors that create localized heat, which eventually melts wires and trips your breaker before the element itself actually fails.
A Few Secrets to Keep the Repairman Away
You don’t need a van full of parts to be successful, but you do need the right strategy. For those who want to master oven diagnostics pinpointing faults before calling a repair expert or dishwasher troubleshooting, I recommend investing in a multimeter with a ‘Low Impedance’ (LoZ) mode to filter out ghost voltages that lead to false readings. I also swear by using citric acid cleaners once a month; clearing hard water deposits from dishwasher interior walls is the single best way to prevent the scale buildup that causes heaters to crack. #IMAGE_PLACE_HOLDER_E# Finally, always locate the manufacturer’s technical data sheet—usually tucked into the base of the machine—as it contains the exact ohm specifications for your specific model.
Stop Fearing the Spark and Start Fixing
Repairing your own appliances can feel like a high-stakes gamble, but once you understand how to safely isolate the problem, the mystery vanishes. Whether you are trying to identify dishwasher faults quickly or tackling a complex electrical short, remember that systematic testing is your best safety gear. If you ever hit a wall and feel overwhelmed by the wiring, it is perfectly okay to learn when to stop diying and call an oven repair expert to ensure your home stays safe. You have the tools, the data, and the steps to get those dishes clean again without a call to the local electrician. Have you ever replaced a major part only to find out the real issue was just a loose screw or a bit of lime scale? Let me know your most surprising repair find in the comments below!