There I was, standing in a puddle of lukewarm, soapy water at 11 PM on a Tuesday. My dishwasher wasn’t just failing; it was screaming. It sounded like a bag of gravel in a blender, and honestly, I thought the whole machine was headed for the landfill. I’d just finished a big family dinner—lasagna night, the worst for dishes—and the last thing I wanted was a sink full of grease. I made a classic rookie mistake back then: I assumed the entire motor had seized and went ahead and ordered a $200 replacement assembly without even taking a peek inside. I spent way too much money because I didn’t know that a tiny, ten-dollar plastic fin—the impeller—was the only thing actually broken. Today, I’m going to save you from that same headache and show you why that loud grinding noise might just be a simple fix that you can handle with basic tools. [image_placeholder]
That Horrible Screeching Isn’t the End of Your Machine
Most people panic when they hear their dishwasher struggle. They hear a hum or a rattle and immediately start shopping for a new unit at the big-box store. But if you take a moment to identify dishwasher faults quickly, you’ll realize the motor itself is usually a workhorse. It’s the impeller—the little spinning fan that pushes water through the spray arms—that takes the most abuse. It hits stray toothpicks, cherry pits, and shards of broken glass that somehow bypass the filter. Over time, those plastic fins chip or the hub strips out, leaving you with a motor that spins but moves zero water. Before you go crazy and pull the whole unit out, you need to know the difference between a drain pump and a circulation pump, because we are diving deep into the heart of the wash cycle today. The drain pump just gets the dirty water out; the circulation pump is the engine that actually cleans your plates. If your dishes are coming out dirty and bone-dry, you’re almost certainly looking at an impeller issue. Have you ever been told you need a whole new dishwasher by a repairman when it was just a small part acting up?
Is this tiny plastic part actually worth the DIY hassle?
You might think it’s easier to just swap the whole motor. It’s not. In fact, replacing the whole assembly often involves more wiring and plumbing than just popping a new impeller on the existing shaft. According to a report by The Repair Association, approximately 30% of appliance replacements could be avoided by simply replacing a ‘consumable’ component like an impeller or a seal. I used to think DIY was just for people with too much time, but after seeing the signs of a dying circulation pump firsthand, I realized that replacing just the impeller is the real ‘pro’ move. It’s faster, cheaper, and honestly, pretty satisfying once you see that water spraying like new again. We are going to get your hands a little dirty, but we’re going to keep your wallet fat and your dishes sparkling.
How to Get to the Pump Without Pulling the Whole Unit Out
Before you go ripping your dishwasher out of its cabinetry and risking a kitchen flood, there is a shortcut. Most modern dishwashers have a kickplate at the bottom—that thin metal or plastic strip near the floor. Unscrew that first. You can often see the circulation pump motor tucked right under the tub. However, for most impeller issues, the real action happens inside the machine. You need to clear out the bottom rack and remove the spray arms. If you notice things are wobbly before you even start, check out how to manage stopping the rattle of loose dishwasher spray arms. Once the arms are off, you’ll see the filter housing. This is where most people stop, but we’re going deeper. You need to unscrew the circular housing to reach the sump area. I remember a time I was working on a friend’s machine that sounded like a blender full of rocks; I was convinced the motor was toast. I spent twenty minutes just cleaning the hidden filter in the dishwasher sump and found a single, jagged shard of a broken pyrex dish wedged right against the impeller blades. Removing that piece of glass saved the pump and $150. 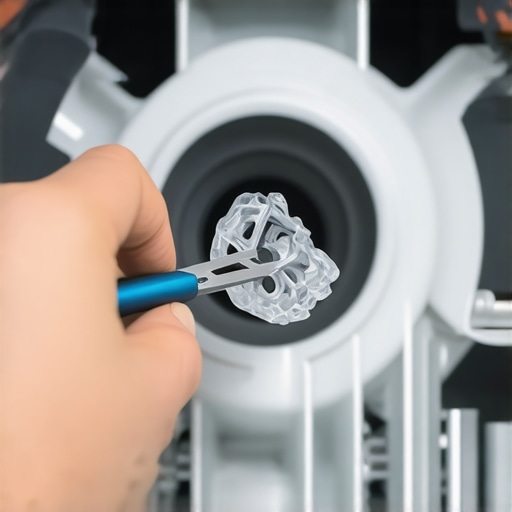
The Secret Inspection Inside the Sump
Once you have the filter assembly out, you are looking directly at the top of the impeller. It looks like a tiny, multi-vaned fan. Take a flashlight and look for chips or cracks in those plastic fins. If the fins look perfect but the motor just hums, you might be diagnosing a humming noise that points to a seized shaft rather than a broken blade. Use a long-nose plier to see if the impeller spins freely. If it feels ‘notchy’ or won’t move at all, something is jammed in the volute (the housing around the fan). This is the critical moment in identifying dishwasher faults quickly: if you can’t clear the debris with pliers, the impeller needs to come off. Be careful here; the screw holding the impeller is often reverse-threaded, meaning you turn it clockwise to loosen it. I once snapped a motor shaft by torquing it the wrong way because I didn’t check the manual first.
Popping the New Impeller Into Place
If the old impeller is melted or the center hub is stripped, it won’t grip the motor shaft anymore. This is why you hear the motor spinning but see no water movement. When you get your replacement part, ensure it matches your model perfectly by checking a comprehensive guide to DIY dishwasher diagnostics. Slide the new impeller onto the shaft, ensuring the seals (the O-rings) are seated perfectly. A misaligned seal is a recipe for a slow drip that will eventually rot your subfloor. Use a bit of food-grade silicone grease on the seal if it feels tight. Once the impeller is snug, reassemble the housings in the exact reverse order. While you’re in there, it’s the perfect time for clearing debris from under your dishwasher filter to ensure the new part doesn’t get immediately trashed by a stray toothpick. Spin the impeller one last time with your finger to make sure it doesn’t rub against the housing before you put the spray arms back on.The common wisdom in the DIY world is that if an appliance doesn’t turn on or move water, you’ve naturally got a blown motor or a snapped heating element. But in my years of tinkering, I’ve found that a ‘dead’ machine is often just a victim of a five-dollar safety part. Before you drop serious cash on a heavy replacement pump, you should spend five minutes checking the thermal fuse on your dishwasher before buying a new one. It’s a tiny gatekeeper that kills all power if the internal temperature spikes. If you bypass this simple diagnostic step and swap the motor, the new motor won’t spin either because the fuse is still tripped. That’s a two-hundred-dollar mistake for a ten-dollar fix. I’ve seen people literally throw away perfectly good machines because they didn’t understand this hierarchy of failure. A study by the Association of Home Appliance Manufacturers (AHAM) indicates that nearly 25% of parts returned by DIYers as ‘defective’ are actually perfectly functional—the fault was elsewhere in the circuit. This is why oven diagnostics pinpointing faults before calling a repair expert is the most valuable skill you can develop. You have to learn to hunt for the ‘phantom’ failures that hide behind big parts. 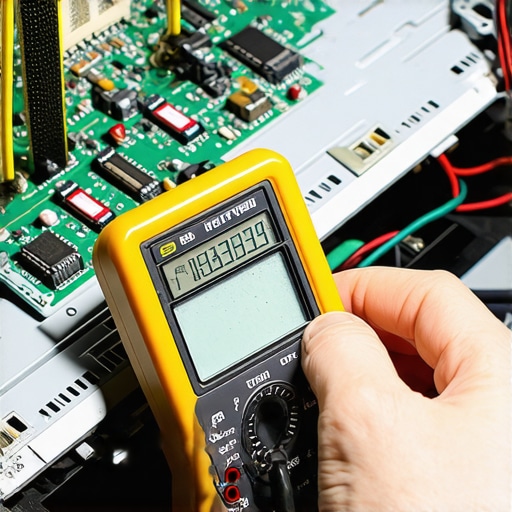
Why does my oven igniter glow if it isn’t working?
This is the ultimate advanced trap that catches even seasoned hobbyists. You peek into the oven, see that bright orange glow, and think, ‘Okay, the igniter is hot, so the gas valve must be stuck.’ You then spend a fortune on a safety valve you don’t need. The nuance here is that igniters are resistance-based; as they age, they can still glow beautifully but fail to pull the specific amperage (usually 3.2 to 3.6 amps) required to snap the gas valve open. You need to know how to replace a glowing but faulty oven igniter rather than assuming the gas system is the culprit. If you don’t have an amp-clamp multimeter, you’re just guessing.
The Tiny Burn Mark That Trashes Your Entire Repair Plan
Always inspect the control board with a magnifying glass and a high-lumen flashlight. I am dead serious about this. You can use 5 multimeter tricks for diagnosing a dead control board, but your eyes are often your best tool. Look for ‘cold’ solder joints or a single charred resistor the size of a grain of rice. If you are struggling with how to tell if your oven control board is actually fried, don’t just look for a massive fire—look for that slight brown discoloration on the green lacquer. That tiny heat signature is the smoking gun. Have you ever fallen into this trap and replaced a massive, expensive part only to find the problem was a tiny sensor? Let me know in the comments below.It’s one thing to find a burnt resistor, but it’s another to have the gear that makes finding it effortless. I don’t go anywhere without my auto-ranging digital multimeter that can measure microamps. Why does that matter? Because if you are testing a gas oven safety valve for proper voltage, a cheap, uncalibrated meter might give you a ghost reading that leads to a wrong diagnosis. According to Appliance Service News, professional technicians lose an average of 45 minutes per call when using low-grade diagnostic equipment. I’d rather invest in a high-quality meter once than pull my hair out over a false positive while trying to figure out how to identify a bad oven relay on the control board. Having the right tools isn’t just about speed; it’s about the confidence to know your diagnosis is dead-on.
How do I keep my dishwasher running like new for years?
Maintenance isn’t just about wiping down the door; you have to tackle the invisible buildup that chokes the motor. Once a month, I run a heavy-duty cycle with a bowl of white vinegar on the top rack to dissolve calcium. If you ignore this, you’ll eventually find yourself clearing hard water deposits from dishwasher interior walls with a plastic scraper—a job that is as tedious as it sounds. Also, keep an eye on your sprayers. I’ve seen homeowners replace entire pumps when they just needed to spend ten minutes cleaning mineral buildup from dishwasher spray nozzles with a toothpick. It’s the small, consistent habits, like clearing debris from a dishwasher check valve without tools, that prevent the motor from working twice as hard as it was designed to. 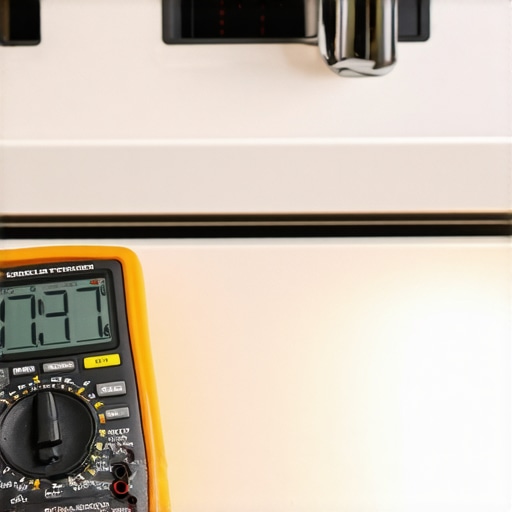
Stop your oven from failing before the holidays
Ovens are generally simpler than dishwashers, but they are far more unforgiving when they fail. If you start noticing the bottom of your cakes are charcoal while the top is raw, you should be checking your oven’s bake element for tiny blisters. Those little bubbles on the heating coil are the precursor to a full-on electrical blowout. I always keep a spare temperature sensor in my tool bag because testing your oven temperature sensor without calling a pro is the single easiest way to solve those ‘mysterious’ baking failures that ruin dinner. While you are at it, make sure you understand the oven repair essentials troubleshooting common issues with parts so you aren’t caught off guard when a simple igniter goes out.
Predicting the future of your home appliances
We are rapidly entering the era of ‘predictive failure.’ Newer machines are starting to integrate vibration sensors and onboard AI to alert you that an impeller is about to snap before it actually stops the machine. While this sounds like a dream, it often makes DIY repair more complex because the software can be locked behind a paywall. My advice is to master the mechanical basics now. Learn how to handle identifying dishwasher faults quickly while you can still turn a wrench on your own machine. If you’re ever in doubt about a specific error code or a strange noise, don’t be afraid to contact us for a second opinion before you start tearing apart the mainboard. Try this today: Grab your phone, turn on the flashlight, and look for those tiny blisters on your bake element. It takes thirty seconds and could save you from a kitchen fire.
We have covered a lot of ground, from screaming impellers to glowing igniters that just won’t light the flame. But the real skill in appliance repair isn’t just knowing how to turn a wrench; it is knowing how to listen to what the machine is telling you. [image_placeholder]
Lessons I Paid For in Late-Night Kitchen Floods
Over the years, I have learned that the loudest part is rarely the one that actually killed the machine. One of the hardest truths is that cleaning is 90% of the battle; I have seen dozens of ‘broken’ pumps that just needed a hair tie removed from the housing. Another lightbulb moment for me was realizing that symptoms overlap. For example, a dishwasher that won’t start could be a latch, a fuse, or a board. If you learn how to identify dishwasher faults quickly, you stop being a ‘part-swapper’ and start being a technician. Finally, never trust a ‘new’ part blindly—always test it out of the box. I once spent three hours troubleshooting a circuit only to find the brand-new replacement heating element was DOA.
The Shortlist of Tools That Actually Make a Difference
You do not need a truck full of equipment to keep your kitchen running. I personally trust an auto-ranging digital multimeter more than any other tool in my bag because it removes the guesswork from oven diagnostics pinpointing faults before calling a repair expert. Along with a good meter, keep a tube of food-grade silicone grease and a set of nut drivers handy. For those moments when the electronics seem possessed, these 5 multimeter tricks for diagnosing a dead control board are my secret weapon for finding ‘ghost’ failures in the relay logic. I also recommend bookmarking a solid guide on oven repair essentials troubleshooting common issues with parts so you have a roadmap when things get complicated.
Your New Journey as the Family Fix-It Expert
There is a unique kind of pride that comes from hearing your dishwasher hum quietly after a week of rattling, or seeing your oven hit the perfect temperature for a holiday roast. You have the tools, the logic, and the resources to handle dishwasher parts and DIY diagnostics like a pro. Don’t be afraid of the grease or the complex wiring; every machine was put together by a human, which means it can be fixed by one too. The next time something fails, don’t reach for your credit card to buy a new unit—reach for your multimeter instead. Which part of your dishwasher or oven has been giving you the most trouble lately—the loud grinding noises or the inconsistent heating? Let me know in the comments below!