There I was, standing in front of the glass door with a tray of what should have been golden-brown birthday biscuits, but instead, they looked like pale, sad dough pucks. I had the dial set to 425 degrees, just like the family recipe demanded, but twenty minutes later, absolutely nothing was happening. It is a sinking feeling—that sudden realization that your most trusted kitchen appliance is essentially lying to your face. For years, I just assumed I was losing my touch or that the weather was affecting my dough, until I finally stuck a manual thermometer in there and realized the truth: my oven was running exactly 50 degrees colder than the digital display claimed. It felt like a betrayal. If you are tired of adding fifteen minutes to every baking time or serving chicken that is dangerously pink in the middle, we are going to stop the guesswork today. I will show you how to pinpoint whether you are dealing with a simple calibration issue or if you need to look into oven repair essentials to get your kitchen back on track.
Does a basic thermometer actually tell the whole story?
You might be skeptical because you bought a high-end range and expect it to be perfect. The hard truth is that many ovens, even the fancy ones, can be off by quite a bit straight from the factory. According to research by Consumer Reports, oven temperatures can fluctuate significantly during a cycle, and a 50-degree gap is often the threshold where baking becomes a total disaster. I made a huge mistake early in my DIY journey by thinking I could just feel the heat with my hand. I wasted hours—and a lot of expensive organic butter—trying to compensate manually instead of just calibrating the oven properly with a real tool. Trust me, your hand is not a multimeter.
The Real Science Behind That Frustrating Temperature Gap
This isn’t just about the clock; it is about the chemistry of your food. Baking is a precise science, and when your heat source is weak, the proteins do not set and the sugars never caramelize. Before you start shopping for a brand-new range, you need to look at the small stuff. Often, it is just a matter of checking the temperature sensor. This tiny metal probe is the brain of your unit. If it is dirty, touching the wall, or simply failing, it feeds the control board bad data. Have you ever noticed your cakes coming out lopsided or totally raw in the center despite the timer going off? Let me know in the comments if your oven has been gaslighting you lately! I remember spending an entire weekend trying to fix an oven that bakes unevenly, only to find out the sensor was just slightly out of position. If you have been doing your own oven diagnostics, you know how frustrating it is when the solution feels hidden. But once you realize the fix might be as simple as testing the sensor resistance, you will feel like a total hero.
The first thing you have to do is get your hands on a multimeter. Think of this tool as your oven’s translator; it turns electrical silence into a clear answer. If your oven is fluctuating, we need to speak the language of resistance. Start by pulling your oven away from the wall and unplugging it—safety is not negotiable here. You are looking for the temperature sensor, which usually looks like a thin metal rod poking out of the back wall. Once you disconnect the wire harness, you can perform testing an oven temperature sensor with just a multimeter to see if it is still within the manufacturer’s specified range. If that number is off, your sensor is essentially giving the control board bad directions, leading to those half-baked biscuits I mentioned earlier.
How to Tell if Your Heating Element is Lying to You
Sometimes the sensor is fine, but the muscle of the operation—the heating element—is tired. I once spent two hours stripping down a wall oven because the temperature was erratic. I had my multimeter ready to go, thinking it was a complex electrical failure. It turned out that a piece of burnt-on lasagna from three months prior was insulating the sensor probe, and the bottom element was physically starting to split. A simple wipe-down and an element swap fixed it. Always start with a visual inspection before you dive into deep oven diagnostics pinpointing faults before calling a repair expert. Look closely at the coil; if you see any bright spots or bubbling, you are likely seeing why your oven heating element is blistering and about to break. A blistered element is a ticking time bomb for your dinner plans.
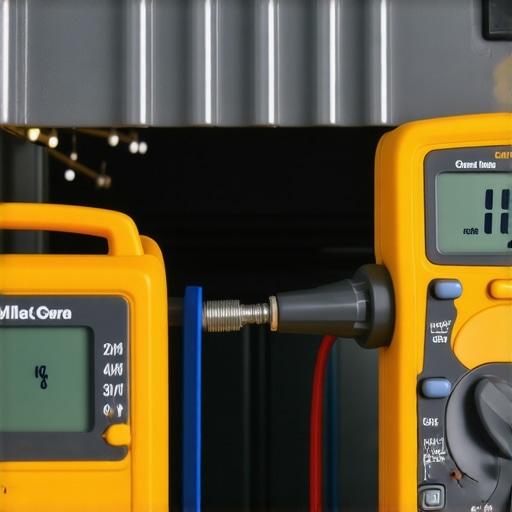
If the elements look pristine, you need to shift your focus to the heat you are losing. It does not matter how hard your oven works if the heat is escaping through the front door. Check the gasket for tears, but more importantly, check the mechanical tension. If your door does not pull tight against the frame, you should be replacing worn out oven door springs for a tighter seal. You can also look at the hinges; it is vital to know how to spot a failing oven hinge before the door drops and causes a much more expensive repair. A slight gap of even an eighth of an inch can cause your oven to cycle the elements constantly, leading to that annoying situation why your oven temperature drops randomly during baking.
When the Brain of the Oven Goes Dark
If the sensor is accurate and the elements have continuity, the problem might be the motherboard. This is where things get pricey, so you want to be sure. Before blaming the board, always check the safety fail-safes. This involves how to test your ovens thermal fuse for continuity. If the fuse is blown, the oven will not heat at all, or it might cut out midway through a cycle to prevent an actual fire. If the fuse is fine, you are likely identifying the difference between a faulty oven sensor and a bad board. Just like in modern dishwasher parts a comprehensive guide to diy diagnostics, if the sensor sends the right signal but the component does not activate, the relay on the control board has probably failed. Don’t let the complexity scare you; once you know which part is at fault, the actual replacement is usually just a few screws and a plug.
Many people believe that an appliance repair is a straight line: see a problem, buy a part, and fix the problem. But I have learned the hard way that this is rarely the case. The contrarian truth is that the part itself is often a victim, not the criminal. If your dishwasher is not cleaning, do not immediately buy a new motor. Often, it is just simple debris. Using a simple trick for clearing your dishwasher spray arm holes with a toothpick can save you a $200 service call and hours of frustration. We tend to over-complicate things because we assume expensive machines must have expensive, complex problems, but the reality is usually much more mechanical.
The biggest trap for any DIYer is the ‘looks right’ purchase. You see a part online that looks identical to yours, but the serial number is one digit off. This is a massive mistake, especially when finding the correct replacement drain pump for your specific dishwasher model. Manufacturers frequently change internal specifications mid-year without changing the external appearance of the machine. If the resistance or the wattage is even slightly off, you might end up frying your expensive control board rather than fixing your leak. Always verify the specific revision of your model number on the appliance frame, not just the front of the manual.
What happens when the diagnostic codes lead you astray?
Modern appliances try to help us with digital error codes, but they can be incredibly misleading. An ‘F3’ error might suggest a temperature sensor is out of range, but it could actually be a communication error on the wiring harness or a loose terminal. According to a technical report by the Association of Home Appliance Manufacturers (AHAM), a significant percentage of returned ‘defective’ parts are actually perfectly functional—the repairer simply misdiagnosed the source of the failure. This usually happens when the multimeter step is skipped. For instance, if you are how to identify a weak gas valve in your wall oven, you have to understand that the valve requires a very specific amperage to open. If your igniter is old and weak, it might still glow bright red but fail to pull enough current to trigger the valve. You would assume the valve is broken, but the igniter is the actual ghost in the machine.
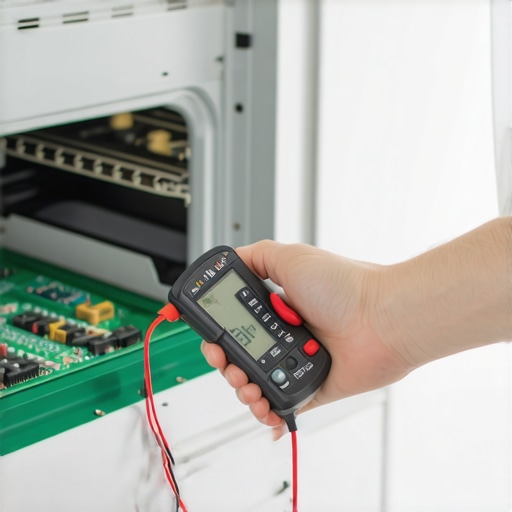
Before you throw in the towel and call a junk removal service, remember that the brain of your appliance is often more resilient than you think. Instead of a full, costly replacement, look into how to tell if your oven control board is repairable. Sometimes a simple solder joint has cracked due to years of heat expansion and contraction. By diving deep into parts and diagnostics how to identify dishwasher faults quickly, you move from being a frustrated ‘part swapper’ to a true home technician. Have you ever fallen into the trap of replacing the same part twice because you missed the root cause? Let me know in the comments!
To move from a guesser to a pro, you need to upgrade your toolkit beyond the basic screwdriver. I personally swear by a digital multimeter with a ‘min/max’ recording feature. When I am neck-deep in oven diagnostics pinpointing faults before calling a repair expert, being able to see the absolute peak of a voltage spike tells me if a relay is sticking or if the heating element is just drawing too much current. Cheap meters often give ghost readings that lead you to buy parts you do not need. If you are serious about saving your appliances, invest in a meter that handles auto-ranging; it saves you from blowing fuses while you are trying to find the ground. This precision is vital because, as I have found, most DIY failures come from bad data, not bad intentions.
The One Tool That Stops the Guesswork for Good
Beyond the meter, a set of flexible nut drivers and a telescopic mirror are your best friends. There is nothing more frustrating than knowing exactly which screw is loose but not being able to reach it because it is tucked behind a heat shield. This is especially true when you are working through dishwasher parts a comprehensive guide to diy diagnostics. If you cannot see the spike in current when the pump kicks in, you are just guessing. I also keep a small bottle of high-temp thread locker nearby. Vibrations from a heavy-duty convection fan or a high-speed dishwasher motor can rattle even the tightest factory screws loose over time. Taking ten seconds to secure a bolt now prevents a rattling noise from becoming a catastrophic mechanical failure six months down the line.
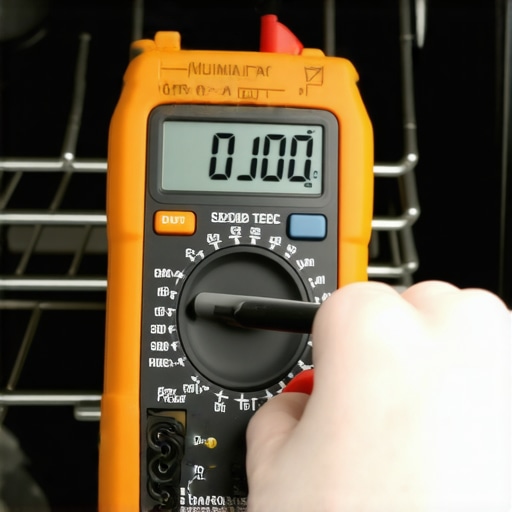
A study by the Appliance Standards Awareness Project (ASAP) highlights that even a minor seal leak or a miscalibrated sensor can increase energy consumption by 15%, proving that maintenance is as much about your wallet as it is about convenience. When you ignore that slight hiss from the oven door or the extra ten minutes the dishwasher takes to finish, you are essentially paying a tax to the utility company for your procrastination. I predict that in the next five years, we will see more appliances with built-in ohmic sensors that alert your phone before a part even fails—predictive maintenance is the next frontier for the smart home technician.
How do I maintain my dishwasher and oven over time?
Consistency is the secret sauce here. For your dishwasher, the best way to clean a greasy dishwasher filter is not just about hygiene; it is about pump longevity. If the pump has to fight through a layer of old bacon grease and calcium buildup, the motor will burn out years ahead of its time. I make it a habit to check the filter every Sunday night. For the oven, stop using the high-heat self-clean cycle. It sounds like a great feature, but the extreme heat is the number one killer of control boards and thermal fuses. Instead, stick to manual cleaning and regularly check your heating elements for those tiny blisters I mentioned earlier. Using the trick to unclogging dishwasher spray arm holes with a toothpick is another five-minute job that ensures your water pressure stays high enough to actually blast off the lasagna from your plates. If you keep these small habits, you will rarely find yourself needing a full session of oven repair essentials troubleshooting common issues with parts.
I want you to try something today: go into your kitchen and check the resistance of your oven sensor while the unit is cold. Even if it is working perfectly, knowing its ‘healthy’ baseline resistance will make it ten times easier to spot a failure when it eventually happens. This proactive approach is what separates the masters from the people who end up buying a whole new stove because a $20 part went bad. By mastering parts and diagnostics how to identify dishwasher faults quickly, you are taking control of your home’s most expensive systems.
The Hardest Lesson I Learned About Broken Circuits
One thing I have learned after years of tinkering is that machines do not actually hate you—they just follow a rigid, often misunderstood logic. If you treat every repair like a puzzle rather than a chore, the frustration melts away. First, remember that wiring issues often mimic part failures. I have seen people replace perfectly good sensors when the actual culprit was a loose terminal vibrating against the frame. Second, never underestimate the power of a clean connection. A little bit of oxidation can throw off a reading just enough to trigger a false error. Third, your ears are just as important as your meter. If you hear a faint hum that was not there last week, your dishwasher is trying to tell you something before it fully quits. If you have ever wondered how to test a gas oven igniter with a multimeter, you know that the numbers tell the real story, not just the glow.
My Essential Toolkit for Home Diagnostics
You do not need a professional workshop to handle oven repair or water issues, but a few specific items will save you hours of head-scratching. I always keep a high-quality digital multimeter in my top drawer; it is the only way to be 100% sure a component is dead. I also recommend bookmarking the dishwasher parts a comprehensive guide to diy diagnostics on your phone so you can reference it while you are under the sink. Finally, keep a small brush and some specialized contact cleaner handy—sometimes the repair is just removing ten years of kitchen grease from a plug. Trusting your tools means you no longer have to trust your luck.
#IMAGE_PLACE_HOLDER_E#
Your Kitchen Is Ready for a Reset
The transition from a frustrated homeowner to a confident DIYer happens the moment you realize that most appliance issues are just simple mechanical or electrical hurdles. Whether you are dealing with a machine that will not start or find that is your dishwasher float switch stuck try this quick fix, the solution is usually right in front of you once you stop guessing. Do not let a minor setback like why your oven light bulb keeps exploding stop your momentum. You have the knowledge and the strategy now to keep your home running smoothly without an expensive service call. Have you ever felt that rush of pride when your oven finally clicks on after a long repair? Let me know about your biggest DIY win in the comments below!