I’ll never forget the morning my dishwasher tried to take out my shins. I was barely awake, reaching for the handle to slide in a single coffee mug, and the second I let go, the door didn’t just lower—it plummeted. It hit the floor with a bone-shaking thud that I’m sure my neighbors heard. It felt dangerously light, like the internal counterweights had simply vanished into thin air. On the flip side, I’ve visited friends whose dishwasher doors feel like they’re made of solid lead, requiring a gym membership just to pull them open. Neither is normal, and honestly, both are accidents waiting to happen. If your door is behaving like a trapdoor or a stubborn mule, it’s time to stop propping it up with your knee and actually fix the tension.
Stop Ignoring Your Dangerous Dishwasher Door Tension
A door that’s out of balance isn’t just a minor annoyance; it’s a sign that your machine’s tension system is screaming for help. Whether your door is a gravity-defier that snaps shut or a guillotine that drops like a stone, the root cause is almost always the same: the springs or cables. When I first encountered this, I made the classic rookie mistake of thinking I could just adjust the hinges with a screwdriver while the machine was still pushed into the cabinetry. I ended up replacing a stripped dishwasher rack screw because I was working at a weird angle and lost my patience. It was a mess. You need to understand how dishwasher parts and DIY diagnostics work before you start poking around. If you ignore a door that drops too fast, you’re looking at bent hinges or, even worse, a cracked tub from the constant impact. Conversely, if it’s too heavy, you might find the door won’t stay shut properly, leading to steam leaks that ruin your expensive countertops.
Can a DIYer actually fix this without causing a flood?
Most people are terrified to touch their dishwasher because they think one wrong move leads to a lake in the kitchen. Here’s the secret: the door tension system is usually completely external to the water-carrying parts. You’re dealing with physics and springs, not plumbing. According to the experts at Consumer Reports, dishwasher door springs are under significant tension and are one of the most frequent wear-and-tear items that homeowners can safely address themselves with the right parts. Have you ever had your dishwasher door nearly crush your foot, or are you currently using your knee to prop it up while you load the bottom rack? Identifying these dishwasher faults quickly is the best way to prevent a minor spring issue from turning into a full-blown dishwasher door hinge cable replacement project. We are going to walk through how to balance that door so it stays exactly where you leave it, every single time.
Accessing the Guts Behind the Cabinet
To get to the heart of the problem, you have to move the machine. Most modern dishwashers house their tensioning systems on the exterior side walls, which means you cannot reach them while the unit is tucked neatly under your countertop. Start by removing the mounting screws that secure the dishwasher to the underside of the cabinet or the side frames. You only need to slide it out about six to ten inches to see the springs and pulleys. Think of this like pulling a drawer out just far enough to see what is jammed in the back. Before you tug too hard, ensure there is enough slack in your water line and drain hose so you do not accidentally cause a leak. If you have ever had to learn how to fix an oven door that drops open too fast, you will notice the physics are remarkably similar, though dishwashers often use a more complex cable and pulley system rather than just a heavy-duty hinge spring.
Find the Notches to Regain Control
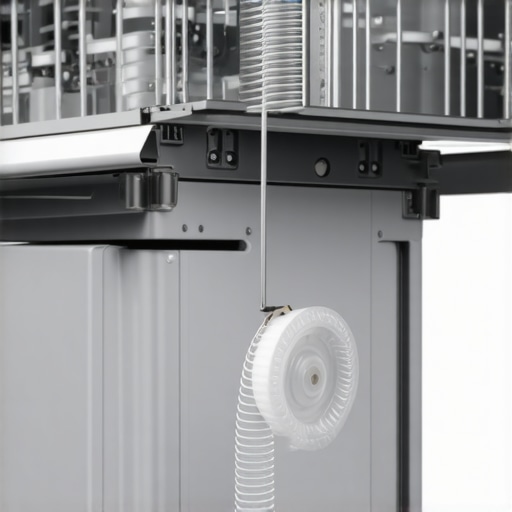
Once you have the sides exposed, you will see a thick spring connected to a plastic cable. That cable runs over a pulley and attaches to the door hinge. If your door feels like a lead weight, the spring is likely too loose or the cable has snapped. Most manufacturers provide a series of notches or holes at the back of the frame where the spring hooks. By moving the hook to a further notch, you increase the tension, making the door feel lighter and preventing it from crashing into your shins. I remember my first attempt at this. I had the dishwasher halfway out of the cavity, balancing it on a stack of scrap wood because I did not want to disconnect the drain line. I reached for the spring with a pair of pliers, and just as I pulled, the tool slipped. The spring didn’t just snap; it sang a high-pitched note and launched itself into the dark void behind my cabinets. I spent forty minutes fishing for it with a magnet. That is when I learned that dishwasher parts and DIY diagnostics require a steady hand and enough clearance to actually see what you are doing. If I had just taken the time to clear the area properly, I would not have been swearing at a metal coil in the dark.
Test the Hover to Ensure a Perfect Balance
The goal is a ‘neutral’ door. You want to be able to open the door to a 45-degree angle and have it stay there without falling further or snapping shut. If the door still wants to dive, move the spring back one more notch. If it snaps shut with enough force to eject a coffee mug, you have gone too far and need to dial it back. While you have the sides open, it is a great time to check for fraying. If you see the white string looking fuzzy, you are looking at a future dishwasher door hinge cable failure. A quick inspection now saves you from a total breakdown next month. Sometimes, the issue isn’t even the tension but the friction; learning how to lubricate sticky oven door hinges safely can actually give you a few pointers on how to handle the pivot points on your dishwasher to keep everything moving smoothly. When you finally find that sweet spot where the door hovers perfectly, you have mastered the most important part of the repair. Identifying these dishwasher faults quickly keeps the appliance working for years instead of ending up in a landfill because of a simple five-cent plastic pulley.
The Hidden Friction Myth That Ruins Hinges
Most DIY guides suggest that if the door falls, you simply need a tighter spring. But here is the contrarian truth: over-tightening is actually the fastest way to kill your appliance. When you crank that tension to the max, you are putting immense lateral pressure on the dishwasher frame itself. I have seen tubs warp just enough to cause a slow, phantom leak that does not show up for months. If you are already familiar with how to identify dishwasher faults quickly, you know that the frame’s integrity is everything. Instead of just pulling the spring tighter, check the pulley path for debris or flat spots in the nylon.
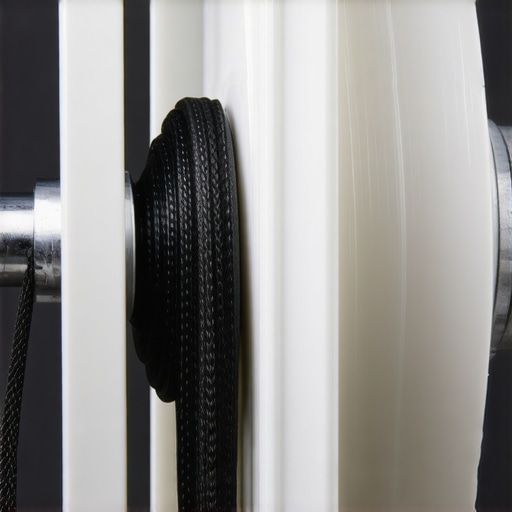
One trap I see constantly—the ‘Oops’ factor—is DIYers using petroleum-based grease on these plastic pulleys. Do not do it. Petroleum actually degrades the plastic and attracts grit, turning the assembly into a grinding wheel. According to research from the Association of Home Appliance Manufacturers (AHAM), mechanical fatigue in these sub-assemblies is often accelerated by using incorrect lubricants or over-compensating for poor leveling. You want to use a dry silicone spray or, better yet, leave them dry and clean. This same logic applies when you are pinpointing oven faults; using the wrong chemical in a high-stress area always backfires.
Can a Faulty Seal Mimic a Broken Spring?
Actually, yes. If your door seal is bulging or has come loose, it can create a ‘spring-back’ effect that makes you think the hinges are too tight. Alternatively, if the seal is compressed and hard, the door might drop because there is no longer any friction-based resistance at the top of the arc. Before you tear into the side panels, ensure you check the gasket for seated perfection and understand how to test your dishwasher float switch for continuity to rule out related sensor issues. A door that feels ‘off’ is often a symptom of the door fighting the gasket, not the springs. If the seal is the issue, you might find why your oven door won’t stay shut follows a very similar pattern of gasket interference. If you have ruled out the seal, then and only then should you start messing with the cable notches. Have you ever replaced a part only for the problem to come back a week later? Let me know in the comments below—I would love to help you figure out which nuance you might have missed.
The Multi-Meter Advantage for Pro Diagnostics
If you have checked the physical springs and the door still acts possessed, you might be looking at an electronic latch issue rather than a mechanical tension problem. This is where 5 multimeter tricks for diagnosing a dead control board can save you hours of guesswork. Sometimes the dishwasher ‘thinks’ the door is open because of a microswitch failure, causing it to vent or behave strangely during the cycle. Always remember that a dishwasher is a marriage of physics and electronics; ignoring one while obsessing over the other is how you end up buying parts you do not actually need. Mastering dishwasher parts and DIY diagnostics means looking at the machine as a whole system, not just a series of isolated springs and screws.
Once you have moved past the initial shock of a falling door, you need to transition from emergency repairs to a long-term maintenance mindset. I have spent years crawling under cabinets, and if there is one thing I have learned, it is that the quality of your work is entirely dependent on the specificity of your tools. You cannot properly diagnose a modern machine using just a rusty screwdriver and a prayer. To truly handle oven repair essentials and troubleshooting common issues with parts, you need a dedicated kit that includes a high-quality digital multimeter and a set of magnetic nut drivers. I personally recommend using a multimeter with an ‘Auto-Range’ feature; it prevents you from blowing a fuse in the meter if you accidentally test a live circuit while looking for resistance. This level of precision is non-negotiable when you are pinpointing oven faults before calling a repair expert.
How do I maintain my dishwasher’s mechanical health over time?
The secret to a door that stays balanced for a decade is surprisingly simple: keep the grit out of the pivots. Every time you load dishes, tiny particles of food and hard water minerals find their way into the hinges and pulley tracks. Over time, this creates friction that wears down the nylon cables. I make it a habit to use the fast way to clean grimy dishwasher door gaskets at least once a month, ensuring I also wipe down the lower hinge area where the ‘gunk’ tends to accumulate. If you let mold or mineral deposits build up, you will eventually need to deep clean the moldy gasket in your dishwasher door to prevent the seal from sticking and putting extra strain on those delicate springs we just adjusted.
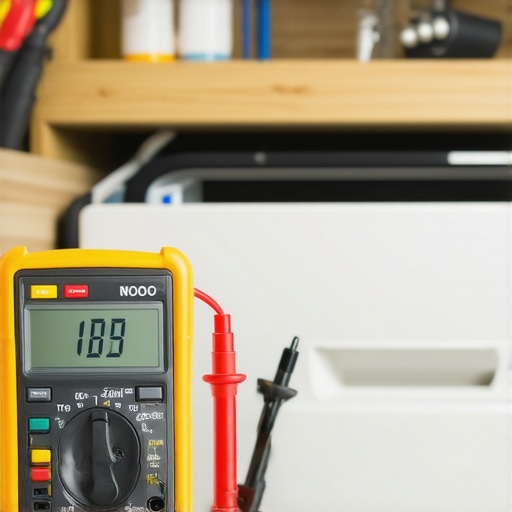
Beyond cleaning, you should be performing a ‘drop test’ every six months. Open the door halfway and let go; if it moves more than two inches in either direction, your tension needs a tweak. According to technical documentation from the National Appliance Service Technician Training (NASTeC), nearly 80% of door-related failures are actually caused by secondary friction from misaligned frames rather than primary spring breakage. This means checking your leveling legs is just as important as the springs themselves. While you are at it, use your multimeter to ensure your electrical components are holding up. I find that testing an oven broil element using a simple ohmmeter or testing the resistance on your dishwasher heating element can reveal microscopic cracks before they cause a total system failure. This proactive approach is the difference between a quick five-minute adjustment and a $400 emergency repair bill.
Why Your Next Repair Might Be Predicted by an App
Looking toward the future, the DIY landscape is shifting toward predictive diagnostics. We are already seeing high-end models equipped with load sensors on the hinge assemblies that can alert your smartphone when a spring is losing its elasticity. This trend will likely expand, turning our appliances into self-reporting systems that tell us exactly which part number to order before the door ever hits the floor. Until that becomes the standard for every household, mastering the basics of dishwasher parts and DIY diagnostics remains your best defense against appliance obsolescence. I encourage you to take the ‘Multimeter Challenge’ this weekend: pull out your machine, find the heating element terminals, and perform a 5-minute resistance check to see exactly how much life your appliance has left.
The Hard Lessons My Knee and Knuckles Taught Me
Through trial and error, I have realized that a door that slams shut isn’t always about the spring itself. Often, the plastic pulley has worn a groove into the frame, creating friction that masks the real tension. Another lightbulb moment? Always check the leveling legs first. If your dishwasher isn’t perfectly level, the door hinges will bind, making it nearly impossible to identify dishwasher faults quickly. Lastly, don’t just replace one cable; if one is frayed, the other is likely days away from snapping. Efficiency in repair is always about foresight.
My Personal Toolkit for Balancing Heavy Doors
To move beyond basic guessing, I rely on a few specific tools. First, a high-quality digital multimeter is non-negotiable for testing your dishwasher float switch for flooding issues or electrical latch faults. Second, magnetic nut drivers are a lifesaver when you’re reaching into the dark recesses of the side panels. For resources, I highly recommend keeping a digital copy of your specific service manual and cross-referencing it with oven repair essentials guides, as the physics of hinge systems are surprisingly transferable across kitchen appliances.
#IMAGE_PLACEHOLDER_E#
Claim Your Victory Over the Gravity-Defying Door
There is a unique sense of satisfaction in opening a dishwasher door and having it hover exactly where you leave it. You’ve moved from being a frustrated owner to a capable home technician. Mastering dishwasher parts and DIY diagnostics is about more than just fixing a door—it’s about taking control of your home’s mechanical health. If you run into a snag that seems insurmountable, feel free to contact us for guidance. You’ve got this.
Have you ever had a door spring snap while you were right in the middle of a repair? Share your most memorable ‘oops’ moment in the comments below!