I remember the exact moment my trusty gas range decided to stage a silent protest. It was 6:00 PM on a Tuesday, and I was midway through prepping a big pot of pasta. I turned the knob, waiting for that familiar blue ring of fire, but all I got was a rhythmic, pathetic click-click-click and the faint, unsettling scent of unlit gas. For months after that, I did what many of us do when an appliance starts acting up: I kept a long-reach BBQ lighter on the counter and played a dangerous game of manual ignition. It was frustrating, slightly terrifying, and completely unnecessary. I eventually realized that proper oven diagnostics are the only way to reclaim your kitchen’s sanity. Today, I am going to show you exactly how to swap that broken spark igniter so you can stop fumbling for matches and start cooking with confidence again.
Stop Fumbling with Lighters and Fix That Click
If your stove has reached the point where the gas oven igniter clicks but the burner doesn’t light, you are likely dealing with a hairline crack in the ceramic insulation or a simple component failure. I made a massive mistake early in my DIY journey by assuming the worst. I once spent nearly two hundred dollars on a gas oven safety valve when the real problem was just a twenty-dollar igniter that had shorted out. It was an expensive lesson in oven repair essentials, but it taught me that the smallest part is often the biggest culprit. We are going to bypass that frustration today by focusing on the one part that actually creates the spark. Replacing an igniter is a straightforward task that requires very few tools—usually just a screwdriver and a bit of patience—and it’s a job you can absolutely handle yourself in under thirty minutes.
Will I Blow Up My Kitchen Trying This?
It is the number one question I get from neighbors whenever I mention gas repairs. The fear is real, but as long as you follow the golden rule of appliance repair—unplug the power and shut off the gas valve—you are perfectly safe. According to the National Fire Protection Association (NFPA), cooking equipment is the leading cause of home fires, and using a manual lighter on a faulty gas system is actually riskier than performing a controlled part replacement. Think of it this way: a properly functioning igniter is a safety feature, not just a convenience. Have you ever found yourself cooking an entire holiday meal using a box of matches because your stove gave up? I’d love to hear your ‘manual lighting’ horror stories in the comments below. Let’s get into the nitty-gritty of how we identify the specific failure before we start pulling things apart.
Strip the Stove Down to the Bare Essentials
Before you touch a single screw, you need to treat your kitchen like a construction zone. Unplugging the unit is non-negotiable. I once thought I could skip this for a ‘quick’ look and ended up getting a nasty jolt that felt like a localized lightning strike in my elbow. It is a classic mistake in oven repair essentials that everyone makes once—and only once. Once the power is dead, reach behind the stove and turn that yellow gas lever perpendicular to the pipe. If you still smell a hint of ‘rotten eggs’ even with the valve off, you should investigate why your gas oven smells like raw gas before you go any further. Safety is not just a buzzword; it is the difference between a successful fix and a call to the fire department.
Kill the Power and Gas First
Turning off the utilities is the foundation of any DIY project. When I was first learning about dishwasher parts and diagnostics, I learned the hard way that water and electricity do not mix, and gas is even less forgiving. Do not just turn the knob to ‘off’; pull the plug. If your outlet is behind the stove and impossible to reach, flip the breaker in your main panel. Double-check by trying to turn on a burner—if it does not click and you do not hear the hiss of gas, you are ready to proceed.
Get Past the Grates and Burner Caps
Most modern ranges require you to lift off the heavy cast iron grates and the circular burner caps. Underneath, you will find the burner head itself. This is often where things get messy. I once spent forty minutes trying to unscrew a mounting bracket that was practically welded shut with years of carbonized pasta sauce. A little bit of penetrating oil or even just a firm, steady twist of the screwdriver is usually enough. While you have everything stripped down, it is the perfect time to learn how to clean the debris from an ovens hidden burner. Removing that crusty buildup ensures that once you have a spark, the flame can actually reach the gas ports without struggling.
Spotting the Hairline Fractures That Kill the Spark
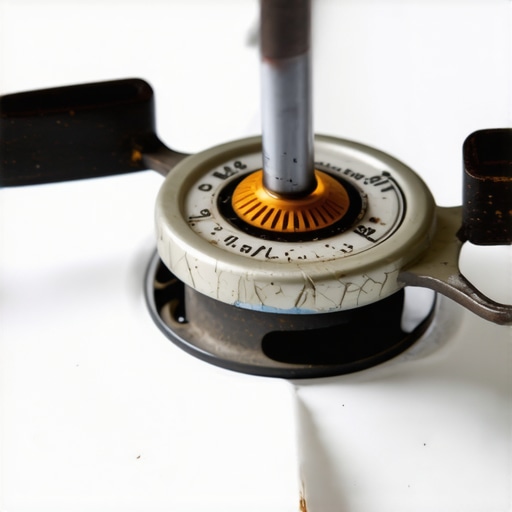 The igniter is that small white ceramic cylinder sitting right next to the burner. Think of it like a spark plug in your car’s engine. If that ceramic is cracked—even a tiny hairline fracture you can barely see—the electricity will take the path of least resistance and arc to the stove frame instead of the gas. This is a common reason why your gas oven igniter clicks but the burner doesnt light. Use a nut driver or a Phillips head screwdriver to remove the single screw holding it in place. Be extremely careful not to drop that screw into the ‘abyss’ of the range body. I have lost more screws to the range floor than I care to admit, often turning a twenty-minute job into a two-hour search party. Once the screw is out, pull the igniter up to reveal the wire harness. Most use a plastic quick-connect clip. Press the tab, pull it apart, and you are ready to swap in the new part. If the wires themselves look scorched, you might need to inspect your oven control board for burn marks, but 90% of the time, the igniter is the sole culprit. Pro-tip: do not touch the new igniter’s tip with your bare fingers, as oils from your skin can cause it to fail prematurely under high heat. This is a vital part of oven diagnostics that people often overlook.I have seen so many DIYers get stuck in a loop of replacing the same part twice because they relied on their ears rather than their tools. The most common myth I encounter is that if a gas igniter is clicking, the ignition system must be healthy. In reality, a click is just a sign that the relay is trying to do its job, but it doesn’t mean the spark is strong enough to actually ignite the gas. This is a crucial distinction in oven diagnostics. Sometimes the spark is ‘lazy’—it arcs internally or at the wrong voltage, leading people to believe they have a gas supply issue when the electrical path is simply degraded. Have you ever replaced a part only to find the problem persisted exactly as before? Let me know in the comments, because you aren’t alone.
Don’t Trust Your Ears Alone
The ‘Oops’ factor usually happens when we assume a clicking sound guarantees a completed circuit. I once watched a neighbor dismantle his entire manifold because he heard a click and assumed the gas wasn’t flowing. He could have saved three hours if he had simply checked for a weak spark. According to a study by the Association of Home Appliance Manufacturers (AHAM), nearly 30% of appliance part returns are ‘No Fault Found’ components, meaning the DIYer misdiagnosed a functioning part. Before you buy anything, you must learn how to identify a bad oven relay on the control board. If the relay is pitted or burnt, it won’t send enough juice to the igniter, regardless of how much it clicks.
Can a Weak Control Board Mimic a Broken Igniter?
Absolutely. This is the nuance that separates the pros from the amateurs. When the capacitors on a control board start to fail, they often struggle to maintain the consistent voltage required for high-energy sparks. You might find yourself testing a gas oven safety valve for proper voltage and getting a reading that looks ‘okay’ at first glance, but drops the moment the load is applied. It is a ghost in the machine that drives people crazy. 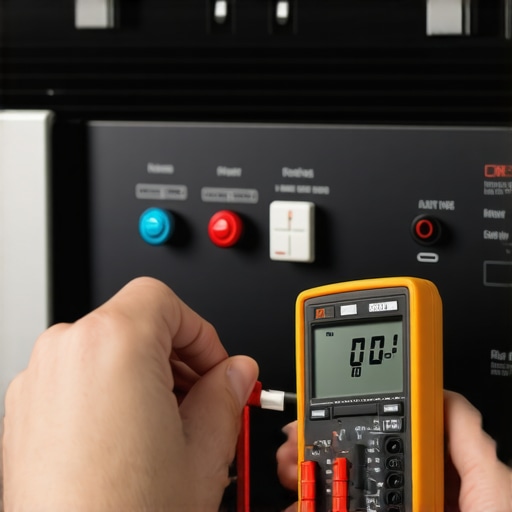
The Hidden Nuance in Dishwasher Failure
We see the same patterns in other appliances too. Many people assume a dishwasher that won’t start is a motor issue, but a seasoned pro looks at the sensors first. In my experience, a dirty turbidity sensor or a stuck float switch is far more likely than a total pump failure. When you are looking at dishwasher parts and diagnostics, remember that modern machines are designed to protect themselves. If a sensor sends a ‘wet’ signal when the tub is dry, the board will kill power to the motor as a safety precaution. This is why testing a dishwasher heating element for a short is often more productive than just replacing the main pump. Stop looking for the big, expensive failure and start looking for the small, logical error in the sequence of operations. Have you ever fallen into the trap of over-diagnosing a simple sensor problem? I’d love to hear your stories below so we can all learn from those frustrating ‘aha!’ moments.
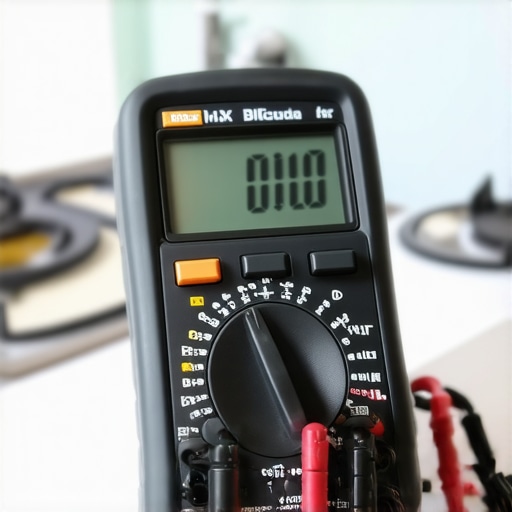
Once you’ve tackled a few repairs, you realize that the difference between a frustrating afternoon and a ten-minute fix is almost always the tools you have on hand. I spent years using a cheap, five-dollar analog multimeter that was about as accurate as a weather forecast in a hurricane. If you are serious about oven diagnostics, you need a digital multimeter with an auto-ranging feature. I personally swear by the Fluke 117 because of its ‘LoZ’ mode, which prevents false readings caused by ghost voltage—a common headache when you’re troubleshooting control boards. It’s an investment, but it’s the same tool the pros use to quickly decide if a part is actually dead or just starved for power.
Invest in a Multimeter That Doesn’t Lie to You
Accuracy is everything when you are testing a dishwasher heating element for a short. A cheap meter might show continuity when there is actually high resistance, leading you to keep a bad part. While we are on the subject of high-quality gear, never underestimate the power of a long-reach nut driver set. Modern ovens love to hide their mounting screws in deep, dark crevices. I once spent an hour trying to reach a bracket behind the convection fan before realizing that a six-inch extension was the only way to win that battle. Having the right physical reach is just as important as having the right electrical data.
How do I maintain my kitchen fleet over the long haul?
Maintenance isn’t just about cleaning the outside; it’s about preventing the internal buildup that kills components. For your dishwasher, that means you should be cleaning the hidden debris under your dishwasher filter at least once a month. When food particles bypass the filter, they eventually clog the impeller in the circulation pump, leading to that dreaded grinding noise. For the oven, stop using the ‘Self-Clean’ cycle. High-end repair technicians, including those cited in the Whirlpool Job Aid for Gas and Electric Ranges, often warn that the extreme heat generated during self-cleaning can fry the delicate capacitors on your control board. Instead, stick to manual scrubbing and a bit of elbow grease to save your electronics from an early grave.
Check the Kickplate for the Secret Map
Here is a pro-level secret: almost every modern appliance has a ‘Tech Sheet’ hidden inside it. On a dishwasher, it is usually tucked into a plastic sleeve behind the bottom kickplate. On an oven, look behind the drawer or inside the console. This document is the literal DNA of your machine, providing wiring diagrams and specific resistance values for every component. It is the gold standard for dishwasher parts and diagnostics. I recommend taking a clear photo of this sheet the next time you have the unit open; paper degrades, but a digital copy is forever. This simple step turns guesswork into a scientific process.
The Shift Toward Modular and Smart Diagnostics
Looking ahead, the DIY landscape is shifting toward ‘smart’ modules. Within the next five years, I predict we will see more appliances with built-in Wi-Fi diagnostics that send error codes directly to your phone before the machine even stops working. While this sounds convenient, it often makes the mechanical side harder to access. That is why mastering oven repair essentials now is so vital—you need to understand the physics of the machine before the software locks you out. My big tip for you this week: go find that hidden tech sheet on your machine today. Don’t wait for a breakdown. Locate it, snap a photo, and save it to a ‘House Maintenance’ folder on your phone. You’ll thank me when your oven starts acting up on Thanksgiving morning and you have the specs ready to go.
Hard Truths About Why Your Quick Fixes Keep Failing
After years of tinkering, I have realized that the most common mistake is stopping at the first sign of life. A clicking igniter is just a request for a flame, not a guarantee. One of the biggest lessons I learned during oven repair essentials is that electricity is lazy; it will always take the shortest path. If your ceramic is even slightly porous from age, that spark is jumping to the frame instead of the burner. Another lightbulb moment for me was realizing that many ‘broken’ parts are actually just dirty. Before you buy a new sensor, try how to identify dishwasher faults quickly by checking for grease buildup on the probes first. It saves money and prevents unnecessary waste.
The Gear That Separates Guesswork From Real Repairs
If you want to move beyond being a ‘parts changer’ and become a true diagnostician, you need a few non-negotiables in your toolbox. First, stop using that old analog meter; a high-quality digital multimeter is the only way to accurately measure the resistance of an igniter or a heating element. I also highly recommend a magnetic parts tray—it is the only thing that stopped me from losing screws into the dark corners of the range floor. Finally, always keep a can of electronics cleaner handy. It is amazing how often a ‘dead’ control board just has a bit of oxidation on the ribbon cable. These small investments turn a stressful Saturday into a triumphant one.
Stop Being Afraid of Your Own Kitchen Appliances
There is a unique kind of satisfaction that comes from hearing your oven roar back to life after you fixed it with your own two hands. You don’t need a degree in engineering to master oven diagnostics; you just need the willingness to look closely and the patience to follow the data. Of course, knowing when to stop diying and call an oven repair expert is also a sign of wisdom, especially if you suspect a major gas leak. But for most igniter and sensor issues, you are more than capable of handling the job. So, grab your screwdriver, kill the power, and get back to cooking with confidence.
Have you ever spent hours troubleshooting a part only to realize it was just a loose wire? I would love to hear your most frustrating—and most rewarding—repair stories in the comments below!