I remember the exact moment my patience snapped. I was halfway through a delicate soufflé, peering through the glass door, when—pop—the light died. Again. It was the third time that season, and I felt like I was personally funding the light bulb industry. Cooking in the dark is more than just a minor annoyance; it’s a recipe for burnt dinners and singed fingers. If you are tired of playing the guessing game with your dinner, let’s fix this together.
Stop Spending Money on Bulbs That Wont Last
Dealing with a dark oven is a safety hazard when you’re trying to check if that roast is actually done. If you feel like you’re constantly replacing a blown light bulb inside a hot oven, the problem probably isn’t the quality of the glass. Early in my DIY journey, I made the classic rookie mistake of thinking any bulb that fit the socket would work. I grabbed a standard 40-watt bulb from the junk drawer, only to have it nearly melt into the socket because it wasn’t rated for high heat. You need to master oven diagnostics to pinpoint faults before you spend another dime on hardware. It is often a case of the wrong part or a vibration issue rather than a faulty appliance.
Is your oven just a lemon or is there a real fix?
Many homeowners worry that a flickering or short-lived light means the entire control board is fried. Usually, it’s something much simpler, but no less important. Constant burnouts often signal issues with the socket tension, a failing oven light switch, or even moisture leaking through a worn gasket. According to Energy.gov, appliances operating outside their intended thermal parameters can cause premature failure of sensitive electrical components. Today, I’m going to show you exactly how to identify the culprit and handle oven repair essentials without the stress. Have you found yourself changing your oven light more than twice a year? Drop a comment below—I want to hear about your dark-oven disasters!The first thing you need to do is verify your bulb specifications before you even touch the oven. Most modern ranges use a specific G9 halogen or a heavy-duty incandescent bulb. If you use a standard 40-watt household bulb from a lamp, the intense heat will expand the metal base at a different rate than the glass, causing the internal seal to pop. When you are replacing a blown light bulb inside a hot oven, you must look for the specific ‘Appliance’ rating on the packaging. This isn’t just marketing fluff; it’s about the solder and glass being engineered not to shatter at 450 degrees.
Stop Buying Any Old Bulb from the Hardware Store
Think of your oven like a vibrating drum. Every time the convection fan kicks on or the heavy door slams shut, the filament in a cheap bulb takes a beating. Using oven diagnostics to pinpoint faults helps you realize that vibration is often the silent killer of your lighting. Heavy-duty appliance bulbs have extra supports for the filament to survive these mini-earthquakes. I once made the mistake of buying a bulk pack of generic bulbs for a buck each. I went through all six in a single month of weekend baking because the thin filaments simply couldn’t handle the heat-up and cool-down cycles. 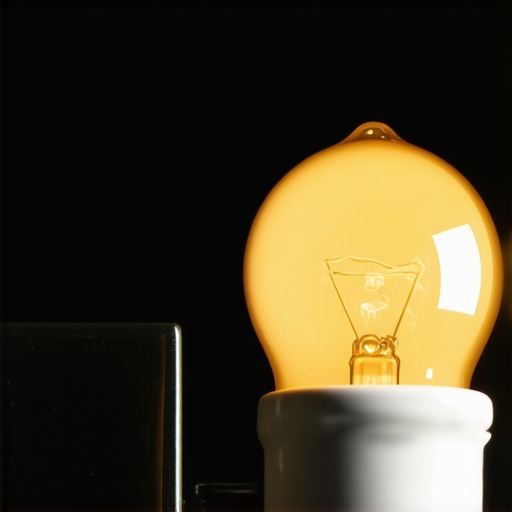
Why Your Socket Might Be the Real Saboteur
Next, you need to perform a physical inspection of the socket. Over years of use, the small metal tab at the bottom of the socket—the part that touches the tip of the bulb—can lose its tension. It is exactly like a tired diving board that no longer springs back. If it doesn’t make firm contact, you get electrical arcing. Arcing creates localized heat, and that heat will kill a bulb faster than a self-clean cycle. With the power disconnected, use a small flathead screwdriver to gently pull that metal tab forward by just a millimeter. While you are in there, learning how to check for a burnt terminal block on your electric oven is a wise move if you see any black soot or discoloration around the ceramic housing.
Test the Switch Instead of Swearing at the Glass
I remember one specific job where a client’s light flickered every time she walked across the kitchen. She had already replaced the bulb three times. I spent an hour poking around until I realized the door wasn’t seating properly, allowing steam to escape and corrode the electrical contacts. I had to focus on identifying a failed door hinge on a wall oven just to keep a simple light alive. It was a messy, frustrating afternoon that taught me that the light is often just the symptom, not the disease. If the bulb and socket are fine, the culprit is likely the door switch. Use a multimeter to test for continuity. If the switch is ‘open’ when the door is open, the circuit is broken and the light stays dark. This is one of those oven repair essentials that saves you a service call. You can usually swap the part yourself by following a guide on how to replace a faulty oven light switch without having to pull the entire appliance out of the cabinetry. Finally, if the oven is older, don’t overlook the wiring integrity. Constant heat can make wires brittle, so knowing how to inspect your ovens power cord for heat damage can prevent a much more dangerous electrical short in the future.
Let’s dig deeper into the psychology of modern appliance repair because most people jump straight to the most expensive conclusion. Everyone says that when an oven stops heating or a dishwasher fails to drain, the main control board has bit the dust. In my experience, it is rarely the ‘brain’ of the machine that dies first; usually, it is a nervous system failure involving the sensors or relays. If you are blindly buying components without using oven diagnostics to pinpoint faults, you are basically gambling with your bank account. The ‘Oops’ factor here is misinterpreting electrical resistance. I have seen many DIYers test a temperature sensor and think it is fine because it shows continuity, but they ignore the specific ohm rating. According to standards from the Association of Home Appliance Manufacturers (AHAM), even a slight 5% deviation in resistance can cause an oven to miss its target temperature by over 50 degrees. You should be testing your oven temperature sensor with surgical precision before you ever blame the control board.
Don’t Get Fooled by Ghost Voltage
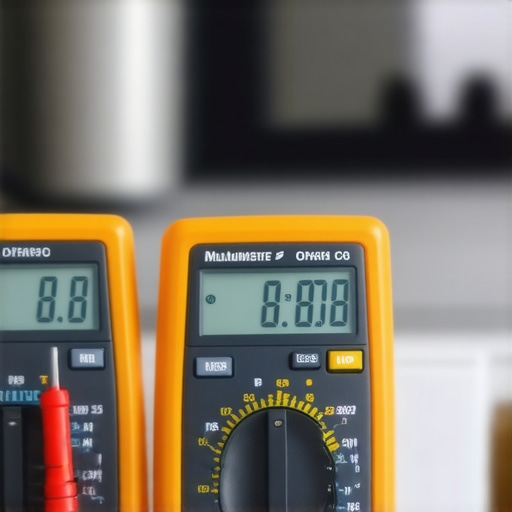
One of the biggest mistakes you can make is relying on a non-contact voltage tester or a cheap multimeter that gives you ‘ghost’ readings. You might see 120V at the terminal, but the moment the component tries to draw power, the voltage collapses because of a loose wire or a pitted relay. This is why how to identify a bad oven relay on the control board is a skill that separates the pros from the amateurs. You have to test the circuit under load. If you are dealing with a dishwasher that refuses to start, don’t just check the door latch. You need to dive into dishwasher parts and DIY diagnostics to see if the turbidity sensor or the thermal fuse is actually the culprit. Many homeowners throw away perfectly good dishwashers simply because they didn’t know about the one part that stops your dishwasher from draining completely, which is often a tiny plastic check valve or a stray piece of glass in the pump housing.
Why does your gas oven glow red but stay cold?
This is the ultimate advanced frustration for gas range owners. You peer into the bottom of the oven, see the igniter glowing like a dying star, and assume it is doing its job. Here is the nuance: an igniter can glow brightly but still fail to draw the specific amperage required to trigger the safety valve to release gas. If you are not testing why your gas oven igniter glows but doesn’t light, you might waste hundreds of dollars replacing the gas valve itself, only to find the problem persists. It is about the current, not the light. This same logic applies to drainage issues; before you replace a motor, use the best way to inspect your dishwashers check valve to ensure a simple mechanical blockage isn’t the real saboteur. Have you ever fallen into the trap of replacing a major part only to find out a ten-dollar sensor was the problem? Let me know in the comments—I want to help you avoid those ‘expensive’ lessons!
After years of wrestling with wiring harnesses, I’ve realized that your repair is only as good as your data. If you’re still relying on a cheap hardware store tester, you’re flying blind. To truly master these machines, you need a True RMS multimeter. Modern control boards use complex signals, and as noted in Fluke’s Application Note on ‘Ghost Voltages’, high-impedance meters can often mislead a technician into thinking a circuit is live when it’s actually just picking up electromagnetic interference from adjacent wires. This is why you must learn how to test an oven broil element using a simple ohmmeter before assuming the board is toast. By getting an accurate resistance reading, you confirm if the physical component is even capable of heating up. 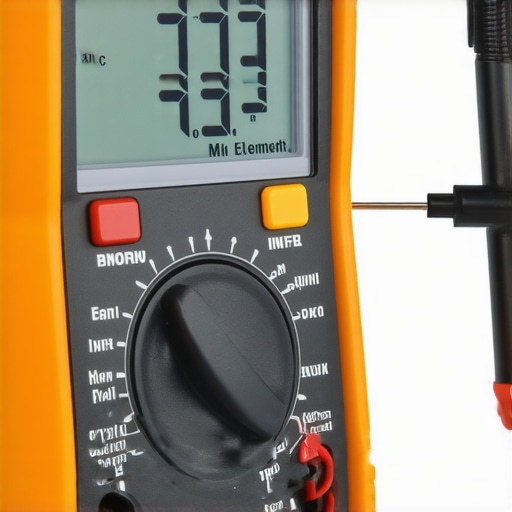
Keep Your Dishwasher from Choking on Calcium
While we focus on electrical failures, the silent killer of dishwashers is almost always mineral buildup. If you live in an area with hard water, your appliance is essentially drinking liquid rock every cycle. This leads to scaled-up spray arms and sluggish pumps. I’ve found that clearing hard water deposits from dishwasher interior walls is the single most effective way to extend the life of your motor. When those deposits build up, they create friction in the pump seals, eventually leading to leaks. I always tell my friends that mastering parts and diagnostics to identify dishwasher faults quickly starts with a clean machine. You should also be using the trick to removing hard water spots from dishwasher walls using a citric acid flush once a month to keep the sensors from getting ‘confused’ by white film.
How do I keep my appliances running like new for a decade?
The secret isn’t just fixing what breaks; it’s identifying the early warning signs before they become catastrophes. For your oven, this means testing your ovens high limit thermostat with ease every year or two, especially if you use the high-heat self-clean cycle frequently. For your dishwasher, it’s about checking the drain path. I predict that in the next few years, we will see even more sensors integrated into our appliances that send real-time ‘health reports’ to our phones, but for now, your eyes and your multimeter are the best defense. If you haven’t done it yet, I want you to grab your multimeter this weekend and check the resistance of your bake element—knowing that baseline could save you a $300 service call later when you actually have to do some real oven repair essentials.
Lessons I Learned the Hard Way Under a Range
Over the years, I’ve realized that the biggest barrier to a successful fix isn’t a lack of tools; it’s a lack of patience. Here are the lightbulb moments that changed how I approach every job:
- The 10-Minute Rule: Before you tear apart the chassis, spend ten minutes verifying the obvious. Is the plug loose? Is the breaker tripped? Most ‘dead’ appliances are actually just disconnected from their life support.
- OEM vs. Generic: I used to think I was savvy by saving $20 on a generic igniter. Then I had to replace it three months later. Now, I always insist on oven repair essentials that come from the original manufacturer.
- Data Over Guesses: Your gut is great for seasoning a stew, but it’s terrible for electrical repair. Trust your multimeter, not your intuition, especially when oven diagnostics to pinpoint faults are so accessible.
My Personal Arsenal for Beating Appliance Gremlins
If you’re serious about keeping your kitchen in top shape, you need more than just a screwdriver. These are the resources I swear by:
- A True RMS Multimeter: This is the only way to avoid the ‘ghost voltages’ that drive DIYers crazy. It is the gold standard for parts and diagnostics to identify dishwasher faults quickly.
- Citric Acid Crystals: Forget the fancy pods; pure citric acid is the secret weapon for clearing hard water deposits from dishwasher interior walls without harsh chemicals.
- Manufacturer Schematics: Most appliances have a ‘tech sheet’ hidden behind the kickplate or inside the console. Find it, read it, and you’ll know more than 90% of people on the internet.
You Are More Capable Than the Repair Manual Says
The first time you successfully swap a part and hear that satisfying ‘click’ of an appliance coming back to life, something shifts. You stop being a passive consumer and start being a master of your domain. Whether you are tackling a dark oven or a dishwasher that won’t drain, remember that every pro started exactly where you are now—confused and holding a flashlight. Use these oven repair essentials as your roadmap, and don’t be afraid to get your hands a little dirty. You’ve got this.
Have you ever spent hours on a repair only to realize the ‘fix’ was something incredibly simple? Let me know your biggest ‘facepalm’ moment in the comments below!