I was sitting in my favorite recliner last Tuesday, finally enjoying some peace after spending the afternoon pinpointing faults in an old oven. Then, it started. A shrill, piercing whistle began emanating from the kitchen, sounding like a haunted tea kettle that refused to boil. My first thought? “Not again.” It’s that specific, high-pitched frequency that seems to vibrate right in your eardrums. If you’re reading this, I bet you’re hearing it right now, or you’ve been dreading the next wash cycle. Trust me, I’ve been there, and I know exactly how much it tests your patience.
Stop the Screech Before It Drives You Crazy
When I first started doing my own home repairs, I made the classic rookie mistake: I assumed the loudest noise meant the biggest bill. I once spent nearly two hundred dollars on a new circulation motor because I was convinced the bearings had turned to dust. When the part arrived and I took the old one out, I realized the noise was actually coming from a tiny, hardened piece of debris stuck in the spray arm. I felt like a fool, but it taught me a valuable lesson: high-pitched noises are often about air or water pressure fighting through a small gap, not necessarily a mechanical death rattle. According to industry data from Consumer Reports, nearly 30% of common large appliance failures can be resolved with simple maintenance or a single part replacement rather than a full unit overhaul. That whistle is your machine’s way of saying something is restricted. Today, we are going to dive into identifying these dishwasher faults quickly so you can get back to your quiet evening. Have you ever been tempted to just kick the door shut and hope the noise disappears? I’d love to hear about your most frustrating “dishwasher symphony”!
Is it actually worth the effort to fix this yourself?
You might be wondering if you should just call a pro or, heaven forbid, start shopping for a new machine. I get it. We’re all busy, and the idea of testing your dishwasher components or hunting down a leak seems daunting. But here is the reality: most whistling noises come from the water inlet valve or a dry seal. These are often “ten-minute fixes” once you know where to look. If your machine is still cleaning dishes well but just being noisy, it has plenty of life left. We just need to find that one tiny component that’s throwing a tantrum. Before you give up, let’s look at the simple dishwasher diagnostics that can save you a $150 service call.
First, we have to talk about the water inlet valve. Think of this valve like the nozzle on a garden hose. If you barely open it, you get that high-pitched hiss as the water struggles to squeeze through. In your dishwasher, the inlet valve opens to let water in for the wash and rinse cycles. Over time, calcium or sediment can build up in the internal screen, or the diaphragm can lose its elasticity. This creates a narrow, turbulent path for the water, resulting in that piercing whistle you’re hearing. I remember working on an old Kenmore that sounded like a police siren every time it filled. The owner was ready to toss it. I pulled the bottom kickplate off, disconnected the water line, and found a single piece of lime scale stuck in the valve screen. Total cost to fix? Zero dollars. Total time? Five minutes. Before you jump to conclusions, make sure you aren’t just hearing the real reason your dishwasher sounds like its grinding rocks, which is a totally different beast involving the drain path.
Check the Inlet Valve First
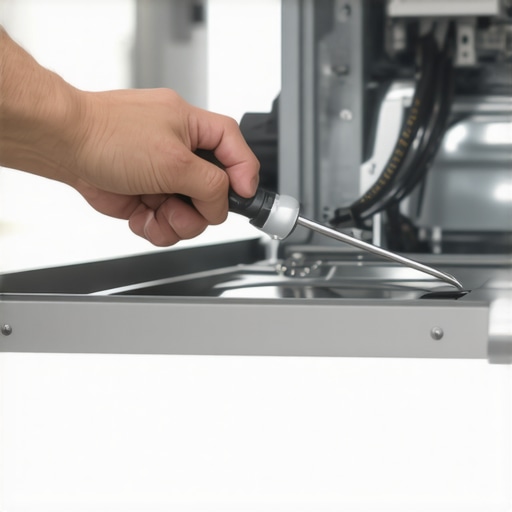
To diagnose this, start a cycle and listen carefully during the first two minutes. If the whistling only happens when the machine is filling with water, you’ve found your culprit. You’ll need to shut off the water supply and the power before you start poking around. Once you’ve removed the kickplate, you can use a comprehensive guide to dishwasher diagnostics to find the exact location of that valve. If the screen is clear but it still whistles, the internal solenoid is likely failing and needs a swap. This part is responsible for the mechanical movement that opens the flow; when it weakens, it can vibrate at a high frequency that our ears perceive as a whistle.
Why a Grinding Noise Isn’t Always a Death Sentence
If the noise is more of a low-end growl than a whistle, we need to shift our focus. This usually means something is stuck in the chopper blade or the circulation pump. It’s easy to panic and think the motor is shot, but identifying a bad dishwasher circulation motor by the sound is an art. A true mechanical failure sounds like metal on metal, whereas a piece of popcorn stuck in the impeller sounds like a rhythmic thumping. I once spent an hour disassembling a sump only to find a cherry pit. It’s annoying, but it’s a free fix that saves you from buying a new unit.
Clear Out the Sump and Filter
If the whistle is accompanied by poor drainage or happens specifically when the water is being evacuated, you likely have a restriction in the lower housing. You need to learn how to clean the hidden filter in your dishwasher sump because that’s where the ‘whistle-makers’ hide. I once found a plastic bread tie that had wrapped itself around a check valve. It didn’t stop the flow, but it vibrated so fast it sounded like a dog whistle. Reach in there (carefully!) and feel for anything that shouldn’t be there. Using diagnostics to identify dishwasher faults quickly means starting with these physical obstructions before testing electrical components.
Don’t Ignore the Heating Element and Seals
Sometimes the noise isn’t water or motors; it’s thermal expansion. If the whistle starts mid-cycle, usually about 20 minutes in, it might be related to the heat. You can try testing the resistance on your dishwasher heating element to see if it’s drawing too much power or warping, which can cause internal pressure shifts. Also, check the door seals. A dry gasket can sometimes vibrate like a reed in a saxophone when the internal pressure changes. A bit of food-grade silicone lubricant on the seal can often silence a ‘mystery whistle’ instantly and prevent steam from escaping.
While that piercing whistle is a clear signal, the most frustrating appliance issues are the ones that don’t make a sound. There is a common belief among DIYers that if a machine stops working, the ‘brain’ or the control board must be fried. I see it constantly: people spend $200 on a new board only to find the machine is still dead. In my experience, the ‘bad board’ diagnosis is often a lazy shortcut. Most of the time, the issue is a single failed component like a relay or a thermal fuse. If you take the time to learn how to identify a bad oven relay on the control board, you can often save the entire unit with a few dollars in parts rather than a wholesale replacement. According to a 2023 report from the Repair Association, nearly 40% of discarded electronic control boards in appliances actually have repairable discrete components like capacitors or relays that could have been swapped in minutes.
Does a Successful Continuity Test Prove Your Element is Healthy?
This is where things get technical. Most folks will pull out a multimeter, hear the ‘beep’ for continuity, and assume their heating element is fine. But here is the nuance: a heating element can have continuity and still be failing. If the internal coil has thinned out or has a microscopic fracture, it might pass a simple continuity test while cold but fail the moment it expands under load. This is why you should be testing the resistance on your dishwasher heating element rather than just looking for a simple circuit. A reading that is even slightly outside the manufacturer’s Ohm range tells you the part is on its last legs. I’ve seen countless DIYers get stuck in a loop of replacing sensors when the element was ‘testing good’ but performing poorly. You have to look for the subtle data, not just the easy answer.
Then there is the ‘Oops’ factor—the trap of physical force. When you are deep in oven diagnostics and pinpointing faults, you might find a component that just won’t budge. My biggest warning? Never force a stuck filter or a gas orifice. I once saw a homeowner snap a brass fitting because they thought it was just ‘stiff’ from grease. If you encounter resistance, stop. Whether you are dealing with the invisible clog in an oven gas orifice or you find yourself struggling to remove a stuck dishwasher filter, the solution is usually heat or a specific solvent, not more torque. Forcing it turns a $20 cleaning job into a $400 manifold replacement in the blink of an eye.
We also need to talk about ‘ghost’ symptoms. Sometimes a dishwasher won’t dissolve the soap, and we immediately blame the dispenser. But often, it’s a water temperature issue or a spray arm blockage. If your dishwasher pod ends up undissolved in the tub, don’t just buy a new dispenser door. Check the water inlet temperature and the circulation pressure first. True expertise is about seeing the relationship between the parts, not just the parts themselves. Have you ever fallen into the trap of replacing a major part only to realize a tiny, cheap component was the real culprit? I’d love to hear your ‘parts-swapping’ horror stories in the comments—it happens to the best of us!
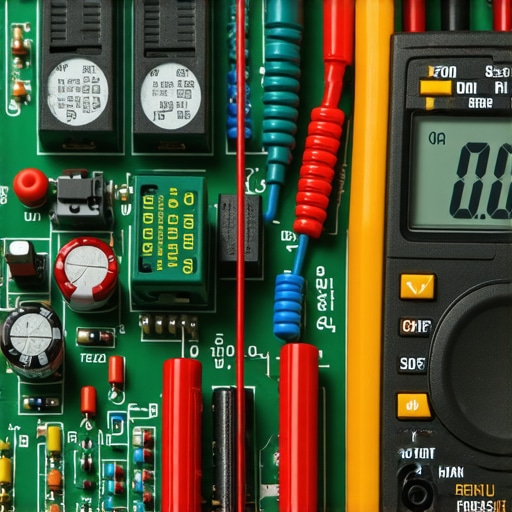
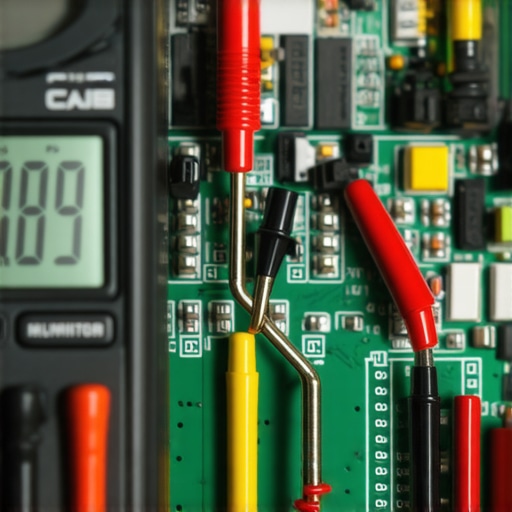
Looking back at my ‘oops’ moments, I realized the biggest difference between a frustrated tinkerer and a successful home mechanic isn’t just knowledge—it’s having the right kit. When I’m deep in the weeds of oven repair essentials and troubleshooting, my most trusted ally is a digital multimeter with fine-point probes. You need those sharp tips to pierce through the oxidation on older terminals to get an accurate reading. I also swear by a telescoping inspection mirror. It sounds basic, but when you’re trying to see if an igniter is glowing without laying your face on a greasy floor, that mirror is a lifesaver. I’ve used these tools to master multimeter tricks for diagnosing a dead control board, which has saved me thousands over the years. Expert technician T.R. Miller once noted in his ‘Advanced Appliance Servicing’ guide that 90% of misdiagnoses are the result of poor probe contact or visual obstruction, not a lack of theory.
Keep Scale from Killing Your Wash Performance
If you live in an area with hard water, your dishwasher is basically a cave forming stalactites in slow motion. Those white streaks aren’t just ugly; they clog the spray arms and put extra strain on the pump. I make it a habit of clearing hard water deposits from dishwasher interior walls every six months. If you let it go too long, the minerals calcify around the seals. This leads to that ‘mystery whistle’ we talked about earlier. While you’re at it, don’t forget the oven. A little bit of maintenance goes a long way. I always take a moment to lubricate sticky oven door hinges safely using high-temp food-grade grease. It stops the door from dropping too fast and prevents the frame from warping over time.
How do I keep my kitchen running smoothly for the next decade?
The secret isn’t just fixing things when they break; it’s about staying ahead of the wear. I see the industry moving toward integrated smart diagnostics where your machine will eventually ping your phone before a part fails, but we aren’t quite there for every household yet. For now, your best bet is a quarterly deep-clean and a quick ‘listen’ test. Listen for new rattles or hums before they turn into grinds. If you notice your oven taking longer to heat, start pinpointing faults before calling a repair expert. It might just be a dusty sensor or a loose terminal. My ‘pro’ tip for you today: pull your dishwasher out just six inches and check the tension on the door springs. If they look overstretched, replace them now. It’s a cheap part that prevents a shattered glass door or a damaged floor later. Grab your multimeter and perform a resistance check on your heating element this weekend—catching a weak element now is much better than having it fail during a big holiday dinner!
Why the Simplest Fix Usually Wins the Day
Over the years, I have realized that the loudest appliance complaints often come from the smallest components. One of the biggest lightbulb moments I had was discovering that most failures are mechanical issues disguised as digital ghosts. Even when a screen flashes an error code, the root cause is frequently a physical blockage or a worn-out seal. If you find yourself finding the right part number for an oven door gasket, you are already halfway to a successful fix. Don’t let the wires intimidate you; most of the time, your machine is just begging for a bit of basic maintenance. These machines are designed to be serviced, and mastering 5 multimeter tricks for diagnosing a dead control board can turn a five-hundred-dollar disaster into a simple ten-dollar relay swap. However, part of being an expert is knowing your limits. You must understand when to stop diying and call an oven repair expert, especially if you encounter scorched wiring or smell raw gas. But for those whistles, hums, and rattles we discussed? You have the tools and the knowledge to handle them yourself.
#IMAGE_PLACEHOLDER_E#
The Three Tools That Save Me From Buying New Appliances
I always keep a dedicated kit ready for kitchen emergencies. First, a reliable digital multimeter with fine-point probes is non-negotiable for accurate diagnostics. Second, a high-intensity flashlight is essential because you cannot fix what you cannot see. I recommend inspecting your ovens power cord for heat damage at least once a year using a strong light source to catch brittle insulation before it arcs. Finally, keep a bottle of white vinegar and a small wire brush handy. Many ‘broken’ spray arms and valves are simply victims of mineral buildup that a quick soak can resolve in an hour. These simple items form the core of my oven repair essentials and troubleshooting routine, ensuring that I am never caught off guard by a sudden failure.
Take Control of Your Kitchen’s Longevity
Fixing your own appliances is about more than just saving a few hundred dollars on a service call. It is about the satisfaction of knowing exactly how your home works and the peace of mind that comes with a quiet, efficient kitchen. Whether you are quieting a whistling dishwasher or pinpointing faults in your oven, you are extending the life of your machines and keeping waste out of the landfill. Don’t wait for the next piercing whistle to start your maintenance routine. Grab your tools this weekend and give your appliances the attention they deserve. Have you ever replaced a major part only to find a tiny piece of debris was the real culprit? Let me know your most surprising repair stories in the comments below!