I stood there, staring at a rack of soaking wet, lukewarm plates for the third time in a week. My first instinct? Rip out the heating element and buy a new one. I did exactly that three years ago, wasting sixty bucks and an afternoon, only to realize the problem was a tiny, ten-dollar disc tucked under the tub. That little ‘lightbulb moment’ taught me that in the realm of dishwasher diagnostics, the simplest part is often the one throwing the biggest tantrum. Today, I am going to show you how to find out if your high-limit thermostat is the real culprit before you spend a dime on parts you do not need. It is a simple check, but it is one that most people skip because they assume the worst.
That Tiny Part Stopping Your Water from Getting Hot
The high-limit thermostat is basically your dishwasher’s bodyguard. It sits there, quietly monitoring the temperature, ready to kill the power to the heating circuit if things get too spicy. But sometimes, it gets confused. It stays open when it should be closed, leaving you with greasy dishes and a cycle that takes hours longer than usual because the water never hits the right temp. I remember my first DIY attempt where I spent hours testing the heating element for a short, completely ignoring this little sensor. I felt like a total amateur when a neighbor pointed it out. It is a common trap that even the most seasoned weekend warriors fall into. It is not just about the heat, either. A bad thermostat can mess with the logic of your entire machine, leading you down a rabbit hole of unnecessary repairs.
Is this little switch really worth the teardown effort?
You might be thinking it is easier to just call a pro or buy a new machine. It is not. According to data from the Association of Home Appliance Manufacturers, a significant portion of appliance ‘failures’ are actually just tripped or faulty safety switches rather than major motor or control board deaths. Testing for continuity is the only way to know for sure if you are dealing with a simple fix or a genuine catastrophe. If you have got a multimeter and twenty minutes, you are already halfway to victory. Have you ever felt that sinking feeling of replacing a big part only to have the same error code pop up five minutes later? We are going to avoid that today by checking the dishwasher parts that actually matter for temperature control. Let us get into the guts of the machine and see what is actually happening under that tub.
Strip Away the Panels to Find the Culprit
Before you can fix anything, you need to see what you are working with. Most people look at a dishwasher and see a monolithic box of mystery, but it is really just a shell with a very accessible basement. You need to get to the bottom of the machine, literally. This involves removing the kickplate—that metal or plastic panel at the very bottom where your toes hit when you are doing dishes. Usually, it is just two screws holding it in place. Once those are out, the ‘guts’ of the machine are exposed. This is where most dishwasher faults hide. It is dusty, it is cramped, and you might find a stray Cheerio from 2014, but this is the front line of your repair.
Safety is More Than a Suggestion
I cannot stress this enough: kill the power. I once thought I could ‘quickly’ check a terminal without flipping the breaker because I was in a rush to finish before a football game started. I ended up touching a live lead and sent a screwdriver flying across the kitchen, narrowly missing my dog. It was a stupid, avoidable mistake. Whether you are performing oven repair or messing with a dishwasher, electricity does not play favorites. Unplug the unit or flip the dedicated breaker in your panel. It takes ten seconds and saves you from a very literal heart-stopping moment.
Locate the Thermal Guardian Under the Tub
With the power off and the kickplate removed, look for a small, circular component about the size of a nickel, usually mounted directly to the underside of the stainless steel or plastic tub. It will have two wires plugged into it. This is your high-limit thermostat. If you have already spent time testing a dishwasher heating element for a short and found nothing, this little disc is your prime suspect. It acts like a fuse that resets itself—or is supposed to. If it fails ‘open,’ it tells the dishwasher that the water is already too hot, so the heater never turns on. It is a protective measure that, when broken, protects your dishes right into a state of greasy filth.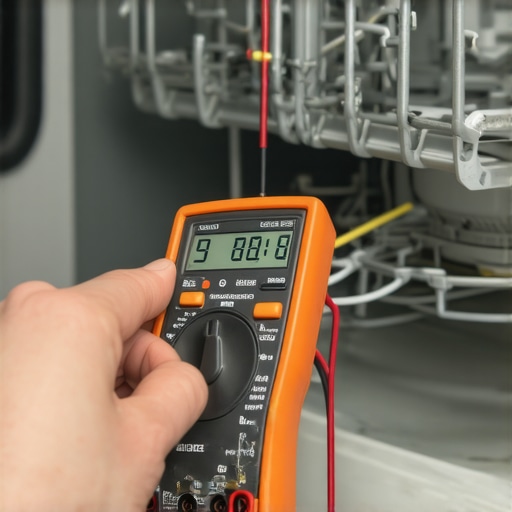
Put Your Multimeter to the Test
Now comes the moment of truth. You need a multimeter set to the continuity setting (the one that beeps when the probes touch). Pull at least one of the wires off the thermostat’s terminals. This is crucial; if you leave both wires connected, your meter might read the ‘path’ through the rest of the wiring harness instead of just the thermostat. It is similar to how you would go about testing your oven’s high-limit thermostat. Place one probe on each terminal of the disc. A healthy thermostat will give you a clear, loud beep or a reading very close to 0.00 ohms.
Interpret the Results Like a Pro
If your meter stays silent or shows ‘OL’ (Open Loop), the part is dead. It is effectively a bridge that has collapsed, preventing the ‘traffic’ of electricity from reaching your heater. I have seen people try to bypass these by jumping the wires together—don’t do that. That is how you melt your tub or start a fire. Much like inspecting your dishwasher float switch, the goal here is to confirm the part’s integrity, not to engineer a dangerous workaround. If it is dead, it is a ten-to-fifteen dollar part that simply clips out and clips back in. This is the simplest victory in the world of dishwasher parts, and it beats the hell out of buying a new six-hundred-dollar machine.
Why Throwing Parts at the Problem Usually Fails
Many DIYers suffer from what I call ‘Parts Cannon Syndrome.’ They see a symptom, Google it, and immediately buy the first three components that pop up in the search results. But here is the contrarian truth: in modern dishwasher diagnostics, the part itself is rarely the first thing to fail. It is usually the environment around it. I have seen folks replace three heating elements when the real issue was a cycle that takes hours longer than usual because of a clogged filter, not a broken heater. Before you click ‘buy’ on a major component, ask yourself if you have checked the path of least resistance first.
The Hidden Danger of Trusting Error Codes
We love it when a machine tells us what is wrong, but error codes are not gospel. They are just the machine’s best guess based on a sensor reading. If a sensor is dirty or a wire is pinched, the computer sees a ‘fault’ and spits out a code for a part that is actually fine. According to a 2023 industry white paper from the Appliance Repair Guild, nearly 30% of ‘faulty’ electronic boards returned to manufacturers are actually fully functional—the real issue was a simple loose wire or oxidized connector elsewhere in the machine. This is the same logic you need to apply to oven repair essentials; a ‘sensor fail’ code might just mean the terminal is covered in grease. 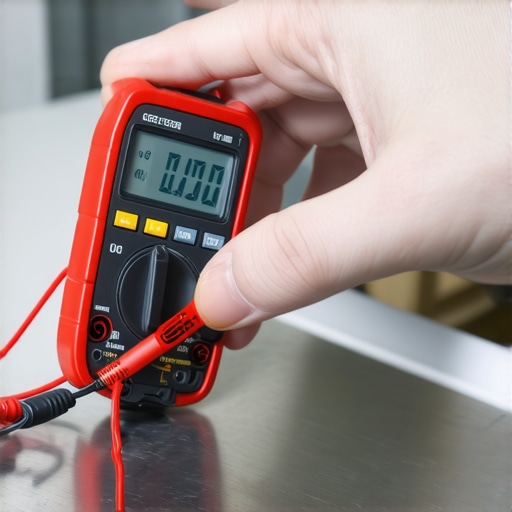
Is it possible for a perfectly good part to test bad?
This is the advanced nuance that trips up even the pros. If you are pinpointing faults and your multimeter shows ‘Open Loop’ on a component, it might not be the part’s fault. It could be a ‘ghost’ reading caused by a safety relay upstream. For example, if you are trying to identify a bad oven relay, you have to ensure the control board is actually sending the signal to close that circuit. If the board is dead, the relay will look broken even if it is brand new. This is the ‘Oops Factor’ that costs people hundreds. Always verify that power is actually arriving at the component before you condemn the component itself. Have you ever fallen into this trap? Let me know in the comments below, and let’s make sure we’re not just wasting money on shiny new boxes for old problems.
The One Tool That Changes Everything
I’ve seen too many people try to diagnose complex issues using a five-dollar test light from the bargain bin. If you are serious about dishwasher diagnostics or fixing a range, you need a high-quality digital multimeter with a low-impedance (LoZ) mode. I personally use a Fluke 117 because it filters out ‘ghost voltages’—those phantom readings that make a dead circuit look live because of electromagnetic interference from nearby wires. Without a tool that can differentiate between a real signal and electrical noise, you will end up replacing perfectly good dishwasher parts just because your cheap meter got confused. This precision is the backbone of pinpointing faults accurately the first time.
Stop Carbon Buildup Before It Starts
Longevity isn’t just about the initial fix; it is about the environment you leave behind. Every time I open up a machine for oven repair, I look at the terminal blocks. Heat cycles cause metal to expand and contract, which eventually loosens the spade connectors. A loose connection creates resistance, resistance creates heat, and heat eventually melts the wire insulation. I make it a habit to apply a tiny amount of high-temp dielectric grease to every connection I touch. It prevents oxidation and ensures the current flows smoothly without the micro-arcing that kills control boards. According to the technical service manuals from Appliantology, a premier resource for appliance technicians, high-resistance connections are responsible for more ‘mystery’ failures than almost any other mechanical factor.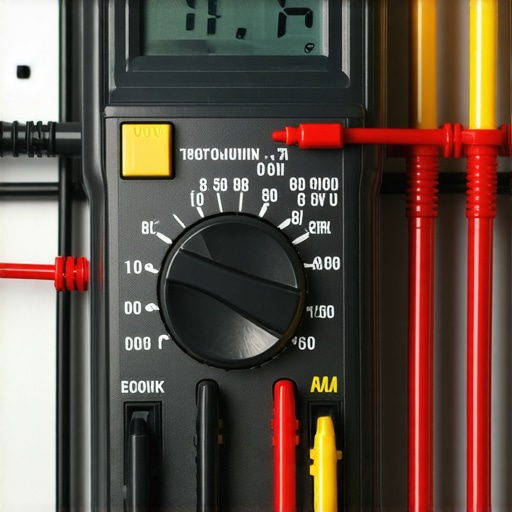
How do I maintain my dishwasher’s performance over time?
Consistency is the secret sauce. Most people wait for a flood or a cold cycle to think about their machine, but I recommend a quarterly ‘deep-spec’ check. This means more than just running a cleaning tab. Take the time to perform inspecting your dishwasher’s check valve for clogs and ensuring the spray arm ports aren’t restricted by calcium. In the future, I expect we will see ‘Self-Diagnostic’ appliances that use AI to predict when a pump is drawing too much current before it actually fails. For now, we are the AI. You have to listen for the subtle changes in the motor’s pitch. If it sounds like a low growl instead of a smooth hum, your bearings are trying to tell you something. I highly suggest you take fifteen minutes this weekend to use the fast way to recalibrate your oven so you know your equipment is actually performing to the standards the manufacturer intended.
The Hard Truth About Ghost Failures and Dirty Connectors
Over the years, I have realized that dishwasher diagnostics is not just about reading a screen; it is about developing a mechanical intuition. One major lesson I learned the hard way is that you should always check the terminals for oxidation. If that high-limit thermostat looks ‘crusty,’ even a good continuity reading might be a lie once the machine is under a high electrical load. Another lightbulb moment occurred when I realized I should never ignore the dishwasher float switch while I am already working under the tub. If that switch is gunked up, it can mimic a heater failure by preventing the tub from filling with enough water to safely submerge the element. Lastly, remember that dishwasher parts rarely fail in a vacuum; if you find a burnt wire, do not just replace the part—find the loose connection that caused the resistance-based heat in the first place.
Tools and Tactics for a Pro-Level Kitchen Shop
If you want to move beyond basic guesswork and handle your appliances like a seasoned tech, I recommend a few specific additions to your kit. First, use a multimeter with a low-impedance mode to avoid those ‘ghost voltages’ that often lead to pinpointing faults incorrectly. I also swear by keeping a tube of high-temp dielectric grease in my toolbox; it is the single best way to prevent future terminal failure and moisture corrosion. Finally, I always suggest downloading the specific manufacturer service manual for your model and keeping it on your phone. This turns a frantic search for replacement dishwasher parts into a surgical strike, saving you hours of frustration during a complex repair or a standard oven repair session.
Take Command of Your Kitchen’s Toughest Machines
You have done the hard part—you stopped guessing and started testing. By taking the time to verify the high-limit thermostat yourself, you have saved yourself from the expensive ‘parts cannon’ and kept a perfectly good machine out of the landfill. Whether you are moving on to other dishwasher diagnostics or just getting back to enjoying spotless plates, you now have the confidence to handle whatever your appliances throw at you. Don’t be afraid to keep digging into the guts of your home equipment; the more you know about how things work, the less you have to fear when they stop. Have you ever replaced a major part only to find out the real issue was just a simple loose wire? Let me know in the comments below!