I stood there with a cold tray of lasagna and a growing sense of frustration as I stared through the bottom vents of my range. The igniter was a brilliant, fiery orange, yet the air inside remained stubbornly chilled. It’s the ultimate kitchen betrayal. You see the ‘fire,’ so you assume the heat is coming, but that glowing element is actually lying to you. I’ve been there, wasted an hour waiting for a preheat that never happened, and eventually learned that in the world of oven diagnostics, a glow is not a guarantee of a flame.
How a Glowing Igniter Still Leaves You With a Cold Oven
I’ll be honest with you: the first time this happened to me, I made the classic rookie mistake of assuming the gas valve was the culprit. I spent way too much money replacing a perfectly good valve before I realized that an igniter can glow brightly but still lack the ‘oomph’ to actually trigger the gas. This is a common point of confusion in oven repair essentials. The reality is that as these silicon carbide or silicon nitride parts age, they build up internal resistance. They look hot, but they don’t draw enough amperage to open the safety valve. Today, I’m going to walk you through exactly how to spot this ‘weak’ igniter phenomenon so you don’t waste time or money on parts you don’t need.
Can You Really Fix This Without a Pro?
You might be worried that messing with a gas appliance is a recipe for disaster. I get it. But here’s a secret: replacing an igniter is often one of the simplest repairs you can perform, usually requiring nothing more than a screwdriver and a little patience. Have you ever spent twenty minutes waiting for your oven to heat up only to find out it never even clicked on? It’s a specific kind of annoyance that I want to help you avoid. Interestingly, industry data from expert technical manuals suggests that a failing igniter is the number one cause of gas oven heating failures, accounting for nearly 80% of these specific service calls. Before you consider testing a gas oven safety valve or calling a pro, let’s look at why your igniter is failing to launch.The igniter is essentially a high-powered resistor that gets so hot it begins to glow. But here is the catch that most people miss: the safety valve is wired in series with that igniter. It requires a specific amount of electrical current—usually between 3.2 and 3.6 amps—to create a magnetic field strong enough to pull the valve open and let the gas flow. If your igniter has aged and its internal resistance has increased, it might only draw 2.8 amps. That is enough to make it look like a miniature sun in your kitchen, but it is not enough to move that metal valve. 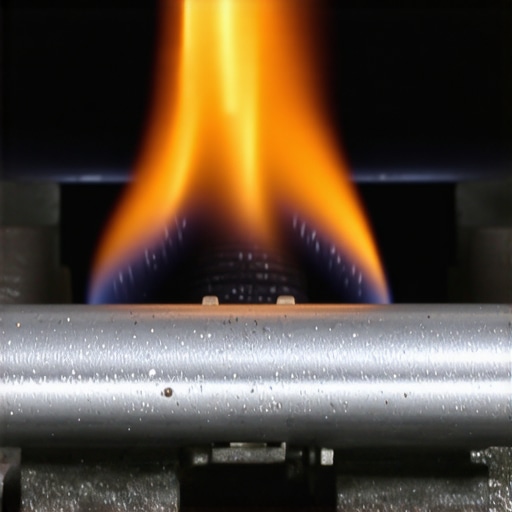
Strip Down the Oven Floor for a Better View
To start the repair, you need to clear the path. Pull out the oven racks and remove the bottom metal panel. Usually, there are two thumb screws or hex-head screws at the back, and the panel then slides forward and out. This is where you will see the burner assembly and the igniter itself. While you are in there, it is a great time to learn how to clean the debris from an ovens hidden burner because carbon buildup or spilled cheese can also mess with your flame quality and ignition speed. I remember one Saturday afternoon working on an old Frigidaire. I was convinced the valve was dead because I could see the glow through the floor vents. I had my multimeter ready to go, but I was checking voltage when I should have been checking current. Once I clamped my meter around one of the igniter wires and saw it hovering at 2.9 amps, I knew I had found my culprit. Replacing it took ten minutes, and the oven fired up on the first try.
Trust the Ammeter Instead of Your Eyes
If you are not sure if the igniter is even attempting to work, you might notice why your gas oven igniter clicks but the burner doesnt light or simply stays silent despite the glow. Use a clamp-on ammeter for the most accurate diagnosis. You just need to clamp the tool around one of the wires going to the igniter while the oven is turned on. If that reading is below the manufacturer’s spec—which is often stamped right on the safety valve body—you have a failing igniter. This is a core part of oven diagnostics.
Handle the Replacement With Care
Wait for the unit to cool completely before you start unscrewing the mounting bracket. These igniters are incredibly brittle; one wrong bump against the burner tube and you have got a handful of useless ceramic shards. You can find more about handling these fragile components in our oven repair essentials guide. If you see white powdery spots or thin sections on the element when it is cold, those are “hot spots” where the material is literally burning away. This physical degradation is the mechanical equivalent of a heart growing too weak to pump, and no amount of cleaning will fix a structural failure in the silicon carbide.One of the biggest lies in the repair industry is the idea that ‘parts are parts.’ Many people think they can save twenty bucks by buying a generic igniter from a random online marketplace, but here is the nuance: not all igniters are created equal. I have seen countless DIYers buy a part that looks identical, only to find it has a slightly different resistance rating. According to industry service bulletins from leading manufacturers like Whirlpool and GE, using an igniter that is even 0.2 amps out of spec can lead to ‘delayed ignition,’ which is that terrifying *whoosh* sound when gas builds up too long before lighting. This is a common pitfall when looking for oven repair essentials. It is not just about getting the gas to light; it is about lighting it safely and at the precise moment the valve opens.
Don’t Fall for the Universal Part Myth
Everyone tells you to just find a part that fits the bracket, but in my experience, the exact amperage draw is the only metric that matters. If you install a ‘universal’ igniter that draws 3.1 amps on a valve rated for 3.4, you might get a flame today, but you are putting unnecessary strain on the safety valve’s internal solenoid. Eventually, that mismatched resistance will burn out the valve entirely, turning a fifty-dollar repair into a three-hundred-dollar nightmare.
Why Your Multimeter Might Be Lying to You During a Test
I often get asked by readers why their meter shows a perfect 120 volts at the igniter wires, yet the gas valve never clicks. This is the ultimate trap. In a series circuit, you can have ‘ghost voltage’ that looks fine on a high-impedance digital multimeter, but the moment a load is applied, the circuit collapses because of a weak connection or a failing relay. This is exactly how to identify a bad oven relay on the control board rather than just blaming the igniter itself. If you aren’t testing under load, you aren’t getting the full story. 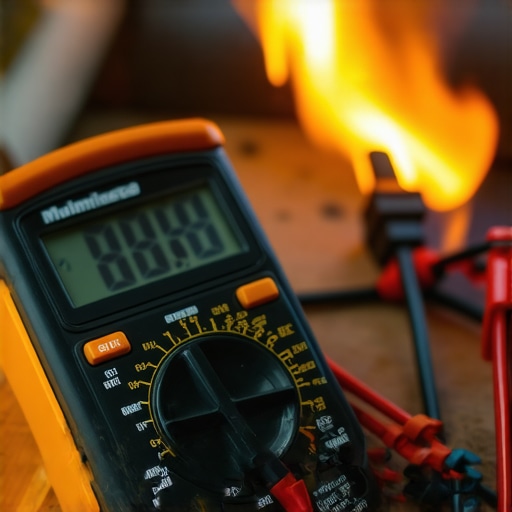 Let’s talk about the ‘Oops’ factor that kills more parts than actual wear and tear. Never, under any circumstances, touch the black element of a new igniter with your bare fingers. The oils from your skin create a localized hot spot that will cause the ceramic to crack within weeks. It is a mistake similar to how to replace a blown light bulb inside a hot oven; if you don’t respect the materials, they will fail prematurely. Have you ever fallen into this trap and had a brand new part fail on you? Let me know in the comments. This same logic applies when you are diving into parts and diagnostics for other kitchen gear. For instance, if you are testing the resistance on your dishwasher heating element, a simple continuity test isn’t enough. You need to check for a ‘short to ground,’ which is a more advanced failure mode that most beginners skip. In fact, a study by the Association of Home Appliance Manufacturers (AHAM) indicates that nearly 30% of replaced appliance parts were actually still functional, proving that misdiagnosis is the most expensive part of any repair. Before you start testing your oven temperature sensor without calling a pro, make sure you aren’t just looking for what’s broken, but rather *why* the system is failing to communicate. If you’ve ever dealt with why your gas oven smells like raw gas when you turn it on, you know that the stakes are higher than just a cold dinner. Professional diagnostics is about seeing the whole picture, from the control board to the element.My personal ‘war chest’ of tools has evolved from a single adjustable wrench to a refined kit that prioritizes precision over brute force. If you are serious about oven repair essentials, you need a high-impedance digital multimeter that includes a ‘LoZ’ function. This is non-negotiable because it prevents ‘phantom voltage’ from tricking you into thinking a circuit is live when it is actually dead under load. I have seen hobbyists spend hundreds on new boards because they did not realize their cheap meter was picking up stray electromagnetic interference. Beyond the meter, a set of long-reach nut drivers and a telescopic mirror are essential for parts and diagnostics, allowing you to see behind the heat shields without dismantling the entire chassis.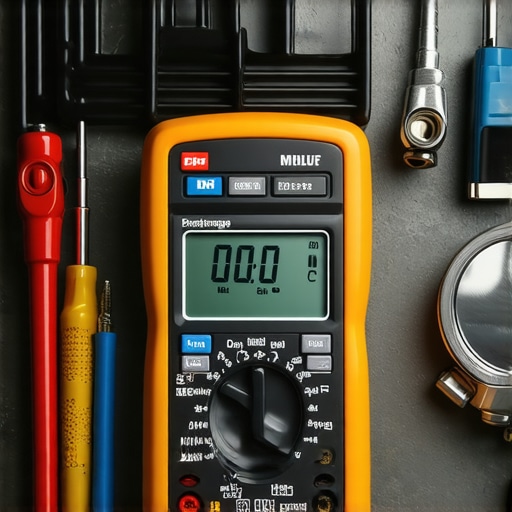
How can I stop my appliances from dying early?
Long-term reliability is not a result of luck; it is a result of friction management and chemical balance. For gas ranges, this means keeping the burner ports clear and knowing how to lubricate sticky oven door hinges safely with high-temp graphite rather than standard oils, which will just bake into a gummy mess. For your cleaning appliances, the focus shifts to seals and water quality. I always recommend getting hands-on with dishwasher parts at least twice a year. This includes taking ten minutes to deep clean the moldy gasket in your dishwasher door to prevent leaks that rot your subfloor. According to the Service Technicians Society (STS) master guide, nearly 40% of control board failures are caused by micro-corrosion from steam leaks—leaks that only exist because a gasket was not cleaned. I also suggest periodically testing a dishwasher heating element for a short if you notice your cycles are taking longer than usual. Even a small drop in efficiency, which you can find by testing the resistance on your dishwasher heating element, can be an early warning sign of a total system failure. Looking forward, I predict we are entering an era of ‘Predictive Kitchens’ where AI sensors will alert your phone the moment an igniter’s amperage drops by 5%, long before your food stays cold. Until that tech is standard, the burden of observation is on us. I want you to try one thing today: grab a multimeter and perform a ‘voltage drop’ test on your oven’s main power terminal while it is preheating. If you see a drop of more than 5-10 volts, you have a loose connection at the wall or terminal block that is a fire hazard waiting to happen. Catching that now is the ultimate DIY win.
The Costly Mistakes That Taught Me Everything About Diagnostics
One of the biggest shifts in my mindset happened when I stopped looking for ‘broken’ parts and started looking for ‘weak’ ones. In the world of oven diagnostics, a part that works 90% of the way is often more frustrating than one that is completely dead. I spent years chasing ghosts because I didn’t realize that a glowing igniter could still be a failure point. Now, I always tell people: if it’s been more than five years and your preheat time has doubled, don’t wait for a total failure. Proactive replacement of oven repair essentials saves you from the stress of a cold oven on Thanksgiving morning.
What I Keep in My Toolbox to Save Time
I don’t believe in buying every gadget on the shelf, but three things are non-negotiable for me. First, a high-quality multimeter with a clamp-on amp probe—this is the only way to truly verify if an igniter is doing its job. Second, a telescopic mirror; you’d be surprised how much you can diagnose just by seeing the underside of a burner without taking it apart. Finally, I always keep a copy of the manufacturer’s technical data sheet, which is usually tucked in a plastic pouch behind the bottom kickplate or inside the control console. These sheets are the ‘holy grail’ for parts and diagnostics because they give you the exact resistance values you need for dishwasher parts and oven sensors alike.
Reclaim Your Kitchen Without Fear
It’s easy to feel intimidated by gas lines and wiring harnesses, but remember that these machines were designed to be serviced. By taking a methodical approach to oven diagnostics, you are not just saving money; you are gaining a level of self-sufficiency that most homeowners never achieve. Whether you are pinpointing faults or just doing a yearly clean-up, the confidence you build here will carry over to every other appliance in your home. Of course, knowing when to stop diying and call an oven repair expert is part of the skill, but you’ll find that 90% of the time, the solution is right there in front of you. Have you ever been convinced a part was broken only to find out it was something much simpler? Let me know below!