I sat on my kitchen floor, staring at a half-baked lasagna, feeling like a total failure. The edges were bubbling and crisp, but the center was a cold, cheesy soup that hadn’t seen a degree of heat in twenty minutes. I’d already checked the temperature with a separate thermometer, and the oven display insisted it was preheated and ready. I looked at the bake element—it was glowing that familiar, comforting orange. Everything looked fine on the surface. But that’s the trap. I spent years thinking that if a heating element glows, it’s working at its full potential. I was dead wrong. It turns out, elements can develop ‘cold spots’—sections where the internal wiring has thinned or fractured, leading to uneven heat distribution that ruins your Sunday dinner. My kitchen smelled like a mix of scorched tomato sauce and raw pasta dough—a scent I never want to replicate.
Stop Trusting the Orange Glow
We often assume appliance repair is an all-or-nothing game. Either the element turns on, or it stays cold and dead. But hidden cold spots are the silent killers of your favorite family recipes. They happen when the internal filament of the element starts to degrade, creating high-resistance zones that barely get warm while the rest of the rod is white-hot. I remember one of my biggest rookie mistakes: I once convinced myself my control board was completely fried because the oven took nearly forty minutes just to reach 350 degrees. I spent a fortune on a specialized control module I didn’t actually need, only to realize later that the bake element had a significant dead zone. If you are struggling with pinpointing faults before calling a repair expert, you need to look closer at the hardware itself. According to technical reports from the Association of Home Appliance Manufacturers (AHAM), heating element degradation is a leading cause of uneven cooking and ‘poor bake’ performance, yet it is frequently overlooked during initial DIY checks. To save yourself the time and the cash, you have to learn how to spot the physical signs of failure, like checking your oven’s bake element for tiny blisters or thin spots that shouldn’t be there. Today, I’m going to show you how to find these invisible gremlins so you can stop guessing and start cooking again.
Is This Extra Step Actually Worth the Effort?
You might be thinking, ‘Why don’t I just buy a new element and be done with it?’ Trust me, I get it; we all want the fast fix. But before you go finding the right oven heating element without the manual, you want to be absolutely certain that’s the culprit. Testing for cold spots takes five minutes and can save you from replacing a perfectly good part when the real issue might be a simple loose connection or a faulty sensor. Have you ever pulled a cake out of the oven only to find one side perfectly done and the other still gooey? If so, tell me about it—I’ve been there, and I know how frustrating it is. Let’s get into the nitty-gritty of how to identify these dead zones before they ruin another hard-earned meal.
Spot the Physical Warning Signs Before They Stop Your Meal
To find out why your oven is lying to you about its temperature, you have to get your hands a little dirty. First, make sure the power is completely off—unplug it or flip the breaker, because even a ‘turned off’ oven can give you a nasty shock. Once it’s safe, grab a flashlight and look at the surface of the heating element. You aren’t just looking for breaks; you are looking for ‘blisters.’ These look like tiny, raised bubbles or rough patches on the smooth black surface. These spots indicate where the internal insulation has failed, allowing the heat to concentrate too much in one area while leaving the rest of the rod underpowered. If you see these, you are definitely checking your oven’s bake element for tiny blisters that signify the end of its life. I remember a particularly frustrating Thanksgiving where my turkey was raw on one side and burnt on the other; I finally looked closer and found a blister the size of a pea that was sucking all the current. If you don’t see physical damage, you might be testing an oven bake element for invisible cracks that only expand when the metal gets hot.
Put Your Tools to Work with a Continuity Test
Sometimes the eyes aren’t enough, and you have to rely on physics. This is where a multimeter becomes your best friend. Set your meter to the lowest Ohms setting. You want to touch the probes to the two terminals where the wires connect to the element. A healthy element usually reads between 10 and 40 ohms. If your meter shows ‘OL’ or infinity, the internal circuit is broken, and no heat is passing through at all. But even if it shows a reading, a fluctuation in those numbers can point to those sneaky cold spots. 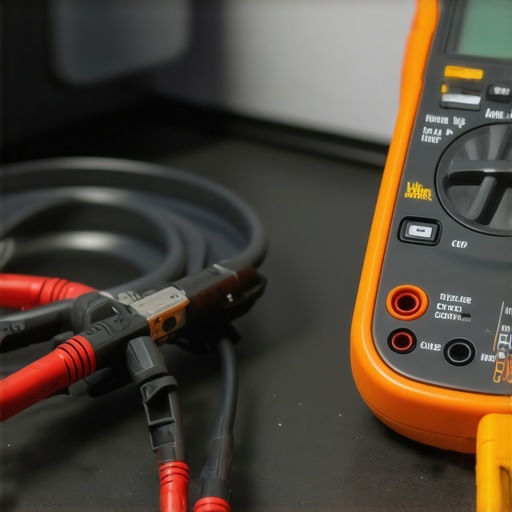 While you have the tools out, don’t forget that dishwashers use similar tech. If your dishes are coming out wet and cold, you should be testing the resistance on your dishwasher heating element to see if the same degradation is happening under the spray arms.
Don’t Ignore the Support Cast
I once spent two hours tearing down my range, convinced the element was the culprit. I bought a brand-new part, swapped it in, and… the oven still didn’t work. I felt like a complete amateur. It turned out that a wire terminal leading to the element had vibrated loose and slightly melted, preventing a solid connection. If you’ve tested the element and it checks out, you need to be inspecting your oven’s power cord for heat damage or looking at the control board itself. A scorched relay can mimic a bad element perfectly. Before you give up, try inspecting your oven control board for burn marks. It’s a five-minute check that can save you from buying parts you don’t need. Often, the ‘cold spot’ isn’t in the element at all, but in the signal telling the element to wake up.Most DIYers stop the moment they see a ‘good’ reading on their multimeter. They see 25 ohms on the bake element and think the case is closed, convinced the problem must be elsewhere. But here is the contrarian truth that experienced techs know: a static continuity test only tells you if the component works in a cold, resting state. It says nothing about how that metal reacts when it reaches 450 degrees. I’ve seen countless elements pass a bench test only to fail the second they expand under intense heat, causing the internal filament to shift and break contact. If you’re tired of the guesswork and want to move past the basics, you really need to dive into 5 multimeter tricks for diagnosing a dead control board to understand how to check for voltage under actual load. 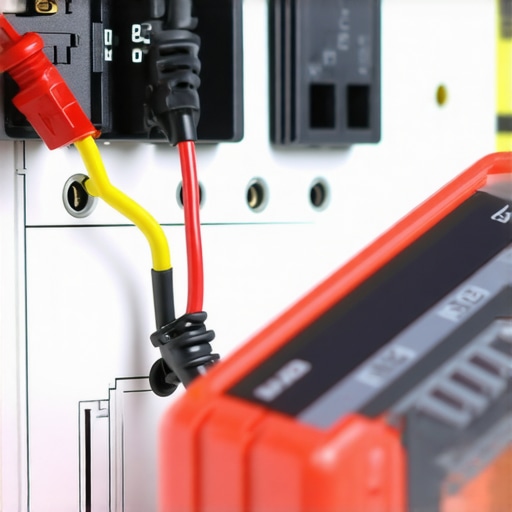
Why does your dishwasher suddenly take three hours to finish a cycle?
This is the biggest ‘trap’ in modern appliance repair. Most people assume that if a cycle is dragging on for an entire afternoon, the motor is dying or the pump is clogged. In reality, it is rarely a mechanical failure and often a ‘blind’ sensor or a struggling heater. According to data from the Association of Home Appliance Manufacturers (AHAM), modern energy-efficient dishwashers are designed to extend cycle times drastically if the water doesn’t reach a specific temperature within a set window. If you’re wondering why your dishwasher cycle takes hours longer than usual, it is usually because the internal logic is compensating for a weak heating element that can’t quite get the water to the 140-degree mark required to dissolve detergent. This leads to the frustrating sight of a half-melted tab at the end of the run; checking why your dishwasher pod is still in the dispenser after a wash will show you exactly how temperature and timing are linked.
The ‘Ghost Voltage’ Trap That Fools Even the Pros
One of the most expensive mistakes you can make is misinterpreting a voltage reading without a load attached. I once spent over $200 on a control board because my meter showed 120V at the terminal, only to realize the wire was held together by a single, corroded copper strand. That strand could carry the *signal* of voltage for the meter, but it couldn’t carry the *amperage* needed to actually fire up the machine. It’s like trying to put out a house fire with a garden hose—you might have the pressure, but you don’t have the volume. Before you start ordering parts, you have to ensure your connections are beefy, clean, and tight. Use a systematic approach like how to identify dishwasher faults quickly to rule out these phantom issues. If you’ve hit a wall after checking the basics, knowing when to stop diying and call an oven repair expert is the most professional move you can make. Sometimes the nuance is buried in a wiring harness that looks fine but is failing internally under stress. Have you ever fallen into this trap where a ‘perfect’ reading led you to buy a part you didn’t actually need? Let me know in the comments.I spent years using a $10 multimeter I found in a bargain bin, and I paid for it in wasted hours and misdiagnosed control boards. If you want to move from ‘clueless DIYer’ to ‘household hero,’ you need to upgrade your toolkit. For me, the Fluke 117 is non-negotiable. Why? Because of a feature called LoZ (Low Impedance). It specifically filters out the ‘ghost voltage’ I mentioned earlier. When I use this meter, I know with 100% certainty if a wire is carrying real power or just a phantom signal. If you are getting serious about repairs, a comprehensive guide to dishwasher parts will only take you so far if your tools are lying to you. Investing in high-quality needle-tip probes is another game-changer; they allow you to pierce through corrosion or insulation to get a reading on a cramped wire harness without having to tear the whole machine apart. 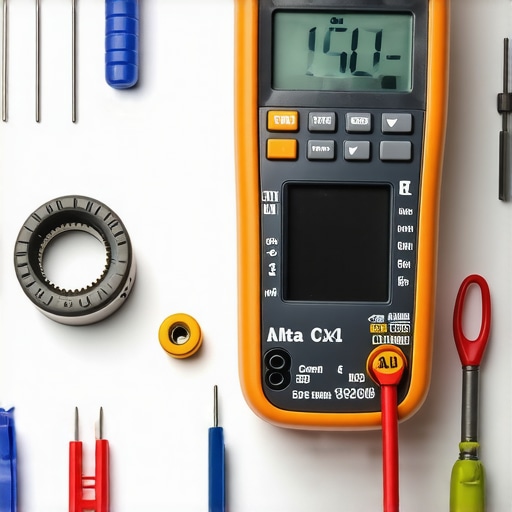
How do I keep these machines humming for a decade?
Maintenance isn’t just about fixing what’s broken; it’s about preventing the slow decay that leads to those $300 service calls. In my kitchen, every six months is ‘Deep Clean Day.’ For the dishwasher, this means more than just running a cleaning tab. I’m talking about deep cleaning the moldy gasket that hides in the crevices, which is the number one cause of mystery leaks that rot out your subfloor. While you’re in there, take five minutes to unclog your air gap and check for calcium buildup. According to Whirlpool’s Technical Service Bulletin W10842270, mineral accumulation on sensors can cause ‘short-cycling’ which wears out the circulation pump 30% faster than normal. I’ve found that clearing hard water deposits using a vinegar soak or a commercial citric acid cleaner can extend the life of your heating element significantly. On the oven side, the essentials of oven repair involve keeping the temperature sensor clean; a thin layer of grease can insulate the probe, causing the oven to ‘think’ it’s cooler than it actually is, resulting in burnt biscuits and a stressed-out bake element. Looking ahead, I suspect we’re moving toward a world of ‘predictive maintenance’ where your dishwasher will send a push notification to your phone the moment it detects a drop in heating efficiency. But until your kitchen is smarter than you are, these manual checks are your best defense. I challenge you to pull out your dishwasher filter tonight—if it’s covered in gray slime, you’ve just found your first project. Don’t wait for the machine to fail; get ahead of the grime now.
Hard-Earned Lessons from the Repair Trench
The most humbling lesson I learned is that a multimeter beep is just the beginning, not the end. I’ve seen elements with perfect cold continuity that failed the moment they reached baking temperatures because thermal expansion opened up microscopic fractures. Another epiphany was realizing that oven repair essentials always include deep cleaning; a dirty sensor is essentially a blinded sensor that will never give you an accurate reading. Lastly, never underestimate the physical integrity of your wiring. A single frayed copper strand can show the correct voltage on a meter but fail to deliver the amperage needed to actually generate heat, leading to those frustrating cold spots. #IMAGE_PLACEHOLDER_E#
Tools That Earned a Permanent Spot in My Toolbox
I never start a diagnostic job without a multimeter that features Low Impedance (LoZ) to filter out deceptive phantom readings that lead to misdiagnosed control boards. For deep diagnostic work, I rely on a comprehensive guide to dishwasher parts to visualize the flow of power before I even open the cabinet. I also highly recommend keeping a dedicated set of needle-tip probes; they are the only way to test a cramped wiring harness without causing further damage to the connectors. For routine maintenance, high-grade citric acid is my secret weapon for clearing hard water deposits before they can calcify and ruin a heating element permanently.
Taking the Reins of Your Kitchen’s Health
Taking charge of your home maintenance is more than just saving a few dollars; it’s about the peace of mind that comes from knowing exactly how your appliances work. By learning how to identify dishwasher faults quickly, you’re turning a potential weekend disaster into a quick DIY victory. Don’t be discouraged by a tough diagnosis, and always be professional enough to know when to stop diying and call an oven repair expert if the safety risks or complexity outweigh the rewards. Your kitchen is the heart of your home, and with these skills, you are the one keeping it beating. Have you ever replaced an expensive part only to find out it was a simple loose connection? Share your story in the comments below!