The smell of burnt rosemary is usually a sign of a great dinner, but when that smell starts drifting from an oven that’s supposed to be off, it’s a heart-stopper. I remember standing in my kitchen three years ago, staring at my display which clearly said ‘OFF’, while my bake element glowed a terrifying, angry orange. I panicked. I pulled the plug, literally, and thought my oven was destined for the scrap heap. It turns out, I wasn’t facing a haunted appliance; I was dealing with a stuck relay. If you’ve ever dealt with an oven that refuses to heat up or, worse, refuses to stop, you know exactly the kind of frustration I’m talking about. Have you ever had to run to the circuit breaker just to get your dinner to stop burning? It’s a stressful way to live, but I promise we can narrow this down today. We are going to look at the ‘brain’ of your appliance and figure out if a $15 part is why you’re considering a $1,000 replacement. [IMAGE_PLACEHOLDER]
Don’t Trash the Whole Range Over a Stuck Switch
When I first started diving into oven repair essentials, I made the most expensive rookie mistake possible. I saw that the oven wasn’t heating and immediately ordered a new bake element without testing anything. I spent $60 and an hour of my life only to find out the new element stayed cold, too. I eventually learned that oven diagnostics isn’t about guessing; it’s about following the power. That power usually gets stuck or cut off at the relay—the little black boxes soldered onto your control board. These relays act like gates. When they wear out, they either stay welded shut (keeping the heat on) or refuse to click open (leaving you with a cold oven). If you’ve ever wondered how to tell if your oven control board is actually fried, the relay is almost always the first place I tell people to look.
Is repairing the board actually worth the hassle?
Many folks tell me they’d rather just buy a new oven than poke around with a circuit board. I get it. Electricity is intimidating. However, according to the National Fire Protection Association, range or cooktop malfunctions accounted for the largest share of home appliance fires. Taking thirty minutes to inspect your oven control board for burn marks isn’t just about saving money; it’s about peace of mind. Using a few 5 multimeter tricks for diagnosing a dead control board can save you a fortune and keep your kitchen safe. Today, I’m going to show you how to spot those physical signs of failure so you can stop guessing and start fixing.
Expose the Control Board Without Breaking a Sweat
Before you can fix anything, you have to find it. Most modern ovens keep their ‘brain’ behind the top console where the buttons live. I remember the first time I tried to get into my Frigidaire; I spent twenty minutes unscrewing the wrong panel because I was afraid of breaking the plastic. Here is the trick: pull the oven out a few inches and look for the hex-head screws along the back top rim. Once those are out, the panel usually tilts forward or lifts up. Safety is non-negotiable here. I once got a ‘love tap’ from a capacitor because I forgot to wait ten minutes after unplugging the unit. Don’t be like me—unplug it and give the electricity time to dissipate before you start poking around.
The Look and Sniff Method for Burnt Relays
Before you even pick up a tool, use your nose. A fried relay has a very distinct, metallic ozone smell. If you inspect your oven control board for burn marks, you are looking for more than just black soot. Look for ‘cold solder joints’ which look like tiny, dull grey cracks around the pins of those black relay boxes. On my sister’s oven, the board looked perfect from the front, but when I flipped it over, one of the pins for the bake element had literally melted the solder away, leaving the connection flapping in the wind. A two-cent dab of solder saved her $250. 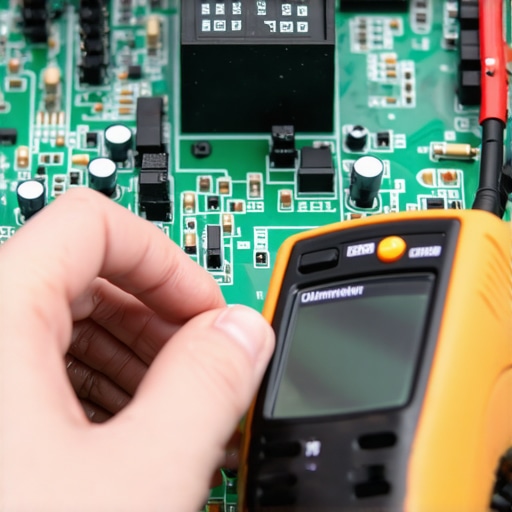
Put Your Multimeter to the Real Test
Visuals only get you so far. If the board looks clean but the oven is still acting like a brick, you need to verify if power is actually leaving the board. This is where testing oven continuity on a budget with basic tools becomes your superpower. Think of your multimeter as a lie detector. Set it to the ‘Ohms’ or ‘Continuity’ setting. You want to test the path between the power input and the relay output. If the oven is set to bake but the relay isn’t clicking or showing a closed circuit, that relay is dead.
Differentiating Between a Bad Element and a Bad Board
Sometimes the board is fine, and the element is the culprit. You can’t always see a break in the coil. I’ve seen elements that looked brand new but had an internal break. You should how to test an oven broil element using a simple ohmmeter to rule it out. If the element shows between 10 and 40 ohms, it’s healthy. If it shows ‘OL’ or infinite resistance, you’ve found your ghost. This is much like testing the resistance on your dishwasher heating element—it’s about confirming the component can actually complete the circuit. If the element is good but stays cold, the ‘brain’ is definitely the one refusing to send the signal. This step-by-step process is exactly how you perform oven diagnostics without losing your mind or your paycheck. Once you confirm the board is the issue, you can decide whether to buy a new board or try your hand at desoldering that single $5 relay.Most DIY guides will tell you that the error code on your display is a definitive diagnosis. I’m here to tell you that’s a dangerous oversimplification. While diagnosing an f3 error code on your digital oven display gives you a starting point, these codes are often ‘best guesses’ from a computer that cannot see physical damage. I’ve seen countless homeowners replace a $300 board because of an F3 code, when the real culprit was a $20 sensor that had simply drifted out of spec. In my experience, relying solely on the display is how you end up with a pile of perfectly good spare parts and a still-broken oven. Have you ever fallen into this trap of buying the most expensive part first? Let me know in the comments.
Why does my oven lose calibration even after a board swap?
This is a nuance many pros miss. If you’ve replaced the board but still find why your oven takes 45 minutes to reach 350 degrees, you might be dealing with ‘phantom resistance’ in the wiring harness. The Association of Home Appliance Manufacturers notes that modern electronic controls are significantly more sensitive to voltage fluctuations than the old mechanical timers of the 90s. Even a slightly loose terminal at the power block can cause the board to ‘reboot’ or lose its temperature offset settings. 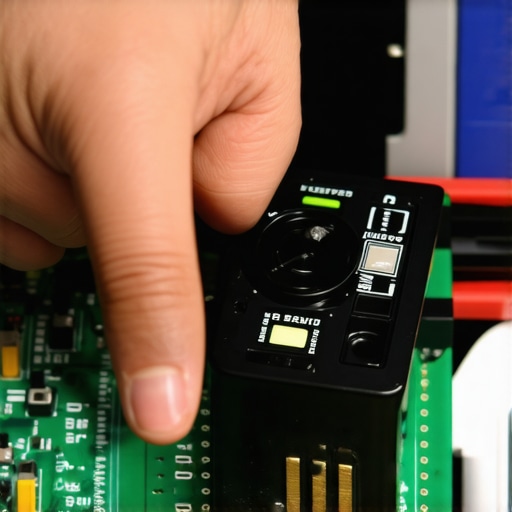
The Hidden Danger of Static Electricity
Here is the ‘oops’ factor that kills more repairs than any other mistake: Electrostatic Discharge (ESD). You might not even feel the spark, but the mere act of walking across a kitchen rug and touching the relay pins can scramble the integrated circuits on that board. Always touch a grounded metal part of the oven frame before you handle the electronics. I once toasted a brand-new Frigidaire board just by sliding it out of the anti-static bag without being grounded. It’s a $200 lesson you don’t want to learn the hard way. While you’re back there, it’s also worth how to check your ovens bake element for tiny blisters because a failing element can sometimes send a voltage spike back to the board, creating a vicious cycle of failure.
Don’t Ignore the Support Cast
Finally, stop assuming the ‘brain’ is the only thing that matters. Just like the signs of a dying circulation pump in your dishwasher can mimic a control failure, a worn-out door seal or how to fix a sagging oven door seal that leaks heat can make the board think the element is failing because it cannot maintain temperature. Before you commit to the big-ticket items, check the comparing aftermarket vs oem oven heating elements to see if a simple hardware swap is more cost-effective. Sometimes, the ‘brain’ is perfectly healthy; it’s just trying to compensate for a body that’s falling apart.
When you are deep in the trenches of a repair, the difference between success and a weekend of takeout is the quality of your feedback loop. For me, that feedback loop is my Klein Tools MM400 multimeter. I don’t recommend this just because it’s rugged; I recommend it because of the ‘Auto-Ranging’ feature. When you’re squeezed between a kitchen island and a hot stove, the last thing you want to do is fiddle with manual voltage ranges. You need to know, instantly, if that board is sending 120V to the igniter or if it’s dead on arrival. I’ve found that using testing oven continuity on a budget with basic tools is a great start, but eventually, you’ll want gear that can handle the vibration of a running appliance. 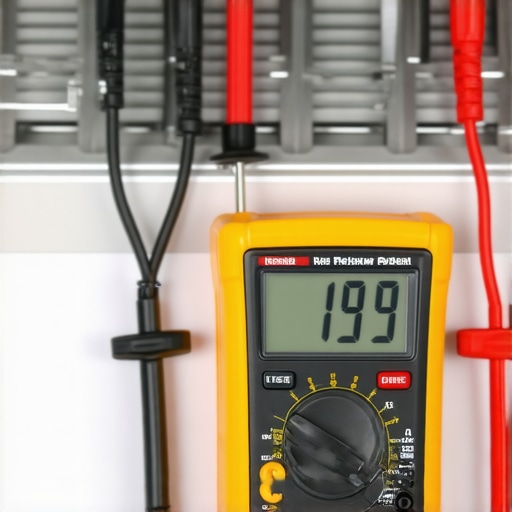
The Crossover Skills Between Ovens and Dishwashers
People often treat these appliances like they are from different planets, but the logic of oven repair essentials is nearly identical to what you’ll find in my dishwasher parts guide to diy diagnostics. Both systems rely on a ‘call for heat.’ In an oven, it’s the temperature sensor; in a dishwasher, it’s the thermistor. If you learn how to probe a relay on an oven control board, you already know how to perform parts and diagnostics for dishwasher faults. The only difference is the environment—one deals with grease, the other with lime scale.
How do I stop these parts from burning out again?
Longevity isn’t about luck; it’s about airflow and cleanliness. Most control boards fail because they overheat. If your oven is pushed too tight against the back wall, or if you ignore why your oven takes forever to preheat and then drops temp, the relays have to work twice as hard, clicking on and off constantly to maintain heat. This cycling kills the contacts. Similarly, in your dishwasher, failing to clean mineral buildup from dishwasher spray nozzles forces the pump to work under higher pressure, which eventually sends a surge back to the control module. According to the Whirlpool Electronic Control Job Aid, nearly 30% of ‘failed’ boards are actually the result of peripheral component strain rather than a defect in the board itself.
The Scary Future of Component-Level Repair
Looking ahead, I see a trend where manufacturers are making ‘smart’ appliances harder to probe. We are moving toward encrypted communication (Bus systems) between the buttons and the board, making a simple multimeter less effective. However, the high-voltage side—the part that actually gets the oven hot—will always be a physical connection. You can always test your ovens bake element for hot spots regardless of how ‘smart’ the display is. My advice? Don’t be intimidated by the touchscreens. Beneath the glass, it’s still just copper, solder, and heat. I challenge you to pull your oven out this weekend, find the tech sheet tucked in the console or the base, and just read it. Understanding that map is the most powerful tool you can own. Check your sensor resistance today—it takes five minutes and could save your next holiday meal.
Hard-Won Truths from My Workbench
After years of staring at green circuit boards, the most important lesson I can share is that trusting your eyes is only half the battle. You have to trust your logic. If the element tests perfectly but the heat is missing, the board is lying to you. This is the core of oven repair essentials: stripping away the mystery until only the facts remain. I’ve learned that a ‘click’ from a relay doesn’t mean it’s actually working; it just means the coil is trying. You have to verify the voltage actually crosses those contacts. Another lightbulb moment? Always take a photo of the wiring before you unplug anything. I’ve spent more hours than I’d like to admit squinting at blurry diagrams because I thought I’d remember where the red wire went. Finally, if the repair feels over your head, knowing when to skip the diy and call a professional oven technician is actually a sign of a smart repairer, not a defeat.
The Gear That Saved My Kitchen
I don’t believe in buying every tool in the aisle, but three things are non-negotiable for electronic diagnostics. First, the Klein Tools MM400 Multimeter is my absolute favorite because of its rugged build and auto-ranging capabilities. Second, an anti-static wrist strap is a $10 insurance policy for your $300 control board. One tiny spark from your finger can ruin a repair before it starts. Lastly, I always keep a high-lumen LED headlamp handy. You cannot diagnose what you cannot see, especially in the dark recesses behind a range. These tools are the same ones I use when diving into dishwasher parts or complex wiring harnesses.
#IMAGE_PLACEHOLDER_FINAL#
Empower Your Inner Technician
Don’t let the beep of an error code or the complexity of a circuit board intimidate you. You are the master of your appliances, not the other way around. Every time you successfully diagnose a fault, you’re gaining a skill that stays with you for life. Whether you’re learning parts and diagnostics for dishwasher faults or finally tackling that stubborn oven relay, the physics remain the same. Take your time, stay safe, and enjoy the satisfaction of a job well done. Have you ever found a burnt relay that looked perfectly fine until you flipped the board over? Share your ‘aha!’ moment in the comments below!